 Save
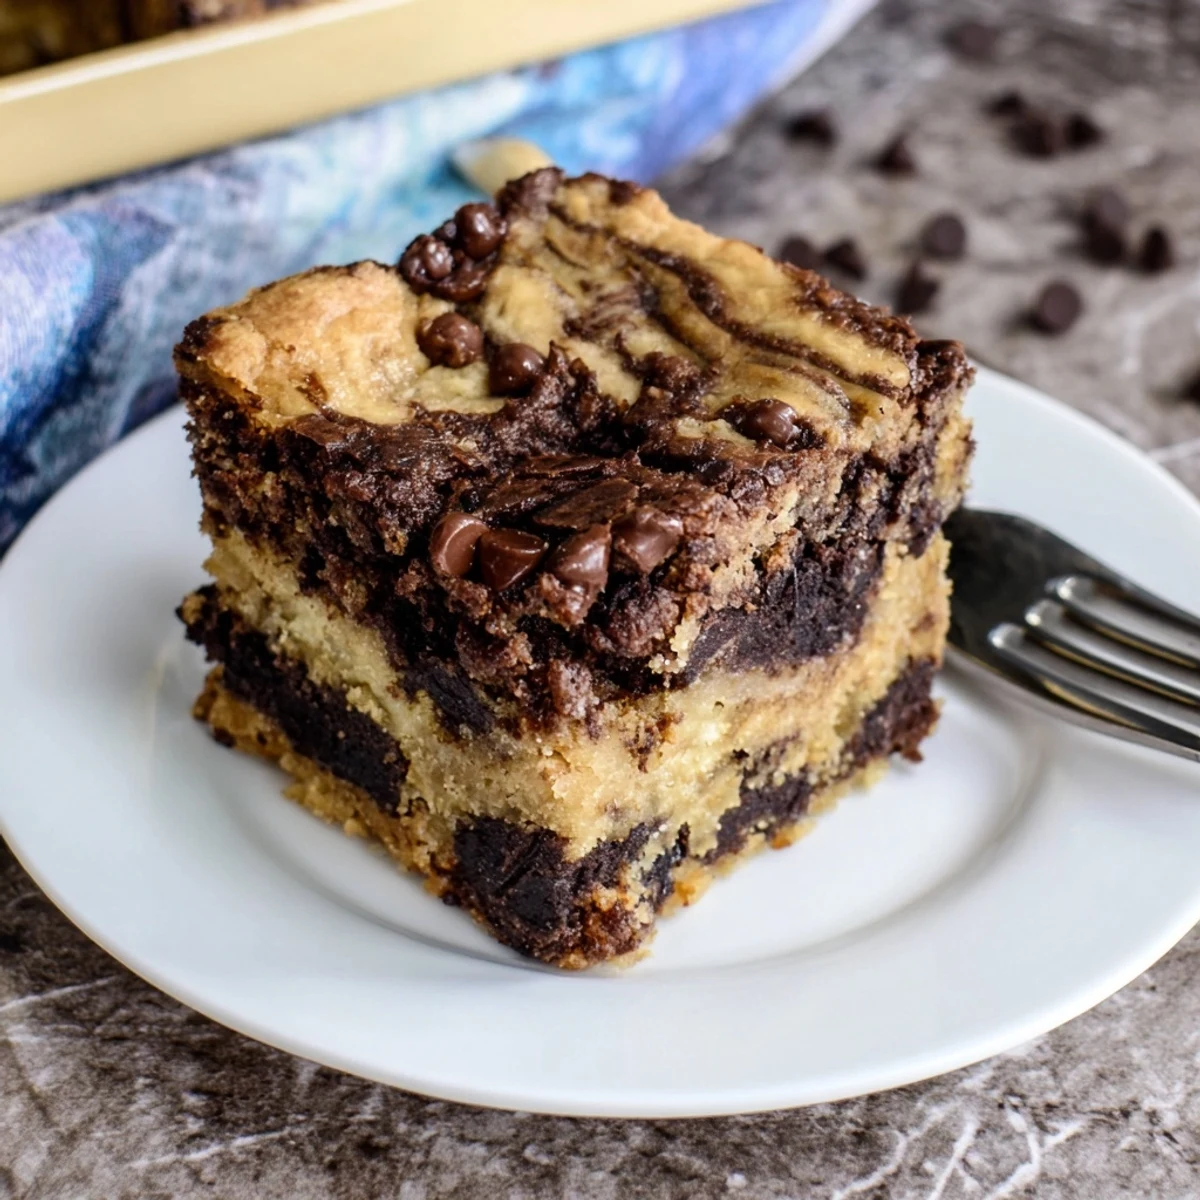
Save These indulgent bars combine the best of both worlds—fudgy chocolate brownies and moist banana bread—swirled together in one gorgeous marbled treat. The banana layer brings natural sweetness and tender texture, while the chocolate brownie layer adds deep cocoa richness and occasional pockets of melted chocolate chips.
The swirling technique creates beautiful patterns throughout each bar, making them as stunning as they are delicious. Perfect for potlucks, bake sales, or whenever you need a dessert that satisfies both chocolate and banana lovers alike.
Ready in under an hour with just 15 minutes of prep, these bars are simple enough for weeknight baking yet impressive enough for serving guests. Let them cool completely before slicing for clean, professional-looking squares.
The smell of overripe bananas sitting on my counter used to stress me out until my grandmother grabbed one afternoon and started mashing. She told me some things need time to reach their full potential, and these bars prove her point every single time.
I brought these to a potluck last summer, and my friend Sarah actually hid two bars in her purse before leaving. She said she needed breakfast for the next morning, which I took as the highest compliment possible.
Ingredients
- Ripe bananas: The blacker the better since they provide natural sweetness and moisture that white sugar alone cannot achieve
- Unsalted butter: Melted butter creates a tender crumb in both layers and helps the flavors meld beautifully
- Cocoa powder: Unsweetened cocoa gives the brownie layer its intense chocolate flavor without making it overly sweet
- Chocolate chips: Semi sweet chips provide pockets of melted chocolate throughout the brownie portion
- All purpose flour: Just enough structure to hold both batters together while keeping them tender
- Eggs: Room temperature eggs incorporate better and help bind everything together
Instructions
- Get your oven ready:
- Preheat to 350°F and line an 8x8 inch pan with parchment paper letting the ends hang over the sides like little handles
- Make the banana batter:
- Mash those ripe bananas until mostly smooth then whisk in the sugar melted butter egg and vanilla until everything is combined
- Finish the banana layer:
- Stir in the flour baking powder baking soda and salt just until you no longer see dry streaks and set it aside
- Start the brownie batter:
- Whisk melted butter and sugar until glossy then beat in the eggs and vanilla extract until the mixture looks silky
- Complete the brownie layer:
- Fold in the cocoa powder flour and salt followed by the chocolate chips until just combined
- Layer it all up:
- Spread half the banana batter in the pan spoon all the brownie batter on top then dollop the remaining banana batter over that
- Create the swirl:
- Run a knife through the batters in a figure eight pattern a few times being careful not to overmix the layers
- Bake to perfection:
- Bake for 28 to 32 minutes until a toothpick comes out with moist crumbs but not wet batter
- Patience pays off:
- Let cool completely in the pan before using the parchment handles to lift out and slice into 16 bars
 Save
Save My daughter asked if we could have breakfast for dessert and now these bars appear at our table at least twice a month. The way the banana flavor develops overnight makes them even better the next day.
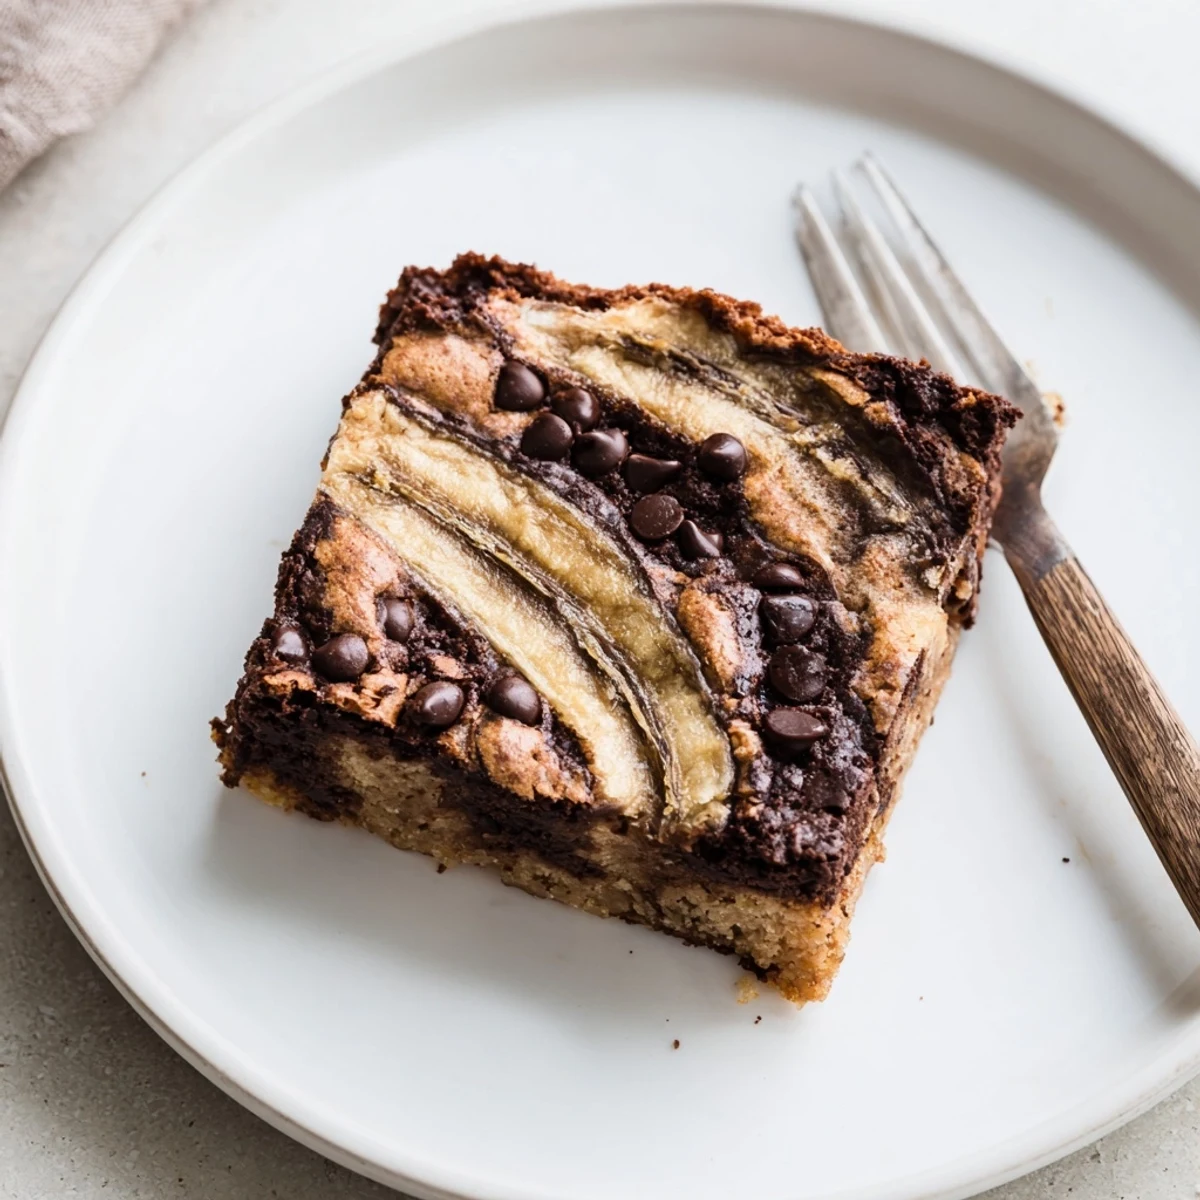
Getting The Perfect Swirl
The key is working quickly once both batters are ready since the banana layer will start to set up. Use a light hand when swirling too much mixing will give you a uniform flavor instead of distinct marbled layers throughout each bar.
Storage Secrets
These actually improve after sitting overnight wrapped tightly at room temperature. The moisture from the bananas continues to soften the chocolate layer while the flavors deepen and meld together into something truly special.
Serving Suggestions
Warm a bar for 15 seconds in the microwave and serve with vanilla ice cream for an impressive yet easy dessert. You can also pack them in lunchboxes since they hold their shape beautifully and do not require refrigeration.
- Add chopped walnuts to the banana layer for extra texture
- Try dark chocolate chips instead of semi sweet for a more intense flavor
- Dust powdered sugar on top just before serving for a bakery style finish
 Save
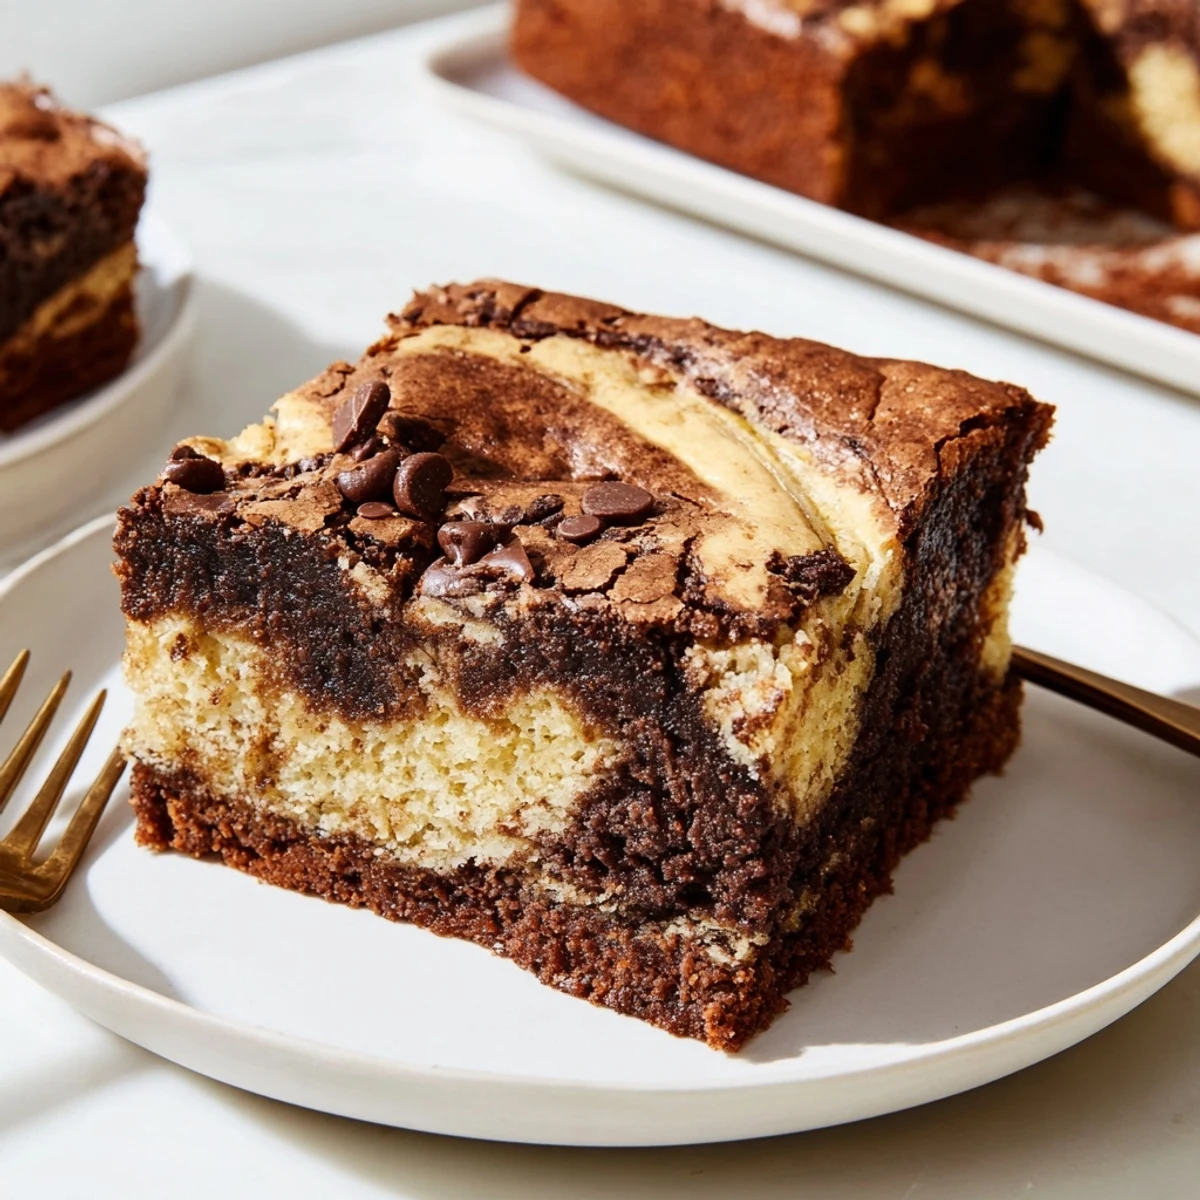
Save These bars have become my go to whenever I need something that feels special but comes together with pantry staples. There is something magical about how two simple batters transform into such a beautiful marbled treat.
Common Questions
- → Can I use frozen bananas?
-
Yes, frozen bananas work perfectly. Thaw them completely before mashing and drain any excess liquid. The bananas should be very ripe with plenty of brown spots for maximum sweetness and moisture.
- → How do I know when the bars are done baking?
-
Insert a toothpick near the center—it should come out with a few moist crumbs clinging to it, not completely clean. The edges should be set but the center may still look slightly soft. They'll continue cooking as they cool.
- → Can I make these ahead of time?
-
Absolutely. These bars actually taste better the next day as flavors meld. Store in an airtight container at room temperature for up to 3 days, or refrigerate for up to a week. They also freeze well for up to 3 months.
- → What's the best way to achieve the marbled swirl?
-
Don't over-swirl. After dropping spoonfuls of both batters, run a knife through the layers just 3-4 times in an S-pattern. Too much swirling will muddy the distinct layers and reduce the visual appeal.
- → Can I substitute the chocolate chips?
-
Yes. Try dark chocolate chips for a more intense flavor, white chocolate for contrast, or chopped nuts like walnuts and pecans for added texture. You can also mix different types for variety.
- → Why did my bars turn out dry?
-
Overbaking is the most common cause. Check at 28 minutes and remove when a toothpick shows moist crumbs. Also ensure your bananas are ripe enough and measure flour correctly—too much flour absorbs moisture.
