 Save
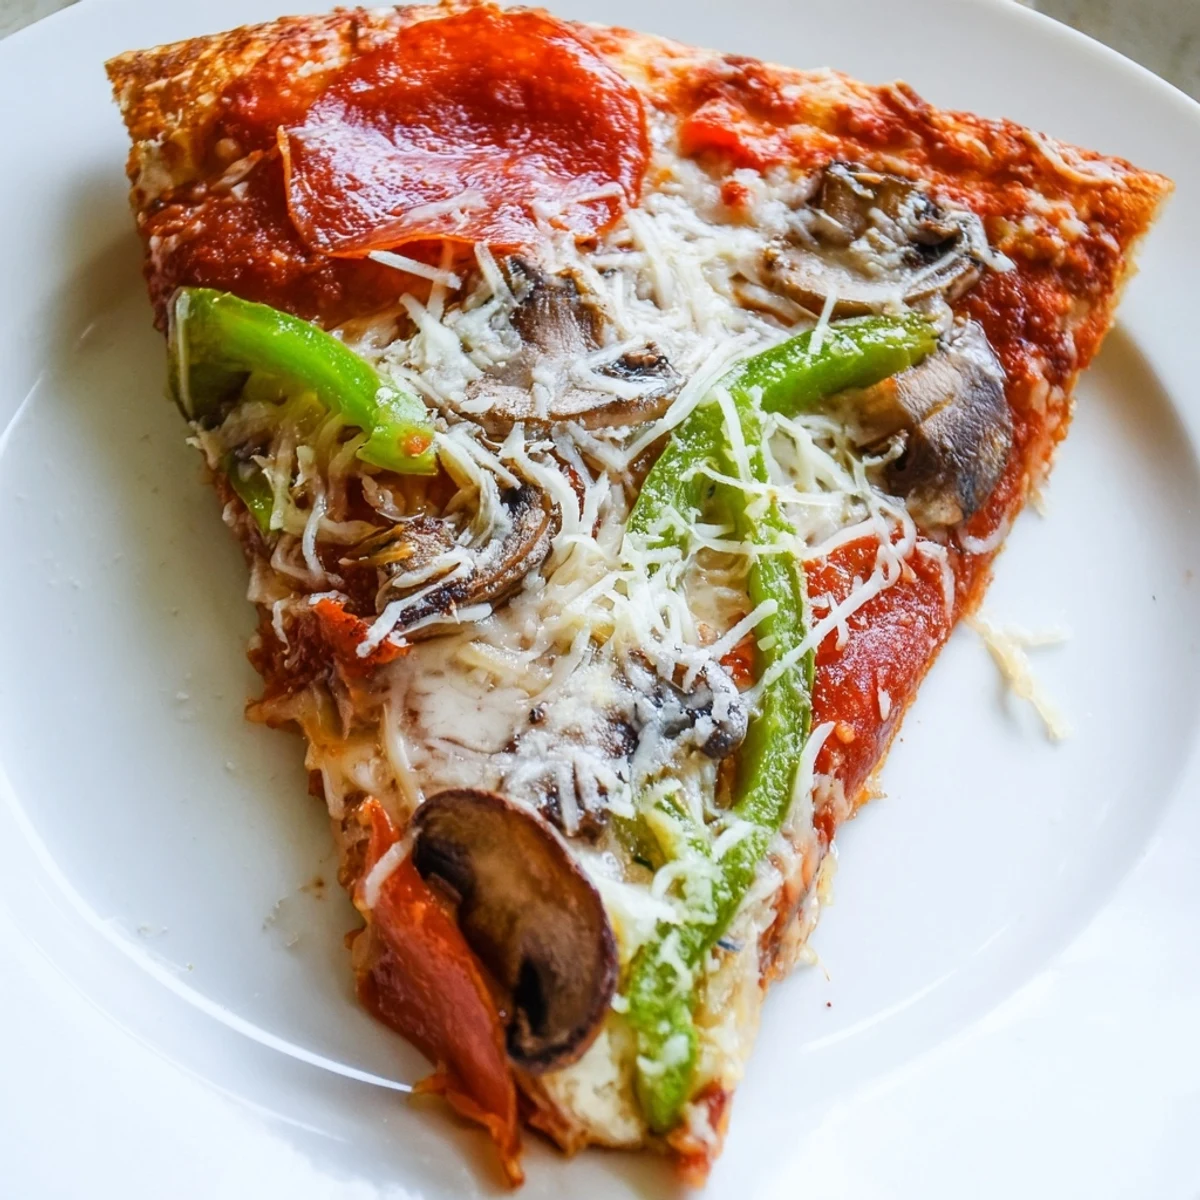
Save This thin golden pizza features a perfectly crisp crust baked to crunchy perfection. A tangy tomato sauce made with fresh herbs complements the gooey mozzarella and Parmesan cheeses, while customizable toppings offer delicious variety. The dough rises for a light, airy texture, baked on a hot stone for extra crunch. Olive oil brushing and seasoning options enhance the final flavor to please every palate.
The first time I made pizza at home, I was convinced I needed a fancy stone and expensive equipment to get that restaurant-quality crunch. What I discovered instead was that a hot baking sheet and thin, properly rolled dough could deliver that golden, crispy base that made everyone at the table pause mid-bite to ask where it came from. Now I make this version whenever I want to prove that great pizza doesn't require a wood-fired oven or years of practice—just technique and a little confidence.
I remember my neighbor Kate peeking over the fence while I was sliding these pizzas into the oven, and the smell alone made her ask if she could join dinner. That's when I realized this recipe works not just because it tastes good, but because it creates that unmistakable moment when a kitchen starts smelling like an Italian restaurant and suddenly everyone wants to be involved.
Ingredients
- Bread flour: Regular flour works, but bread flour has just enough extra gluten to give the crust structure and that slight chew underneath the crispy surface.
- Active dry yeast: This is where patience pays off—the 1-hour rise gives you flavor that store-bought dough can't match.
- Warm water: Too hot and it kills the yeast, too cold and it won't activate, so aim for that goldilocks temperature around 110°F where it feels barely warm on your wrist.
- Olive oil: Use a good quality one if you're brushing the crust edge, but save the fancy stuff for finishing rather than cooking.
- Crushed tomatoes: Canned works beautifully here because the simmering mellows any sharpness and concentrates the flavor.
- Garlic and dried herbs: These build a sauce layer that tastes like it simmered for hours even though it only takes 10 minutes.
- Mozzarella cheese: Fresh mozzarella will separate and weep liquid, so use low-moisture mozzarella for that ideal melting pool of cheese.
- Parmesan cheese: This adds a sharp, salty note that keeps the pizza from tasting one-dimensional.
Instructions
- Wake up the yeast:
- Mix warm water with yeast and sugar, then let it sit until it's foamy on top—this bubbling is your signal that everything's alive and ready to work. If it doesn't foam, your yeast is dead and you'll need to start over, so don't skip this small verification moment.
- Bring the dough together:
- Combine flour and salt, create a well in the center, then pour in your yeast mixture and olive oil. Mix until you have something shaggy and rough, then knead on a floured surface until it transforms into something smooth and supple that springs back when you poke it.
- Let it rise:
- Oil a bowl, nestle your dough in there, cover it with a damp cloth or plastic wrap, and give it an hour to double in size. You'll know it's ready when you poke it and the indent stays rather than bouncing back.
- Build your sauce:
- Sauté minced garlic until it's fragrant but not brown, then add everything else and simmer gently for 10 minutes while the flavors marry together. The sauce should taste concentrated and bold enough to hold its own against the cheese.
- Shape with confidence:
- Divide your risen dough in half and roll each piece as thin as you can manage—thinner than you think is necessary—onto parchment paper. The thinner you go, the crispier the result, so aim for almost translucent at the edges.
- Layer strategically:
- Spread a thin layer of sauce across the dough, then add your cheeses and toppings, but resist the urge to overload it or the center will never crisp. Restraint here is what separates soggy from spectacular.
- Bake until golden:
- Transfer the whole parchment onto your preheated hot stone or baking sheet and watch it transform in 12-15 minutes until the edges are deep golden and the cheese is bubbly. The parchment will protect the bottom while the heat does its work.
 Save
Save There's a moment when you pull a homemade pizza from the oven and hear that small sizzle as the hot crust meets the air—that's the sound of success. It reminds me that sometimes the simplest recipes give us the most satisfying results precisely because they don't try to be complicated.
The Science of Crispy Crust
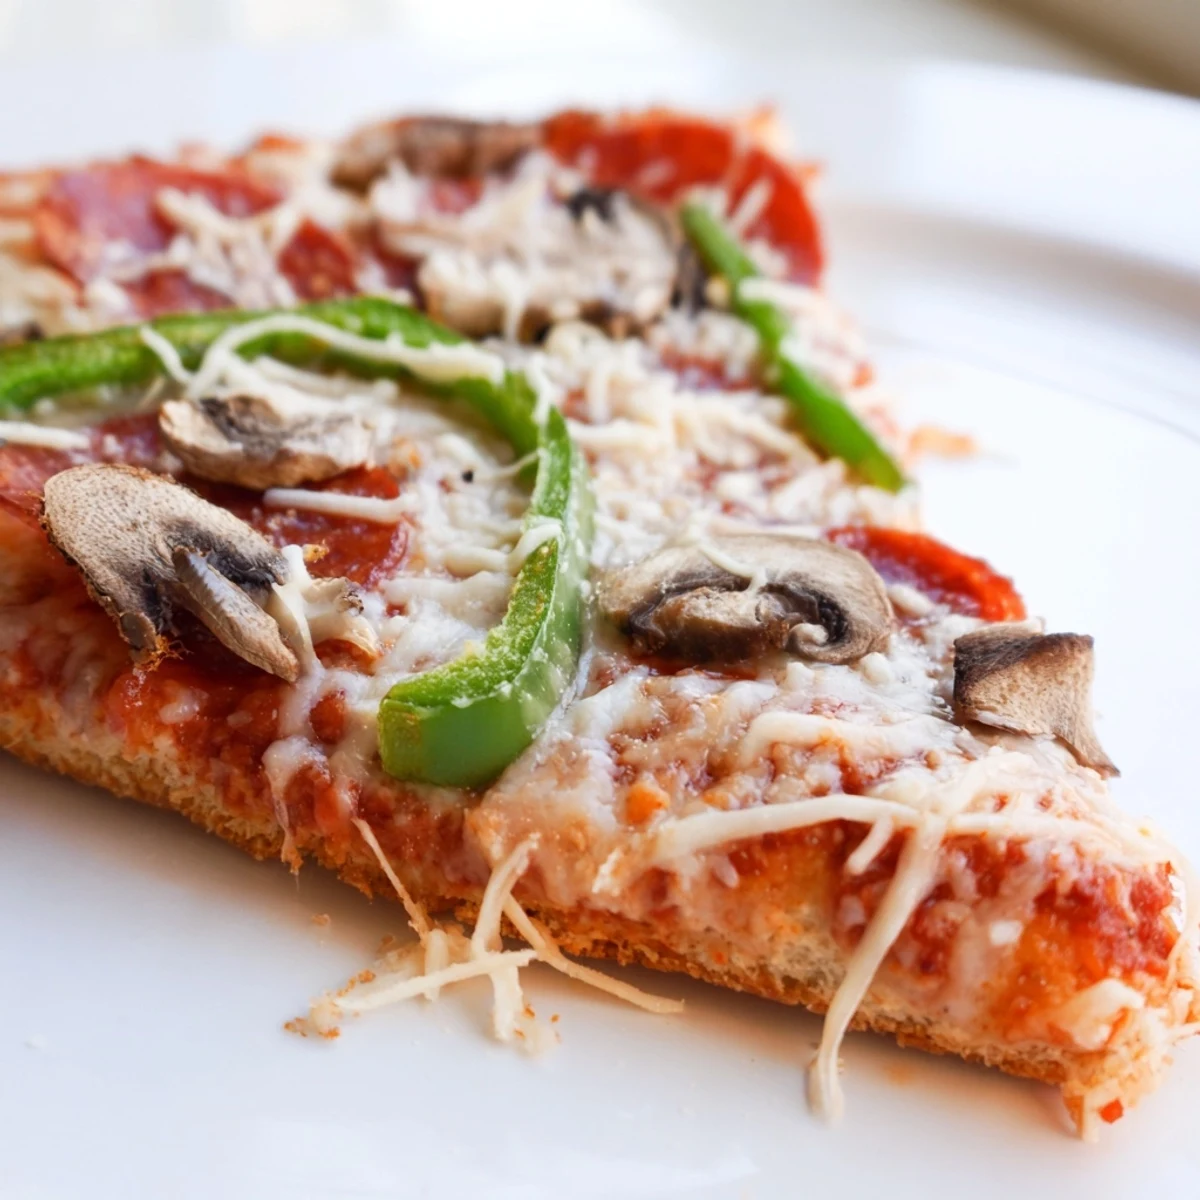
The crispness comes from moisture escaping during the high heat bake, which is why thin dough, a hot surface, and even spacing between ingredients all matter so much. When you see recipes that keep the dough thick or suggest a lower temperature, they're essentially choosing a different pizza—which is fine, but it won't be this one. Think of the crust as having two layers: a crispy exterior shell and just a touch of tender chew underneath, and that balance is what makes people ask for another slice.
Sauce, Cheese, and Topping Strategy
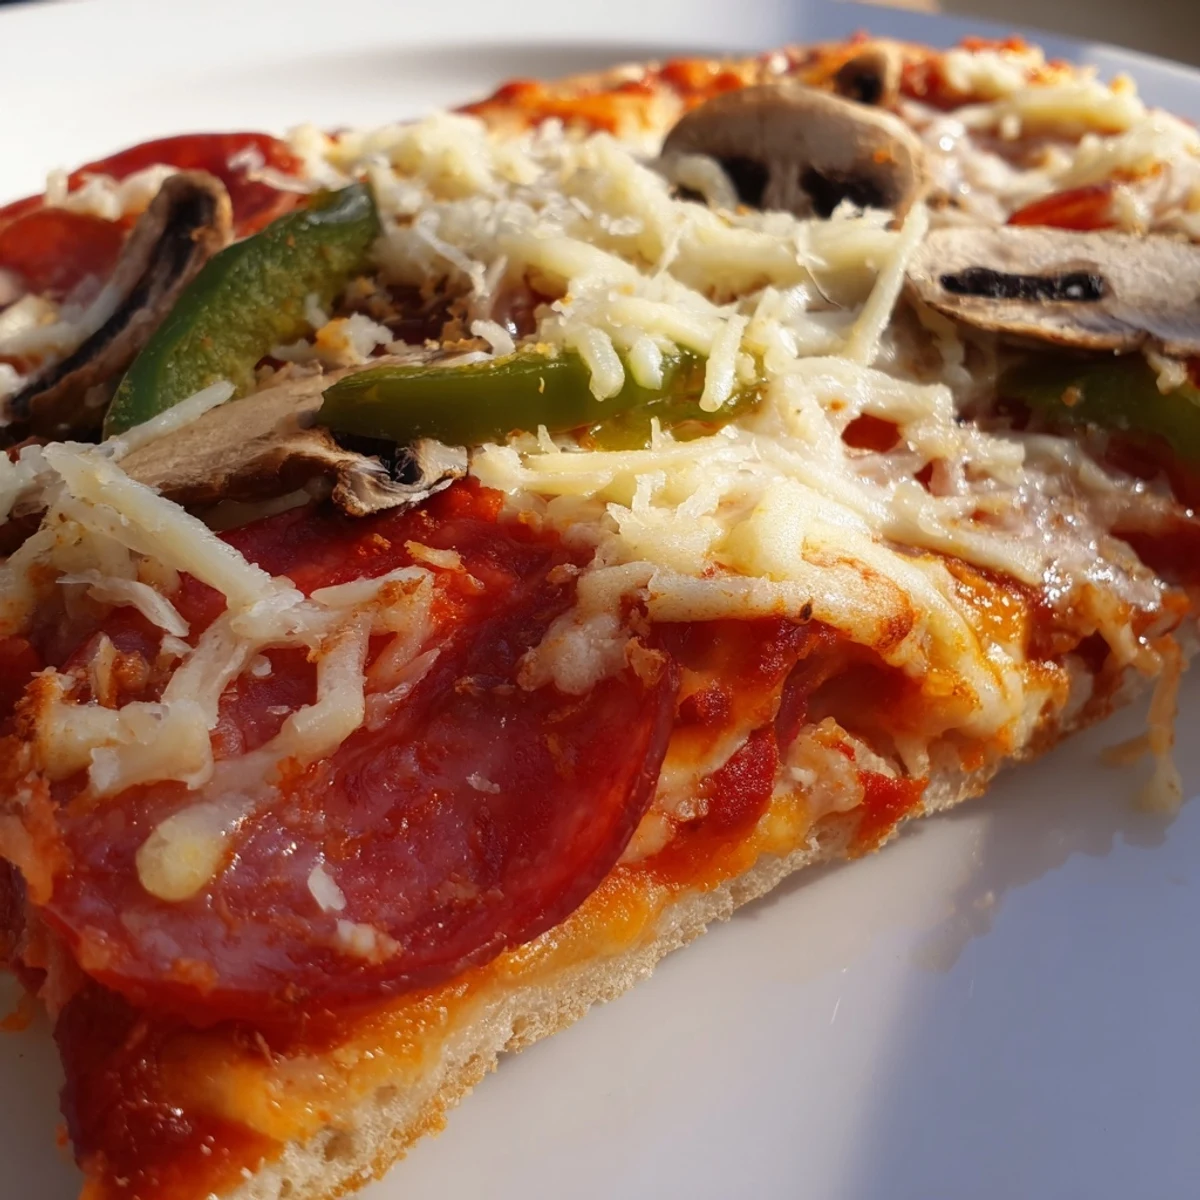
The sauce is intentionally mild so it doesn't overpower the bread or fight with the cheese, but if you like bolder flavors, a pinch of chili flakes or smoked paprika stirred into the simmering sauce will add interest without making it heavy. The combination of mozzarella's melting quality and Parmesan's sharp saltiness creates a flavor that feels complete even with no other toppings, though of course you should pile on whatever sounds good. Pepperoni cups up in the heat and crisps at the edges, mushrooms release their moisture and concentrate their flavor, and fresh basil added after baking stays bright and fragrant.
Master These Finishing Touches
The edges are where pizza reveals its character, so brush them lightly with olive oil before baking for a richer finish that catches the heat and turns golden brown. A light sprinkle of fleur de sel after baking brings everything into focus, and if you're using fresh basil, tear it by hand rather than cutting it so the edges stay vibrant rather than browning. Remember that this pizza is best eaten the moment it comes out of the oven when the crust is at peak crispiness, though leftovers can be revived in a hot oven for just a few minutes.
- Cool the crust for exactly 2 minutes before slicing so the cheese sets just enough to avoid pulling off in stretchy strings.
- Parchment paper is your friend here—it keeps the bottom from burning while the top finishes cooking.
- A pizza cutter or sharp knife held at a slight angle makes cleaner slices than trying to saw straight down.
 Save
Save Making pizza at home changes something small in your kitchen—it shifts from being just a place where you cook to being a place where you can create something that rivals what professionals make. That matters more than you might think.
Common Questions
- → How do you achieve a crispy crust?
-
Using high oven temperatures and baking on a preheated stone or inverted sheet creates the ideal crispy base. Brushing olive oil on the edges before baking helps enhance the crunch.
- → What type of flour works best for the dough?
-
Bread flour with higher protein content is preferred to develop gluten, giving the dough strength and a chewy, airy texture.
- → Can I add different toppings?
-
Yes, toppings like pepperoni, bell peppers, mushrooms, olives, and fresh basil can be added according to taste preferences.
- → How long should the dough rise?
-
The dough should rise for about one hour until doubled in size, which improves texture and flavor.
- → What's the best way to prepare the sauce?
-
Simmer crushed tomatoes with garlic, oregano, basil, and tomato paste for around ten minutes to develop a flavorful base.
