
 Save
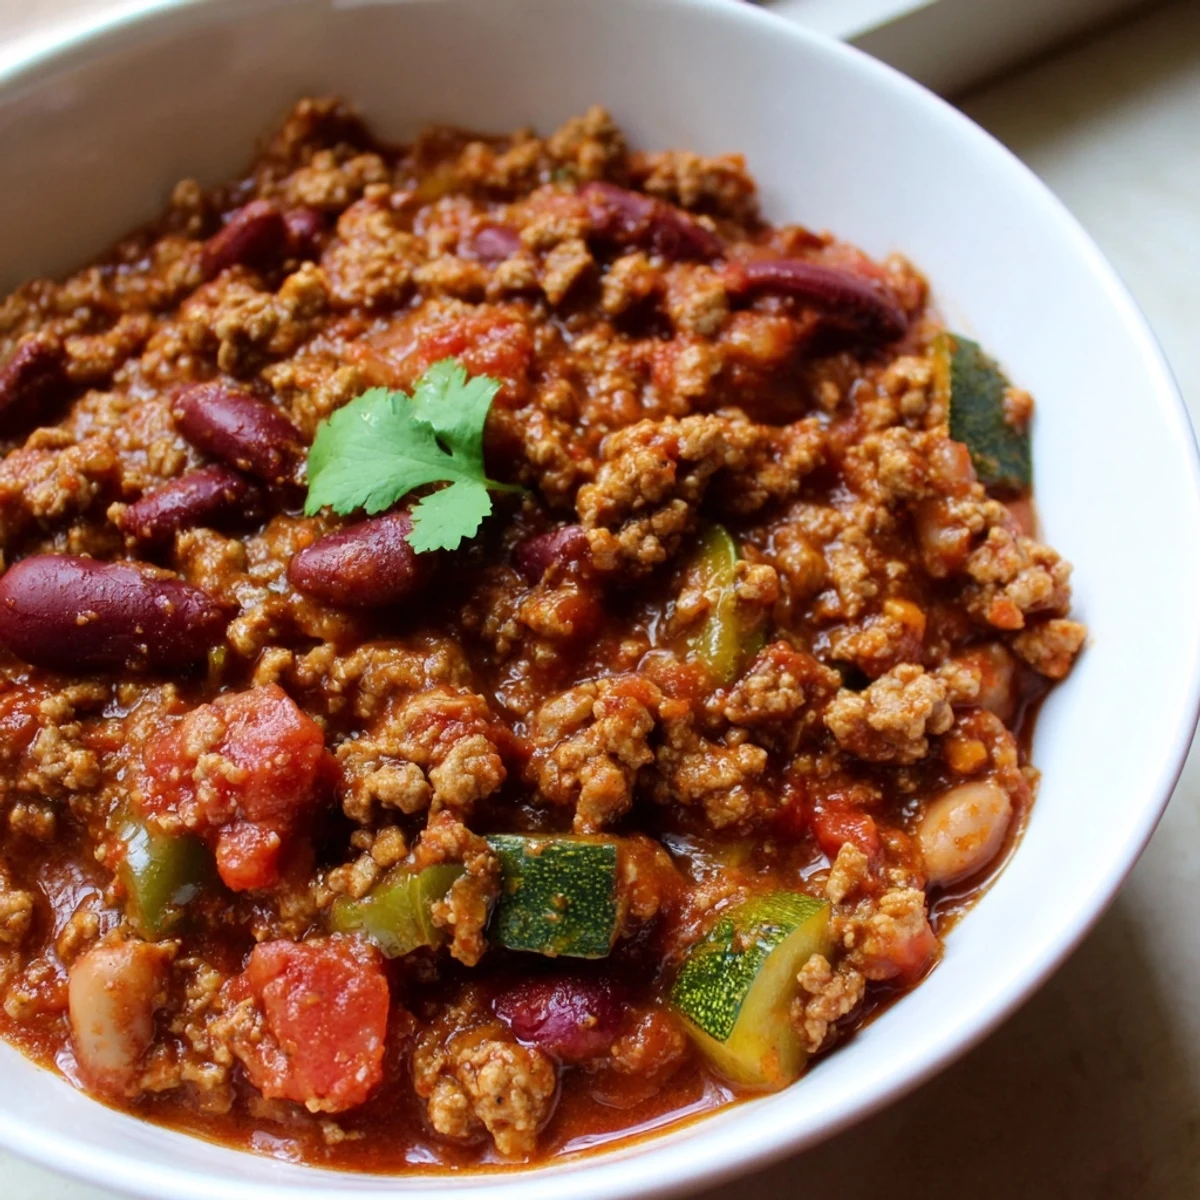
Save This diabetic-friendly chili brings together lean ground turkey, colorful bell peppers, zucchini, and a robust blend of chili powder, cumin, and smoked paprika for a deeply satisfying meal.
Designed to keep blood sugar stable, it skips added sugar entirely while maximizing fiber through beans and fresh vegetables.
Ready in under an hour, it makes six generous servings perfect for weeknight dinners or meal prep.
My doctor handed me a pamphlet about blood sugar management, and all I could think about was how boring the food looked on those pages. That evening, I stood in my kitchen staring at a pound of lean ground turkey and decided that managing diabetes would never mean eating bland food. I raided my spice cabinet with a kind of defiant energy, tossing cumin and smoked paprika into the pot like I was proving a point to no one in particular. The chili that emerged was so rich and deeply flavored that my husband asked for seconds before I even mentioned it was diabetes friendly.
I made a massive batch of this for a neighborhood potluck last October, setting it out next to three other chilis without any label. It disappeared first, and two people asked me for the recipe before the night was over. Only then did I mention it was low carb and sugar free, and the look on their faces was absolutely priceless.
Ingredients
- 1 lb lean ground turkey or lean ground beef: Turkey keeps things light but use beef if you want a richer flavor profile.
- 1 medium onion, diced: Yellow onion works best here for its natural sweetness that develops during cooking.
- 1 green bell pepper, diced: The slight bitterness balances the tomatoes beautifully.
- 2 cloves garlic, minced: Fresh garlic only, the jarred version lacks the punch this chili needs.
- 1 medium zucchini, diced: This is my secret addition that bulk up the chili with extra fiber without anyone noticing.
- 1 can diced tomatoes, no salt added: Always check the label to ensure there is no hidden sugar lurking in the ingredient list.
- 1 can kidney beans, rinsed and drained: Omit these or swap with black soybeans if you are watching carbs strictly.
- 1 can pinto beans, rinsed and drained: Optional but they add a wonderful creamy texture to each bite.
- 1 cup low sodium chicken broth: Vegetable broth works just as well for a fully plant based version.
- 2 tbsp tomato paste, no sugar added: This concentrates the tomato flavor and gives the chili its thick, hearty body.
- 1 tbsp chili powder: The backbone of the entire flavor profile so do not skimp here.
- 2 tsp ground cumin: Toasting it briefly in the pot releases an earthy warmth that transforms the dish.
- 1 tsp smoked paprika: This adds a subtle smokiness that makes people think you cooked this low and slow all day.
- 1/2 tsp ground black pepper: Freshly cracked makes a noticeable difference compared to pre ground.
- 1/2 tsp dried oregano: A quiet but essential herb that ties the spice profile together.
- 1/2 tsp salt: Taste before adding since the broth and tomatoes already contribute some sodium.
- 1/8 to 1/4 tsp cayenne pepper: Start with the smaller amount and build up only if you want more heat.
Instructions
- Brown the meat:
- Heat a splash of olive oil in your largest pot over medium heat and cook the ground turkey until it is no longer pink, breaking it into small pieces with a wooden spoon as it cooks for about five minutes.
- Build the aromatics:
- Toss in the diced onion, bell pepper, and minced garlic, stirring until the onion turns translucent and your kitchen smells incredible, roughly three to four minutes.
- Add the zucchini:
- Stir in the diced zucchini and let it cook alongside the other vegetables for two minutes so it softens slightly without turning mushy.
- Bloom the spices:
- Add the tomato paste, chili powder, cumin, smoked paprika, pepper, oregano, salt, and cayenne, stirring everything together for a full minute until you can smell the spices releasing their oils.
- Bring it all together:
- Pour in the diced tomatoes, beans if you are using them, and the broth, giving everything a thorough stir to combine all the flavors into one unified pot.
- Simmer and develop:
- Bring the chili to a gentle simmer, then reduce the heat to low, cover the pot, and let it cook for twenty to twenty five minutes, stirring occasionally so nothing sticks to the bottom.
- Taste and adjust:
- Sample a spoonful and tweak the salt, pepper, or cayenne to your preference before serving hot with your favorite garnishes.
 Save
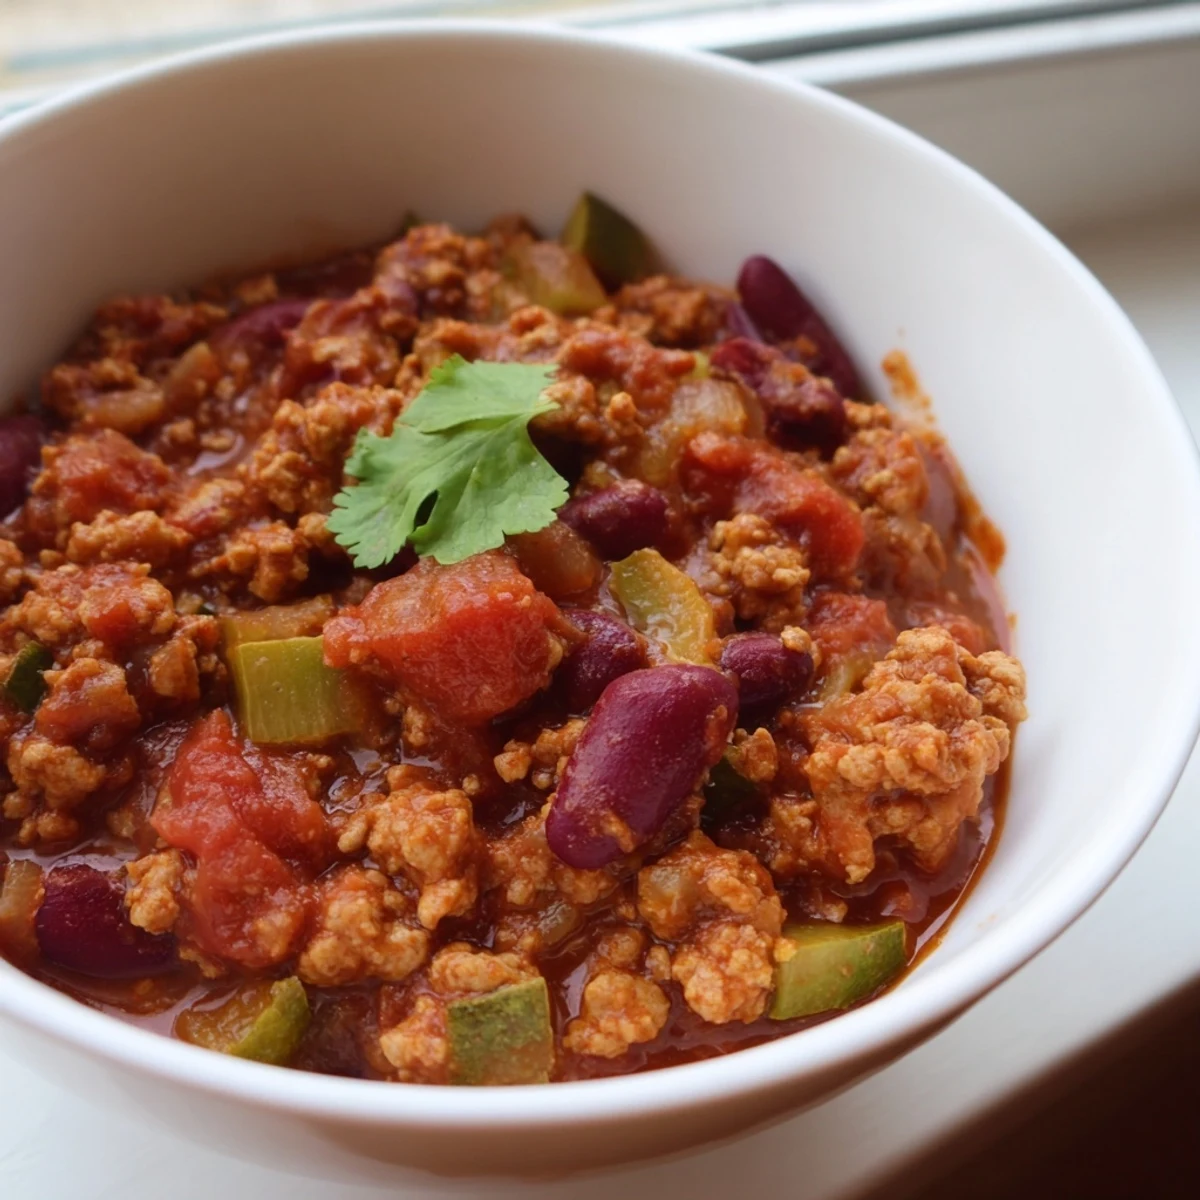
Save There was a Tuesday night when I ladled this chili into bowls for dinner and my teenage son actually put down his phone to tell me it was good. That small moment of undivided attention from a teenager is worth more than any restaurant review. Food has a quiet way of pulling people into the present.
Smart Swaps and Variations
I have made this chili probably thirty times and no two batches have ever been exactly the same. Toss in diced carrots or celery if you want extra crunch and fiber, or serve it over cauliflower rice for a meal that keeps carbohydrates remarkably low. A light salad on the side adds freshness, and a glass of crisp dry white wine works beautifully for anyone not monitoring sugar intake.
Tools You Will Need
A heavy Dutch oven is ideal because it distributes heat evenly and prevents hot spots that can scorch the bottom of your chili. Beyond that, a sturdy cutting board, a sharp chef knife, a reliable can opener, and a wooden spoon are genuinely all you need. Keep a ladle nearby for serving because this chili has a way of disappearing fast.
Allergen and Storage Notes
This recipe is naturally gluten free but always verify your labels since some broths and tomato products sneak in wheat based thickeners. Leftovers store beautifully in an airtight container in the refrigerator for up to four days, and the flavor actually improves overnight as the spices continue to meld. For longer storage, freeze individual portions for up to three months for easy weeknight meals.
- Beans are legumes so skip them entirely if anyone in your household has a sensitivity.
- Reheat gently on the stove rather than the microwave for the best texture throughout.
- Always taste for seasoning again after reheating since flavors can mellow during storage.
 Save
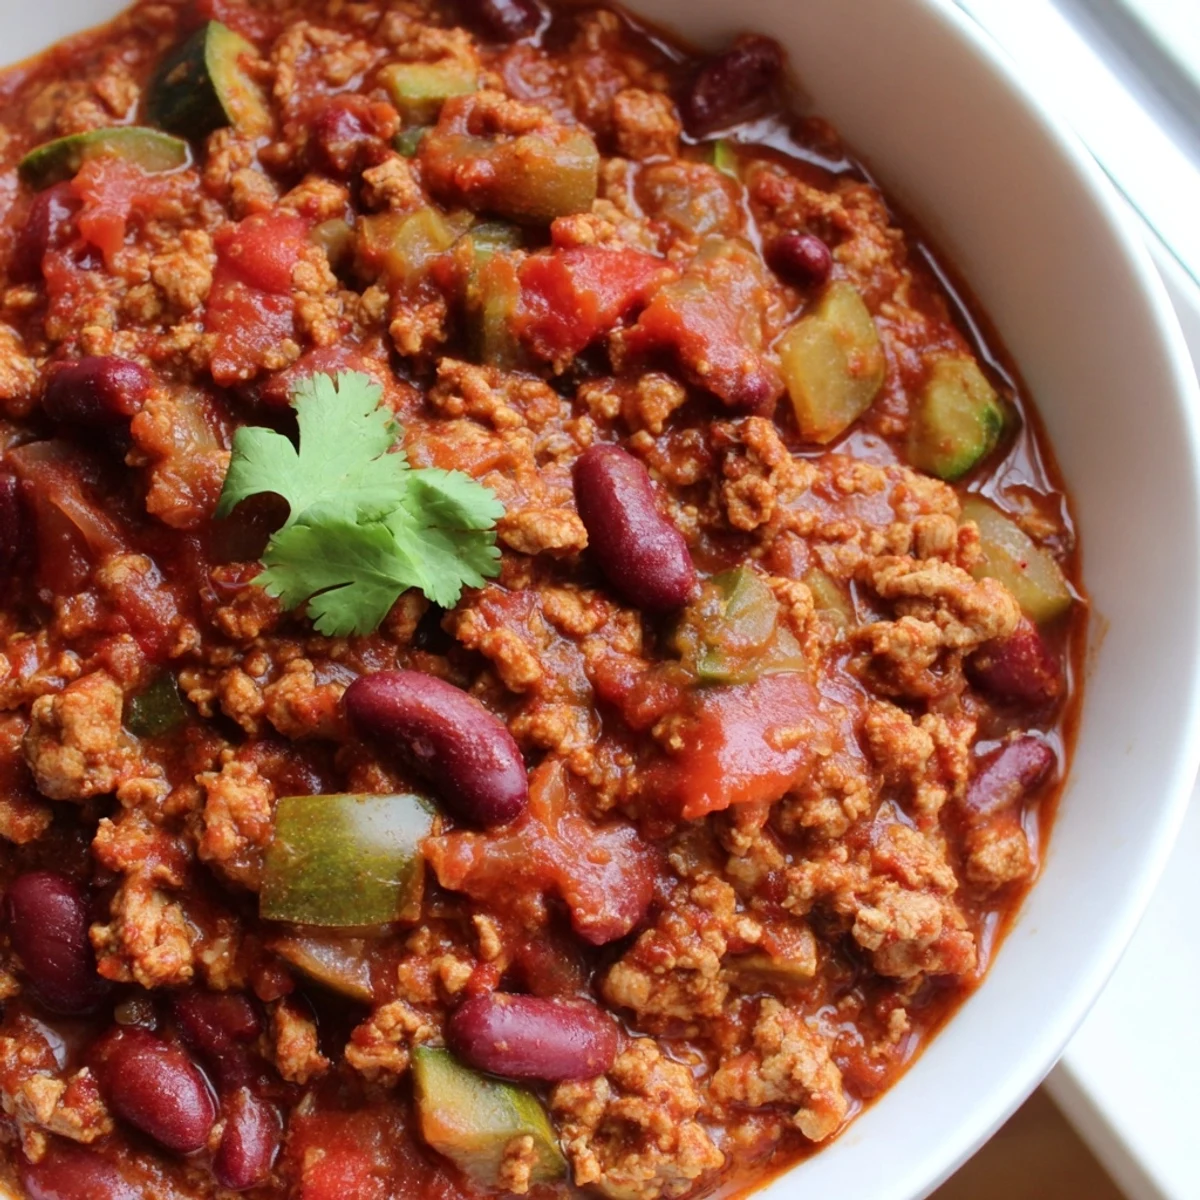
Save This chili taught me that eating well and eating deliciously are not opposite things, and I hope it brings that same realization to your kitchen. Share it generously and do not be surprised when nobody asks about the nutrition facts.
Common Questions
- → Can I make this chili without beans to lower the carbs?
-
Yes, you can omit the beans entirely or substitute them with black soybeans, which have significantly fewer carbohydrates while still providing a satisfying texture and protein boost.
- → What can I serve with this chili on a low-carb diet?
-
Cauliflower rice is an excellent low-carb side that soaks up the flavors beautifully. A fresh green salad or roasted vegetables also pair well without adding unnecessary carbohydrates.
- → How should I store leftover chili?
-
Store cooled chili in an airtight container in the refrigerator for up to 4 days. It also freezes well for up to 3 months—just thaw overnight in the fridge before reheating on the stove or in the microwave.
- → Can I use ground beef instead of ground turkey?
-
Absolutely. Choose lean ground beef (at least 90% lean) to keep the fat content manageable. Brown it the same way you would the turkey, draining any excess grease before adding the vegetables.
- → Is this chili spicy?
-
The base level of heat is mild, coming from chili powder and smoked paprika. The cayenne pepper is optional, so you can adjust the spiciness to your preference by adding anywhere from an eighth to a quarter teaspoon.
- → Why is there no added sugar in this chili?
-
Many commercial chili recipes and canned versions contain hidden sugars. This version relies on the natural sweetness of tomatoes, aromatic vegetables, and a well-balanced spice blend to develop rich flavor without any sugar additives.