 Save
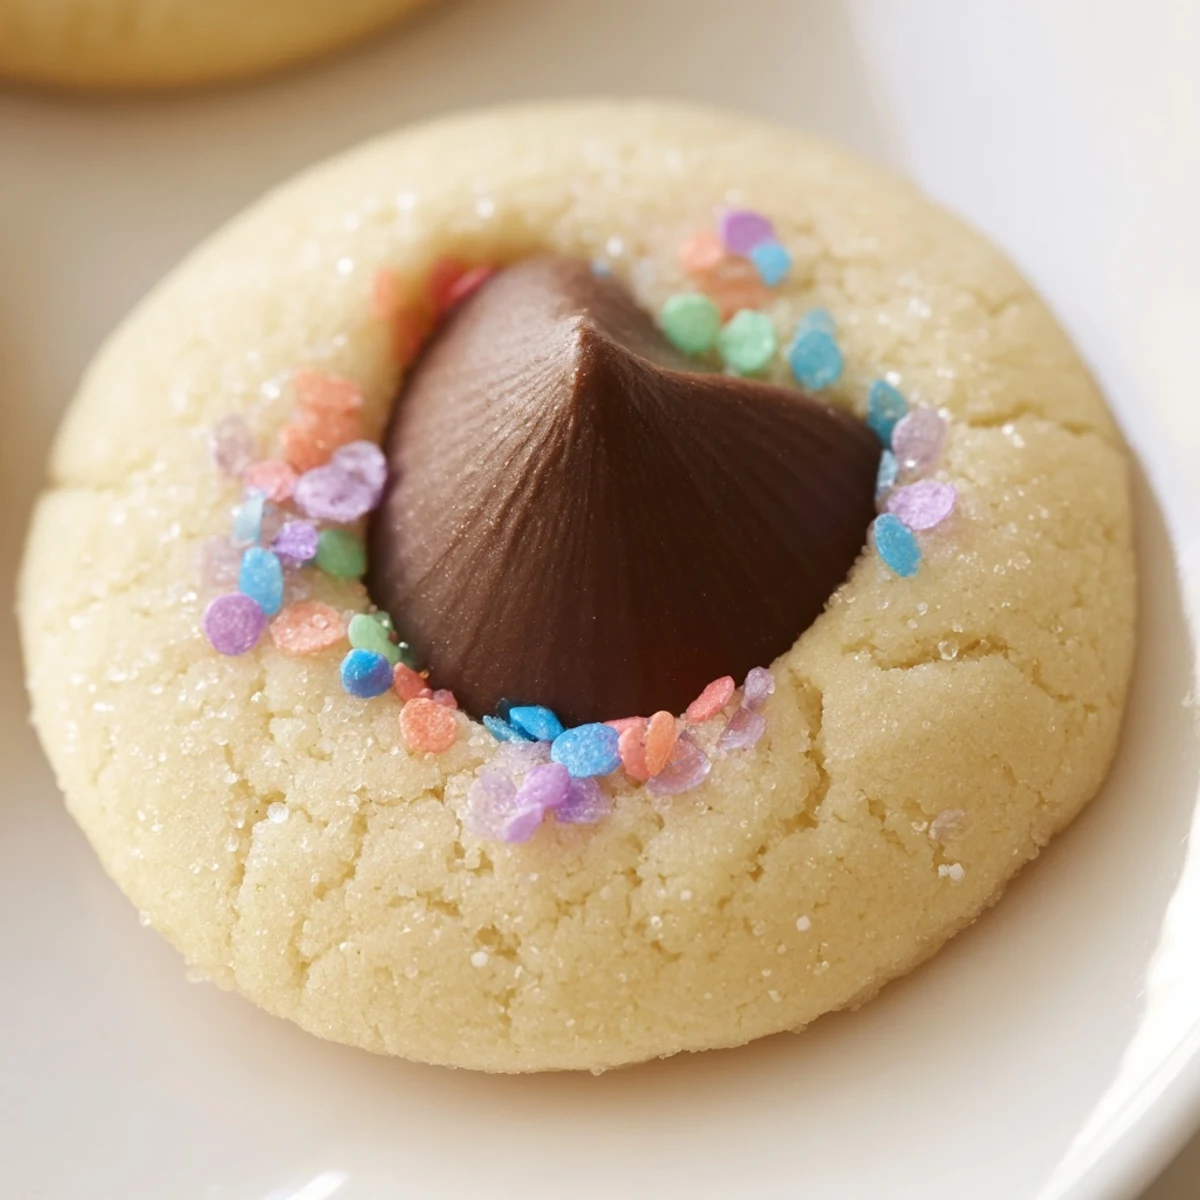
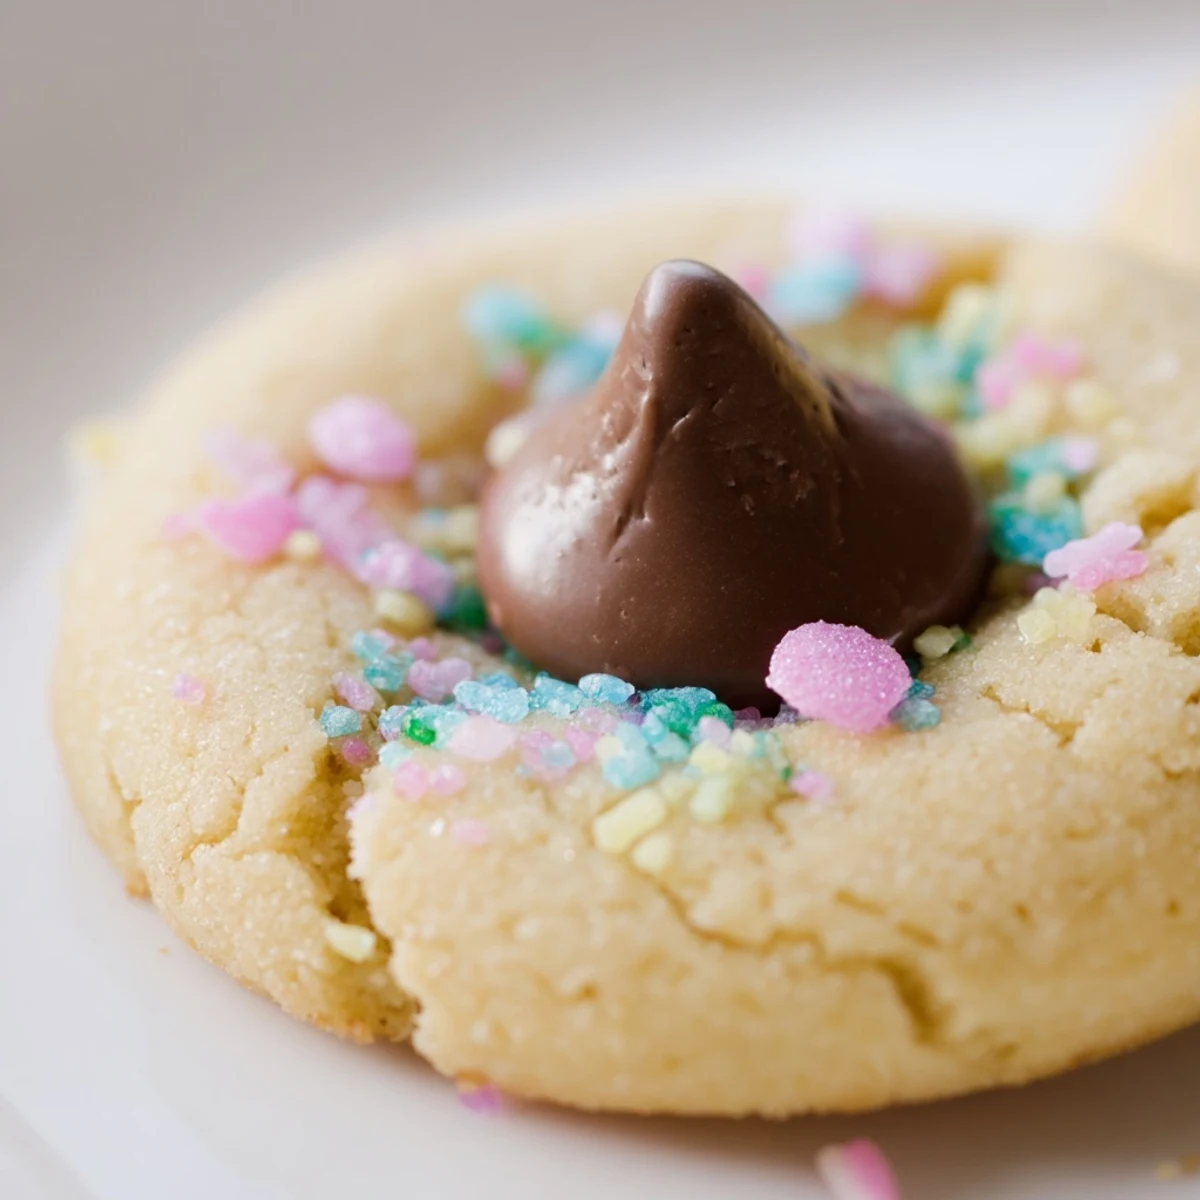
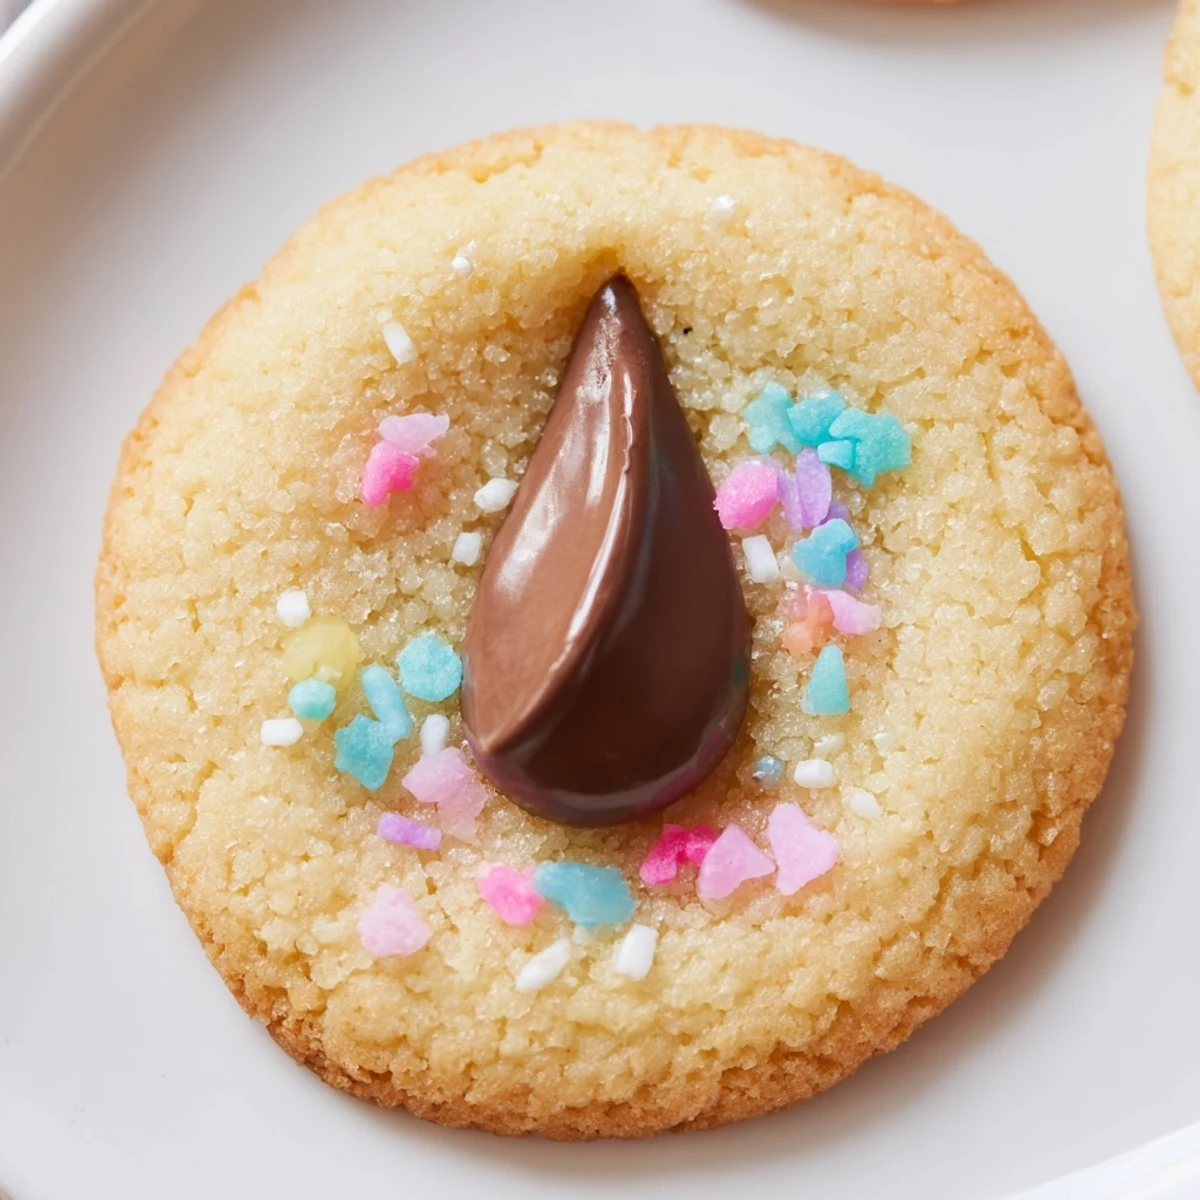
Save These tender, melt-in-your-mouth cookies feature a classic buttery dough rolled in pastel sprinkles and finished with a chocolate kiss pressed into the warm center. The contrast of the soft vanilla cookie against the creamy chocolate creates an irresistible texture that's perfect for Easter baskets, spring gatherings, or afternoon tea.
The dough comes together quickly with just a few pantry staples, and the rolling technique in colored sugar gives each cookie a beautiful cracked appearance as they bake. Press the chocolate kisses in immediately after baking while the cookies are still warm—the gentle heat helps the chocolate adhere perfectly without melting its shape.
Make these your own by experimenting with different chocolate flavors: white chocolate creates a stunning contrast, caramel-filled adds gooey sweetness, or dark chocolate provides richness for adults. For added texture and a pop of spring color, finely chopped pistachios blend beautifully into the dough.
The first Easter after moving into my own apartment, I wanted something that felt like celebration but didn't require culinary school training. These cookies became my answer—simple enough for a Tuesday, special enough for Sunday best. My kitchen smelled like vanilla and hope, and somehow that made the whole year feel brighter.
My niece helped me make a batch last spring, and she insisted that the sprinkles were the most important ingredient. Watching her carefully roll each dough ball in pastel sugar, tongue poking out in concentration, reminded me that the best baking is really just an excuse to slow down together. Those cookies disappeared faster than any I've ever made.
Ingredients
- Unsalted butter: Room temperature butter is nonnegotiable here—it creates that tender melt in your mouth texture that makes these cookies impossible to resist
- Granulated sugar: Creaming this properly with the butter creates tiny air pockets that give the cookies their signature softness
- Large egg: Bring this to room temperature too so it incorporates smoothly into the dough without curdling
- Pure vanilla extract: Dont skimp here—good vanilla makes all the difference between cookies and great cookies
- All purpose flour: Measure by spooning into your measuring cup and leveling off for consistent results every time
- Salt: Just a pinch enhances all the other flavors and balances the sweetness
- Baking powder: This gives the cookies just enough lift without making them cakey or dry
- Chocolate blossom kisses: Press them in immediately after baking while the cookies are still soft so they nestle in perfectly
- Pastel sprinkles: These aren't just for looks—they add a delightful crunch that makes each bite interesting
Instructions
- Get your oven ready:
- Preheat to 350°F and line your baking sheets with parchment paper so nothing sticks and cleanup is effortless
- Cream the butter and sugar:
- Beat them together until the mixture looks pale and fluffy, about 3 minutes—this step is worth the extra time for the texture it creates
- Add the egg and vanilla:
- Mix until everything is smoothly combined and the mixture looks glossy and uniform
- Whisk the dry ingredients:
- Combine the flour, salt, and baking powder in a separate bowl so they distribute evenly throughout the dough
- Combine everything:
- Gradually mix in the dry ingredients just until you no longer see white streaks—overmixing makes tough cookies
- Shape and decorate:
- Roll tablespoon sized balls of dough and coat them in pastel sprinkles, pressing gently so the sprinkles adhere
- Arrange for baking:
- Place the dough balls 2 inches apart on your prepared sheets—they'll spread as they bake and need room to breathe
- Bake to perfection:
- Bake for 8 to 10 minutes until the edges are set but centers still look slightly soft—underbaking slightly keeps them chewy
- Add the chocolate:
- Immediately press a chocolate kiss into the center of each warm cookie so it melts slightly and sticks
- Cool completely:
- Let them sit on the tray for 5 minutes before moving to a wire rack—this firms them up so they don't break apart
 Save
Save Last year I brought these to a neighborhood potluck and watched three generations fight over the last one. Something about that combination of soft cookie and melty chocolate brings out the kid in everyone, regardless of age. Now they're the most requested item at every gathering.
Making Them Your Own
White chocolate kisses transform these into something completely different and equally irresistible. I've also experimented with rolling the dough balls in finely chopped pistachios instead of sprinkles—the green color feels perfect for spring and adds a lovely nutty flavor that plays beautifully with the vanilla base.
Storage Secrets
These cookies stay surprisingly soft for days when stored properly. I keep mine in an airtight container with a slice of white bread—the bread absorbs excess moisture and keeps the cookies tender. They're perfect for making ahead since the flavor actually develops and improves after 24 hours.
Baking With Kids
This recipe is practically designed for little helpers. The rolling in sprinkles step is endlessly entertaining, and pressing in the chocolate kisses gives them a job that genuinely matters. I've found that when children help make something, they're much more likely to try it and love it.
- Set up a station with a shallow bowl of sprinkles to minimize mess
- Have an extra batch of kisses on hand because some will inevitably disappear
- Let them decide which color sprinkles go on each cookie for maximum creativity
 Save
Save There's something about biting into a warm cookie with a soft chocolate center that just feels like home. Make these once and they'll become your go to for every spring celebration.
Common Questions
- → Why do you press the chocolate kiss in after baking?
-
Pressing the chocolate into warm cookies helps it adhere without losing its shape. If added before baking, the chocolate would melt completely and lose its distinctive kiss form.
- → Can I make the dough ahead of time?
-
Absolutely. Scoop the dough balls and refrigerate them on a baking sheet for up to 24 hours before baking. You can also freeze the unbaked dough balls for up to 3 months—bake from frozen, adding 1-2 minutes to the baking time.
- → What if I don't have pastel sprinkles?
-
Colored sanding sugar works beautifully for a shimmering effect. Alternatively, roll the dough balls in crushed candy canes, chopped nuts, or leave them plain—the chocolate kiss on top provides plenty of festive appeal.
- → How do I know when the cookies are done?
-
The edges should be set and slightly golden while the centers remain soft. They'll continue cooking on the hot baking sheet, so removing them while slightly underbaked ensures a tender, chewy texture.
- → Can I use different types of chocolate kisses?
-
Yes, white chocolate, dark chocolate, caramel-filled, or almond-filled kisses all work wonderfully. Just be aware that darker varieties may hold their shape better in the warm cookie centers.
- → Why did my dough balls crack while baking?
-
Slight cracking is actually desirable—it creates a beautiful textured appearance. However, excessive cracking usually means the dough was overmixed or the cookies were baked too long. Mix just until combined and watch the baking time closely.
