 Save
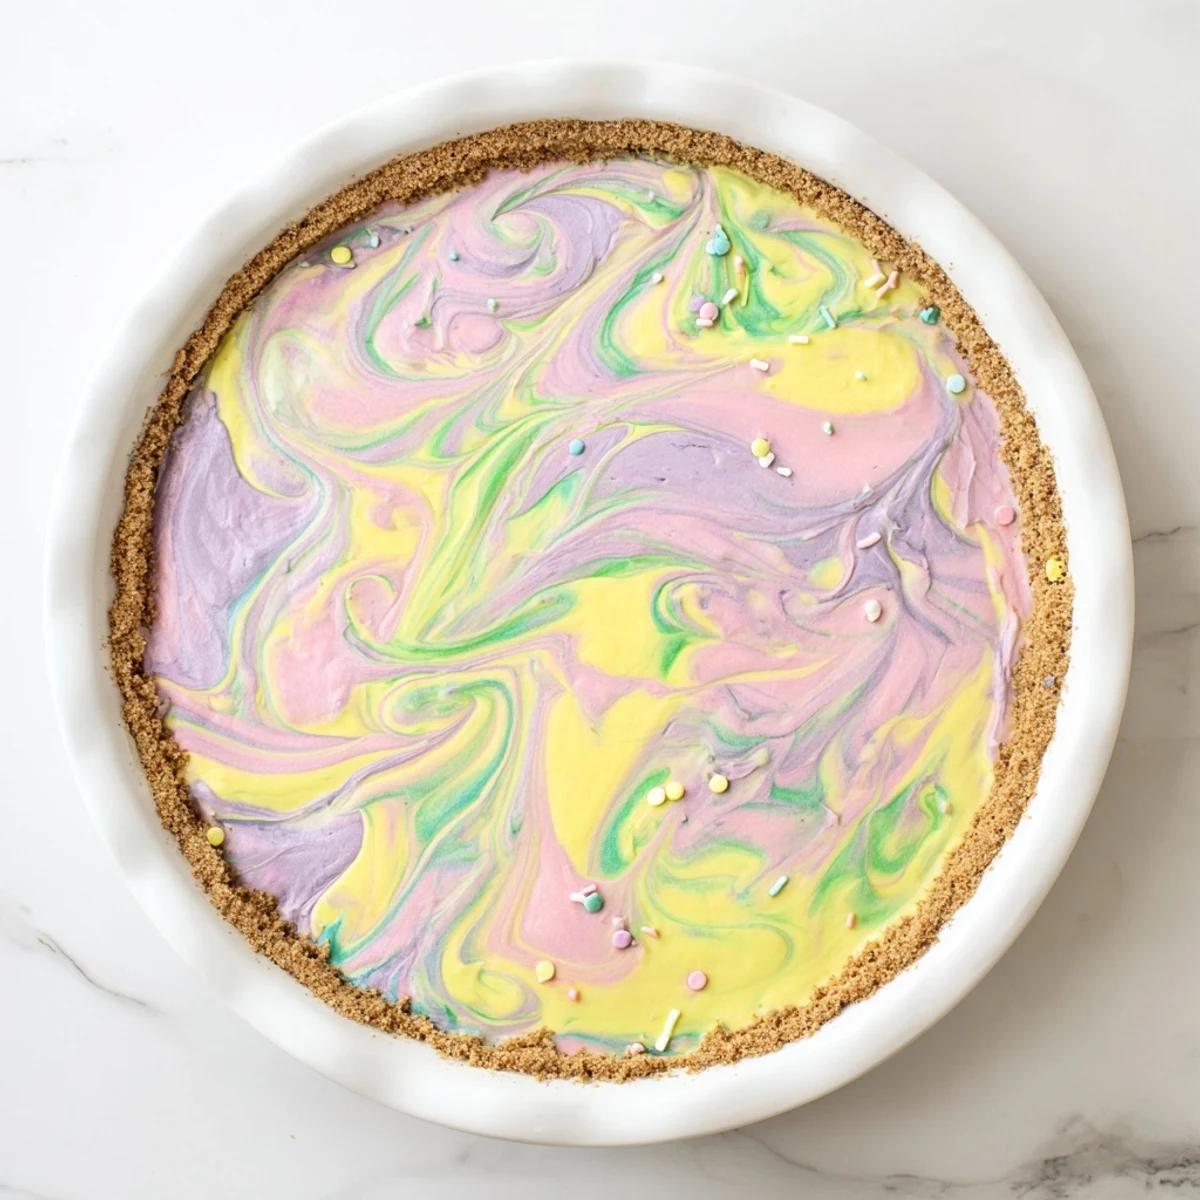
Save This festive dessert combines velvety cream cheese and mascarpone with whipped cream, creating a luscious vanilla base. The filling gets divided and tinted with soft pastel colors—think delicate pinks, mints, lavenders, or lemons—then swirled together for a beautiful marbled effect. The crisp graham cracker crust provides the perfect buttery foundation.
The technique involves creating separate bowls of filling, adding gel food coloring drop by drop until you achieve those dreamy spring shades, then dolloping them randomly over the crust. A quick swirl with a skewer creates that stunning marble pattern without overmixing. After chilling until set, you'll have a showstopping treat that tastes as heavenly as it looks.
The kitchen smelled like buttered toast when I pulled the crust from the oven, that golden cookie base promising something sweet ahead. My niece hovered beside me, eyes wide as I dolloped pink, yellow, and purple cream cheese mixture across the pie dish like an edible paint palette. When we ran our knife through the colors in gentle curves, she gasped at the ribbons of pastel appearing beneath the blade. This pie became our Easter morning tradition before we even took the first bite.
Last year I made three of these pies for our neighborhood egg hunt, setting them on the picnic table alongside lemonade and mismatched plates. By the time the kids returned with grass stained knees and overflowing baskets, the filling had set perfectly into those dreamy clouds of color. My neighbor asked for the recipe before she even finished her first slice, pointing at the marbled pattern with her fork. Something about pastels and spring feels like magic.
Ingredients
- Graham crackers or digestive biscuits: The cookie crust adds a buttery, slightly sweet foundation that holds up beautifully against the creamy filling. I have learned that crushing them to fine crumbs creates the most stable base.
- Unsalted butter: Melted and mixed with the cookies, it binds everything together while adding that rich, toasty flavor we all love in a crumb crust.
- Cream cheese and mascarpone: This duo creates a filling that is tangy yet luxurious, with mascarpone lending an Italian dessert elegance that balances the familiar cream cheese taste.
- Powdered sugar: It dissolves seamlessly into the cheese mixture, sweetening without any grainy texture that granulated sugar might leave behind.
- Heavy cream: Whipped to soft peaks and folded in, it lightens the dense cheese filling into something almost mousse like and incredibly pillowy.
- Gel food coloring: Use gel instead of liquid to avoid thinning your filling. Just a tiny dot transforms the white mixture into the softest pastel shades imaginable.
Instructions
- Prepare the cookie crust:
- Combine crushed biscuits with melted butter and sugar, pressing firmly into your pie dish. Bake until golden and fragrant, then let it cool completely while you make the filling.
- Make the creamy base:
- Beat together cream cheese, mascarpone, powdered sugar, and vanilla until silky smooth. In another bowl, whip the heavy cream to soft peaks before gently folding it into the cheese mixture.
- Create the pastel colors:
- Divide the filling between three or four small bowls. Add a tiny drop of gel coloring to each, mixing until you have soft shades of pink, yellow, purple, or green.
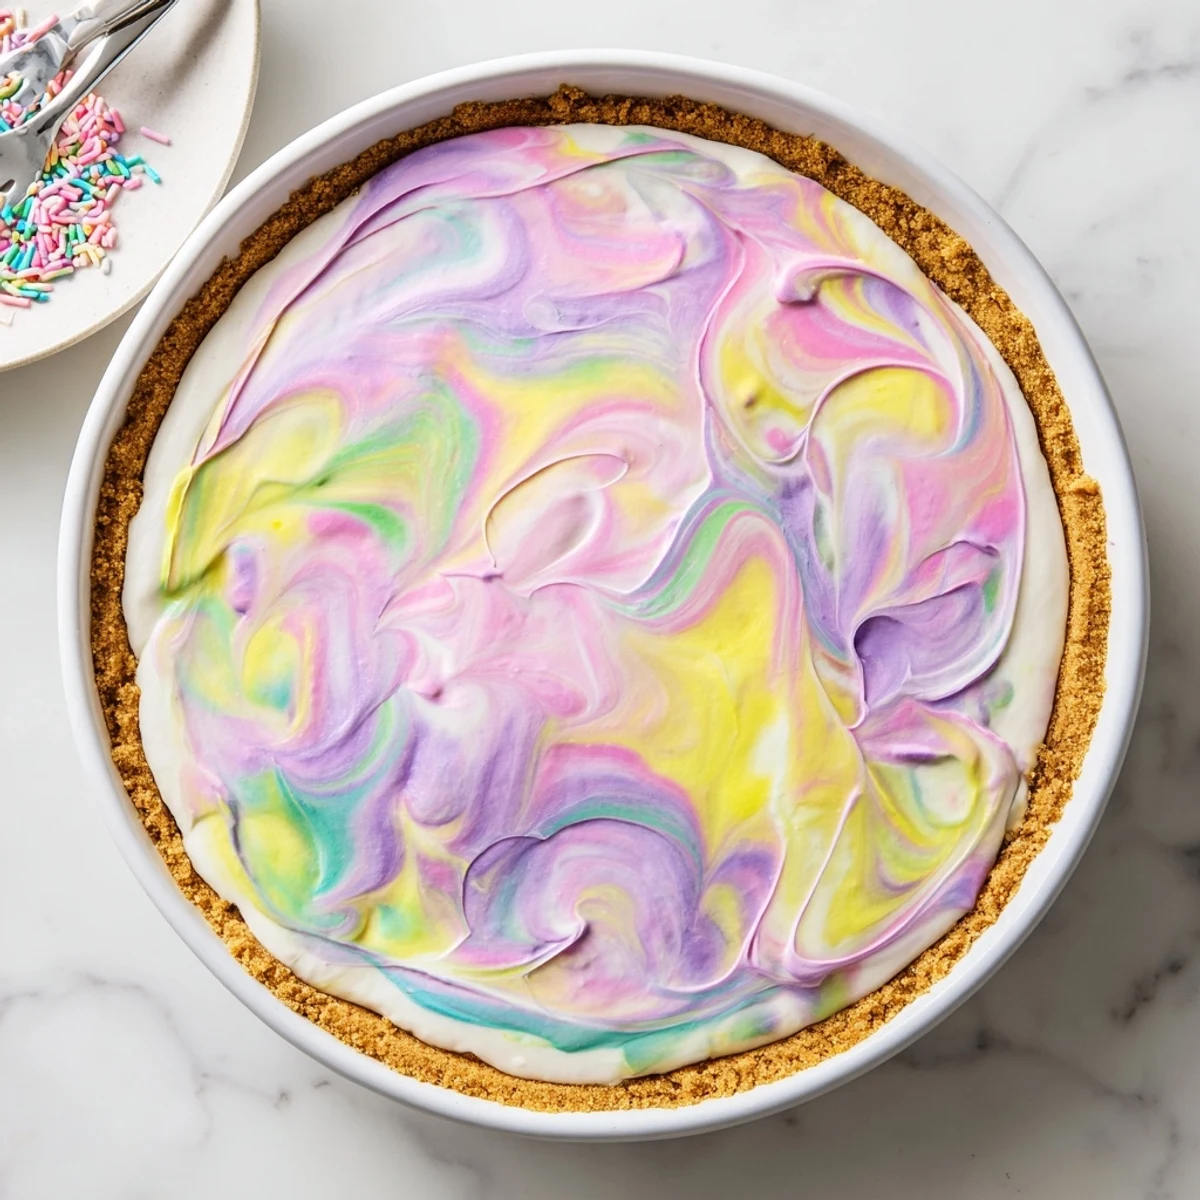
- Swirl the colors together:
- Spoon dollops of each colored filling randomly over the cooled crust. Run a skewer or knife gently through the mixture in sweeping curves to create the marble effect, being careful not to overmix.
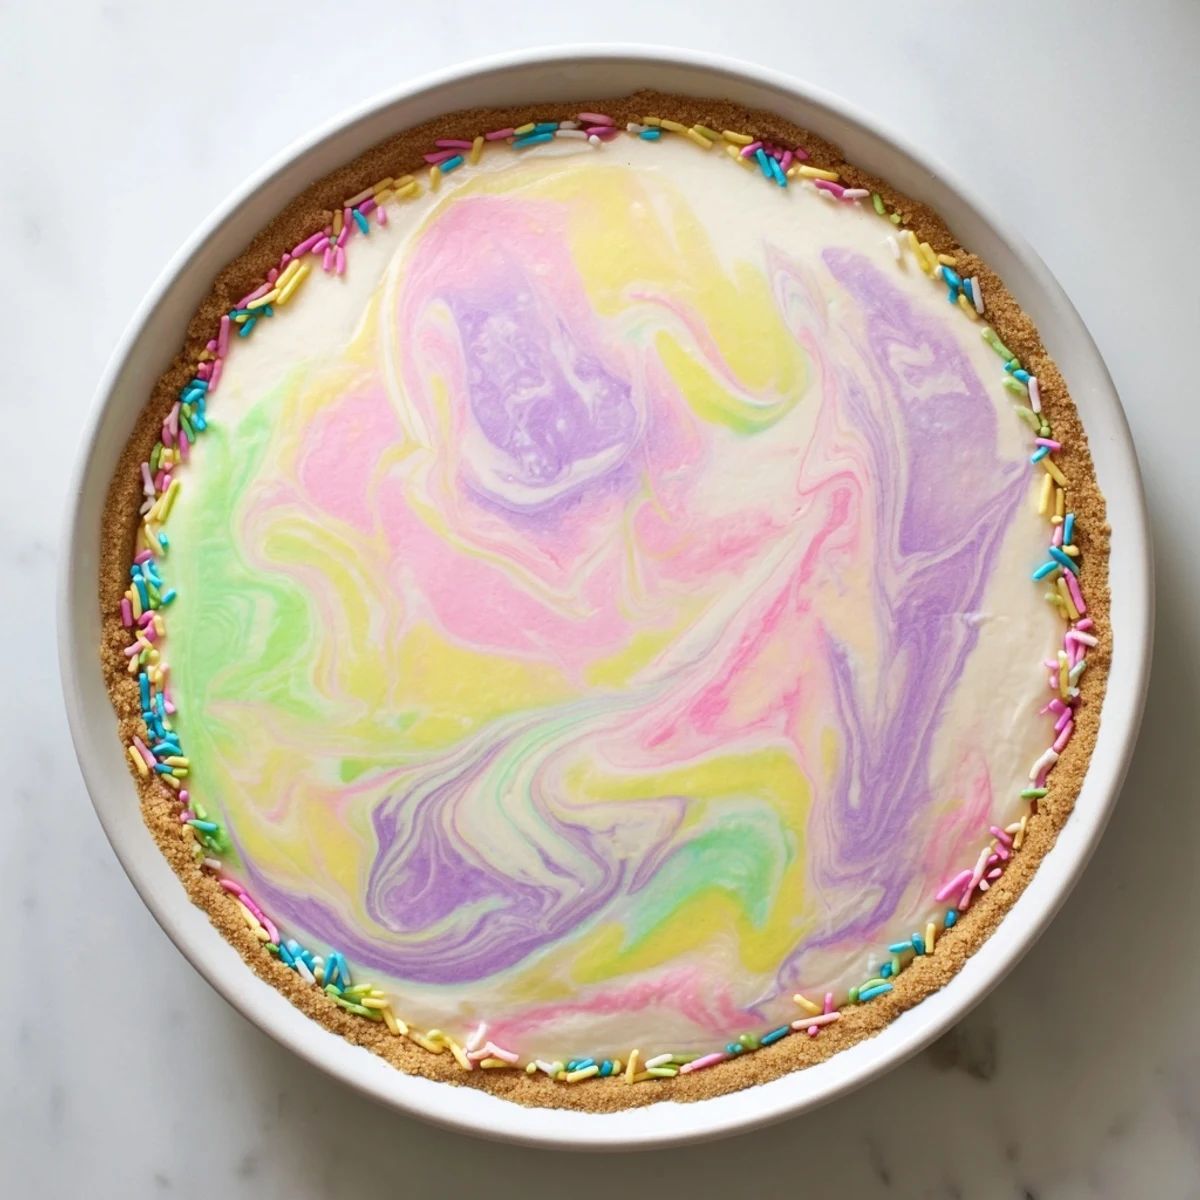
- Chill until set:
- Smooth the top lightly, cover the pie, and refrigerate for at least two hours. The filling needs time to firm up into that perfect sliceable consistency.
 Save
Save My sister once insisted on mixing the colors directly in the crust instead of following the dollop method, and while her pie tasted just as good, it ended up an odd shade of lavender gray. We laughed about it over our slices, but I have kept the dollop and swirl technique ever since. Some mistakes are delicious, but the marble effect is worth doing right.
Making It Ahead
This pie actually improves after a night in the refrigerator, giving the flavors time to meld and the texture to firm up beautifully. I often make it the evening before Easter, leaving it undecorated until just before serving.
Getting The Perfect Swirl
Think of your knife as a pencil drawing gentle curves through the filling. I use a continuous motion, dipping in at one side and curving through to the other, then repeating in different directions. The contrast between unmixed dollops and swirled sections creates that bakery style marble effect.
Serving Suggestions
A cold slice of this pie alongside a cup of chamomile tea or a glass of Moscato dAsti feels like spring on a plate. The slight effervescence of the wine cuts through the rich filling perfectly.
- Add fresh berries alongside each slice for a pop of natural color
- Whip a little extra cream with vanilla for dolloping on top
- Serve it slightly chilled but not rock cold for the creamiest texture
 Save
Save There is something about cutting into a swirl pie that feels like opening a present. Each slice reveals its own unique pattern, a little different from the last, and that unpredictability feels exactly right for spring.
Common Questions
- → Can I make this ahead of time?
-
Absolutely. This actually tastes better after chilling overnight. The flavors meld together beautifully, and the texture becomes even creamier. You can make it up to 2 days in advance, but add any toppings like sprinkles or chocolate eggs right before serving.
- → What's the best way to achieve pastel colors?
-
Use gel food coloring instead of liquid—it's more concentrated and won't thin your filling. Start with a tiny drop on a toothpick, then add more gradually. Remember, you can always add more but can't take it away. Pastels should be soft and muted, not vibrant.
- → Can I use different colors?
-
Certainly. While traditional Easter pastels include pink, yellow, purple, and green, feel free to use any combination you love. Blue and white for a winter celebration, orange and brown for autumn, or stick to two colors for a simpler elegant look.
- → Is there a substitute for mascarpone?
-
You can replace mascarpone with an equal amount of softened cream cheese, though the texture will be slightly denser. For a lighter version, try using all cream cheese with a touch more heavy cream. Greek yogurt can work too, but it'll be tangier and less rich.
- → Why did my filling not set properly?
-
This usually happens if the heavy cream wasn't whipped to soft peaks before folding, or if the mixture was overmixed when swirling colors. Make sure your cream is properly whipped, and gently fold it into the cheese mixture. When swirling, use just 2-3 passes with your skewer—overmixing breaks down the air pockets.
- → Can I freeze this dessert?
-
Yes, you can freeze it for up to 1 month. Wrap it tightly in plastic wrap and then foil. Thaw overnight in the refrigerator before serving. Note that the texture may be slightly denser after freezing, but it will still be delicious.
