 Save
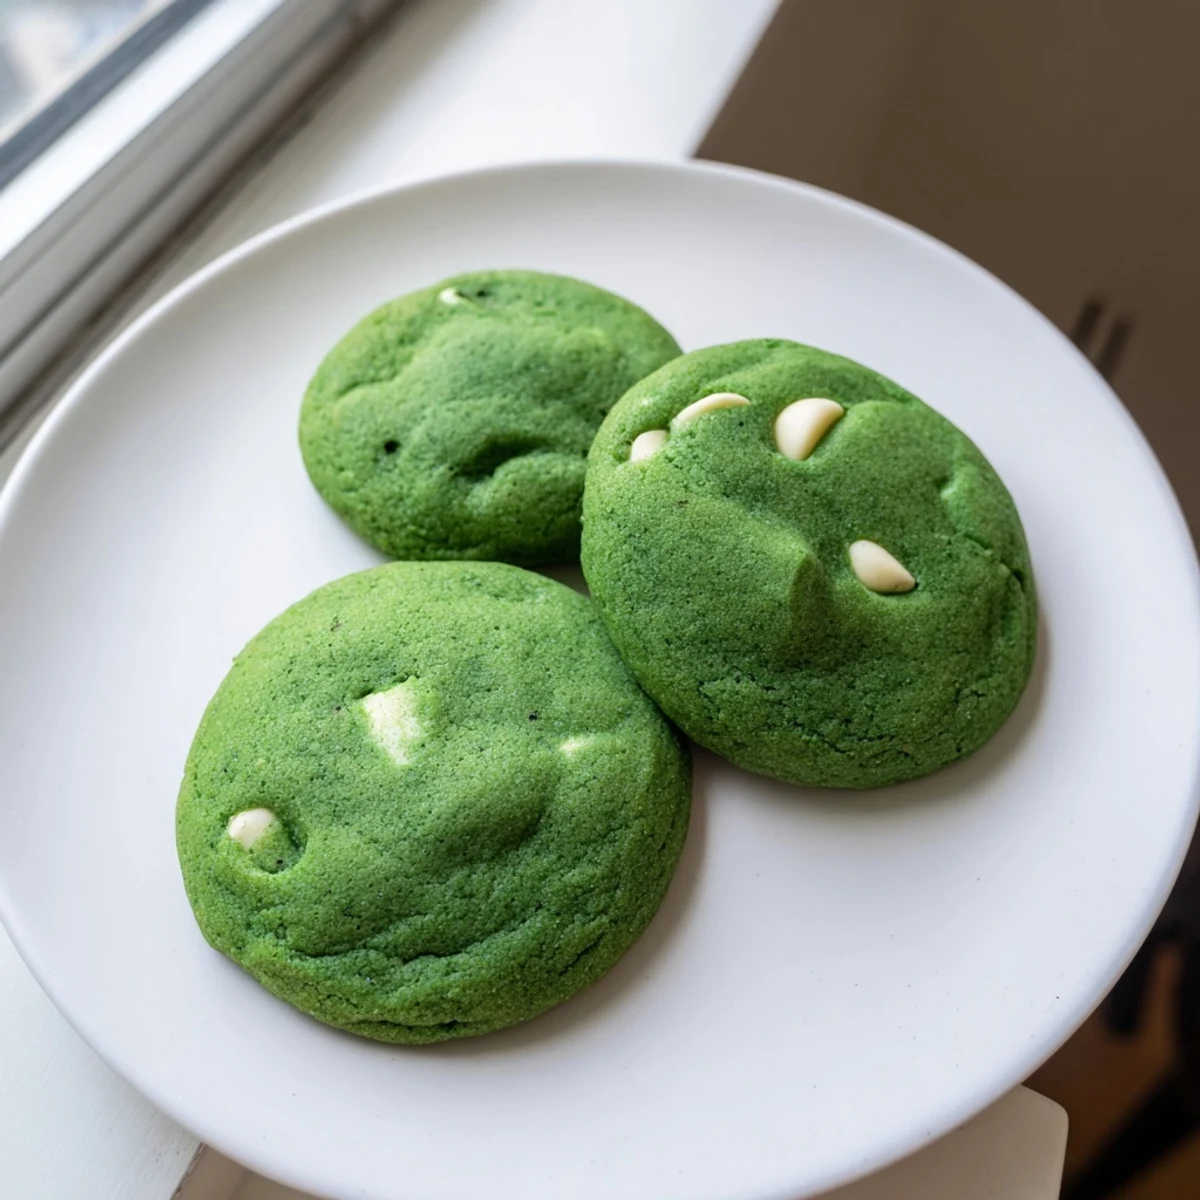
Save These soft, chewy green velvet cookies combine a subtle cocoa undertone with creamy white chocolate chips. The dough comes together quickly in about 20 minutes, then bakes for just 10-12 minutes until edges are set but centers remain delightfully tender.
The vibrant green color makes them perfect for St. Patrick's Day, Christmas, or any festive gathering. You can easily adjust the intensity of the green hue with more or less food coloring gel, and the white chocolate pairs beautifully with the mild cocoa flavor.
Top with sprinkles before baking for extra celebration flair, or swap the white chocolate for dark or milk chocolate if you prefer. Store in an airtight container to keep them fresh for days.
My sister called me at 11 PM one night, voice hushed like she was sharing a secret, and said she needed green cookies for a St. Patrick's Day party the next morning. I'd never made anything like them before, but there's something magical about mixing food coloring into dough and watching it transform into something that looks like it came from a bakery window.
I brought that first batch to my sister's party and watched as people hesitated before trying them, then reached for seconds and thirds. Someone actually asked if I'd ordered them from a fancy bakery, and I had to laugh while explaining the green food coloring staining my countertop at midnight.
Ingredients
- 2 1/4 cups all-purpose flour: This creates the perfect structure for a chewy cookie that spreads just enough without becoming flat
- 2 tablespoons unsweetened cocoa powder: The key is using enough cocoa to taste but not so much that it overpowers the delicate vanilla flavor
- 1 teaspoon baking soda: Combined with vinegar this gives the cookies their signature puffy centers and crisp edges
- 1/2 teaspoon salt: Essential for balancing the sweetness and making all flavors pop
- 3/4 cup unsalted butter softened: Room temperature butter incorporates evenly for consistent texture throughout every cookie
- 1 cup granulated sugar: Creates that beautiful crackly surface as the cookies bake and spread
- 1/2 cup brown sugar packed: Adds moisture and a subtle caramel note that pairs beautifully with white chocolate
- 2 large eggs: Provides structure and richness while helping the cookies hold their shape
- 1 tablespoon milk: Just enough liquid to bring the dough together without making it sticky
- 2 teaspoons vanilla extract: Use pure vanilla for the best flavor it's worth the extra cost
- 1 teaspoon white vinegar: This reacts with the baking soda for extra lift and tenderness
- 1 tablespoon green food coloring gel preferred: Gel coloring gives you vibrant color without adding liquid which could affect the dough consistency
- 1 1/2 cups white chocolate chips: The creamy sweetness against the slight cocoa flavor is what makes these cookies special
Instructions
- Preheat your oven to 350°F and line two baking sheets with parchment paper:
- I learned the hard way that greasing the pans makes these spread too much so parchment is absolutely essential for perfect results
- Whisk together the flour cocoa powder baking soda and salt in a medium bowl:
- Make sure there are no cocoa lumps because they'll create dark streaks in your beautiful green dough
- Beat the butter granulated sugar and brown sugar until light and fluffy:
- This takes about 3 minutes with an electric mixer and you'll notice the mixture becomes pale and almost doubled in volume
- Add eggs one at a time beating well after each addition:
- Scrape down the sides of the bowl between each egg to ensure everything is fully incorporated
- Mix in the milk vanilla extract vinegar and green food coloring:
- The mixture might look slightly curdled when you add the vinegar but don't worry it will smooth out when you add the flour
- Gradually add the dry ingredients mixing just until combined:
- Overmixing will make your cookies tough so stop as soon as you no longer see dry flour
- Fold in the white chocolate chips gently:
- Use a spatula and fold slowly to avoid deflating all the air you just beat into the dough
- Scoop tablespoon-sized balls onto the baking sheets about 2 inches apart:
- I use a cookie scoop for uniform size which helps them bake evenly
- Bake for 10 to 12 minutes until edges are set but centers still soft:
- They might look slightly underdone but that's exactly how they should be for that perfect chewy texture
- Cool on the baking sheet for 5 minutes before transferring:
- This is crucial because they're very fragile when hot and need this time to set up properly
 Save
Save Last Christmas I made these for a cookie exchange and people kept asking where I bought them. When I explained they were homemade and naturally green not from some artificial bakery I saw genuine surprise followed by requests for the recipe.
Getting the Perfect Green Color
I've found that starting with one teaspoon of gel coloring then adding more if needed prevents going too dark too fast. The color will deepen slightly as the cookies bake so what looks bright in the raw dough becomes a gorgeous emerald in the oven.
Working with Cocoa Powder
Sift your cocoa powder with the flour to prevent any small lumps from creating dark specks in your green dough. It's a small step that makes these look professionally made instead of like a science experiment gone wrong.
Storage and Freezing
These cookies stay fresh in an airtight container for up to five days though they rarely last that long in my house. You can also freeze the baked cookies for up to three months or freeze scoops of dough to bake fresh whenever the craving strikes.
- Place frozen dough scoops directly on the baking sheet and add 2 minutes to the baking time
- Thaw baked cookies at room temperature for about 15 minutes for the best texture
- Always store with a piece of bread to keep them soft if they last more than a day
 Save
Save There's something delightful about biting into a green cookie that tastes completely familiar and comforting. These have become my go-to for anytime I want to make something that feels special without hours of work.
Common Questions
- → What gives these cookies their green color?
-
The vibrant green hue comes from green food coloring, with gel coloring preferred for more intense color. You can add more or less depending on how deep you want the shade to be.
- → Can I use natural food coloring instead?
-
Yes, you can use natural green food coloring made from spinach or spirulina extracts, though the color may be more muted than with artificial dyes. Start with a small amount and add more as needed.
- → Why is there vinegar in the dough?
-
The vinegar activates with baking soda to help the cookies spread properly and creates a soft, chewy texture. It also helps intensify the green color and balances the sweetness.
- → How should I store these cookies?
-
Store cooled cookies in an airtight container at room temperature for up to 5 days. For longer storage, freeze baked cookies in a freezer bag for up to 3 months.
- → Can I make the dough ahead of time?
-
Yes, you can refrigerate the dough for up to 2 days before baking. Let it sit at room temperature for 15-20 minutes before scooping and baking as directed.
