 Save
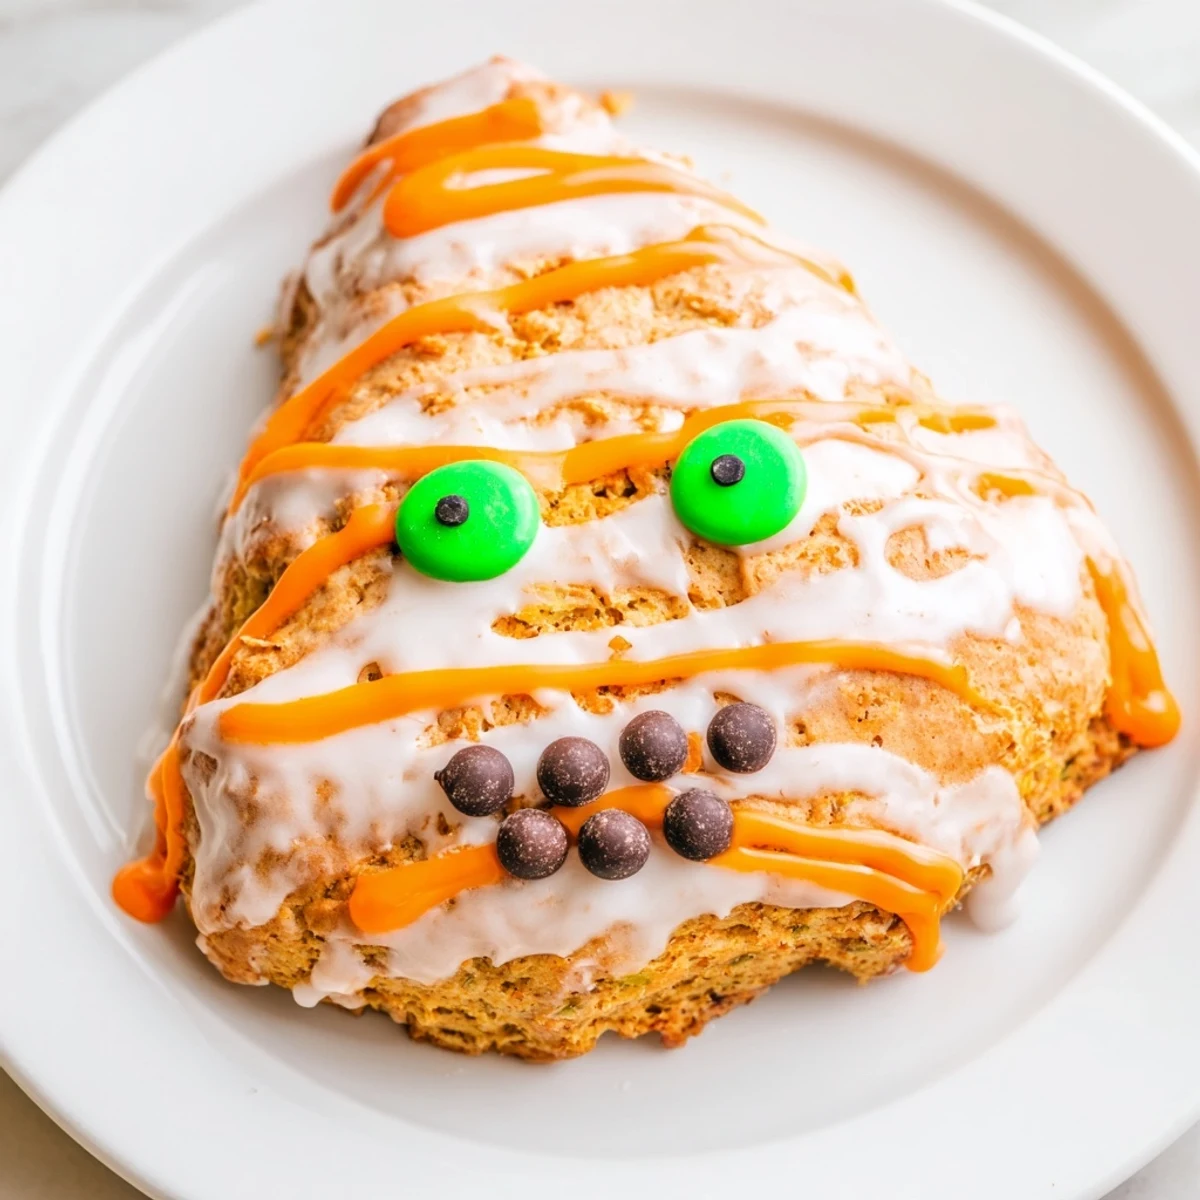
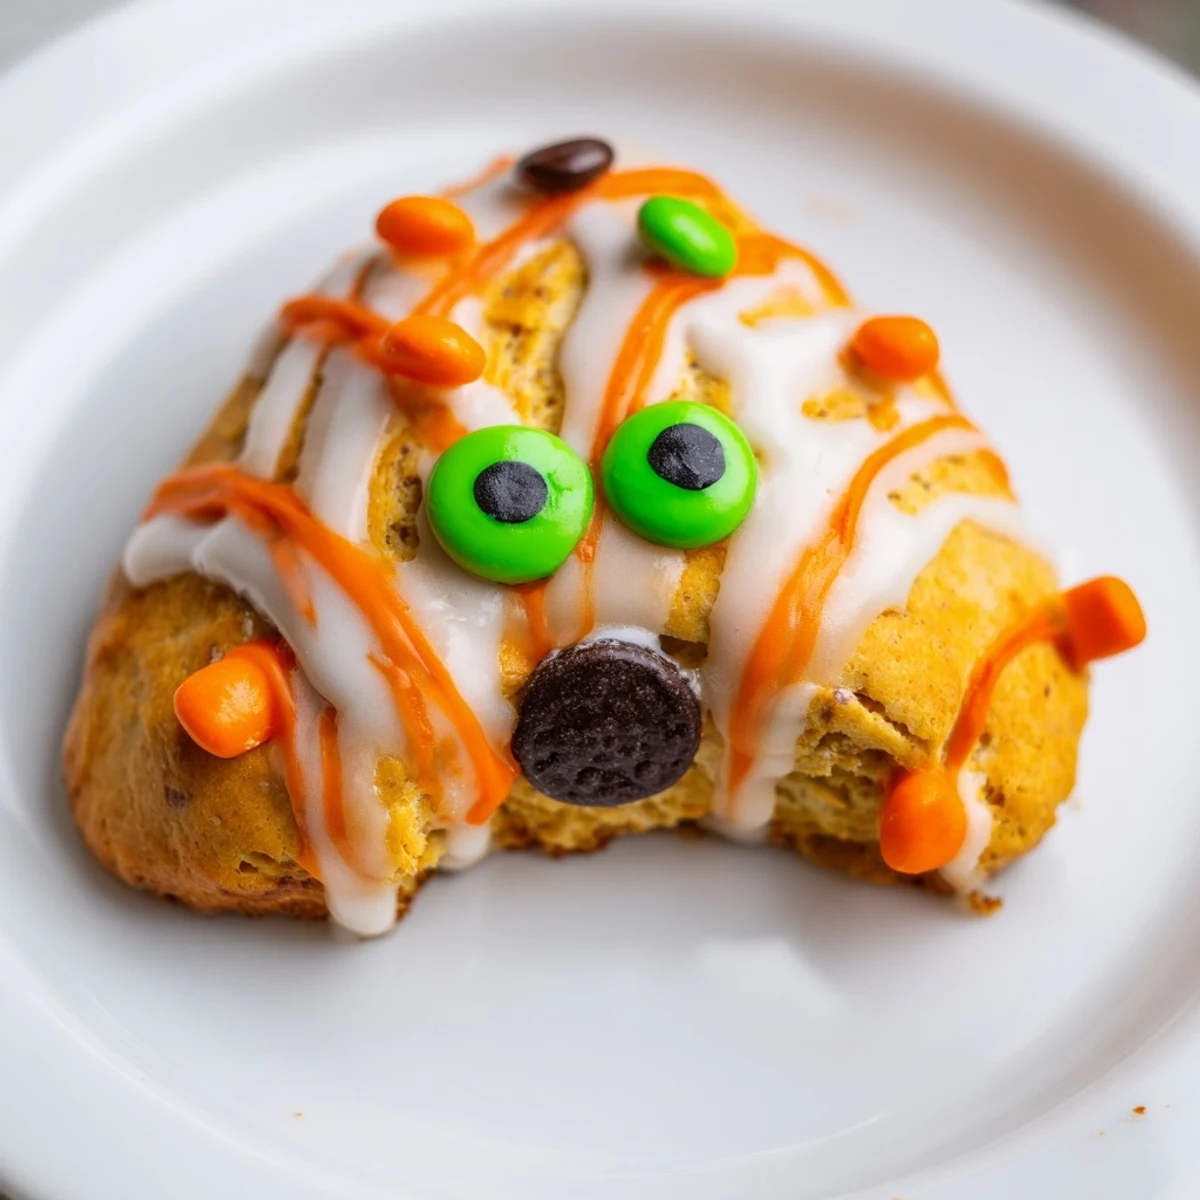
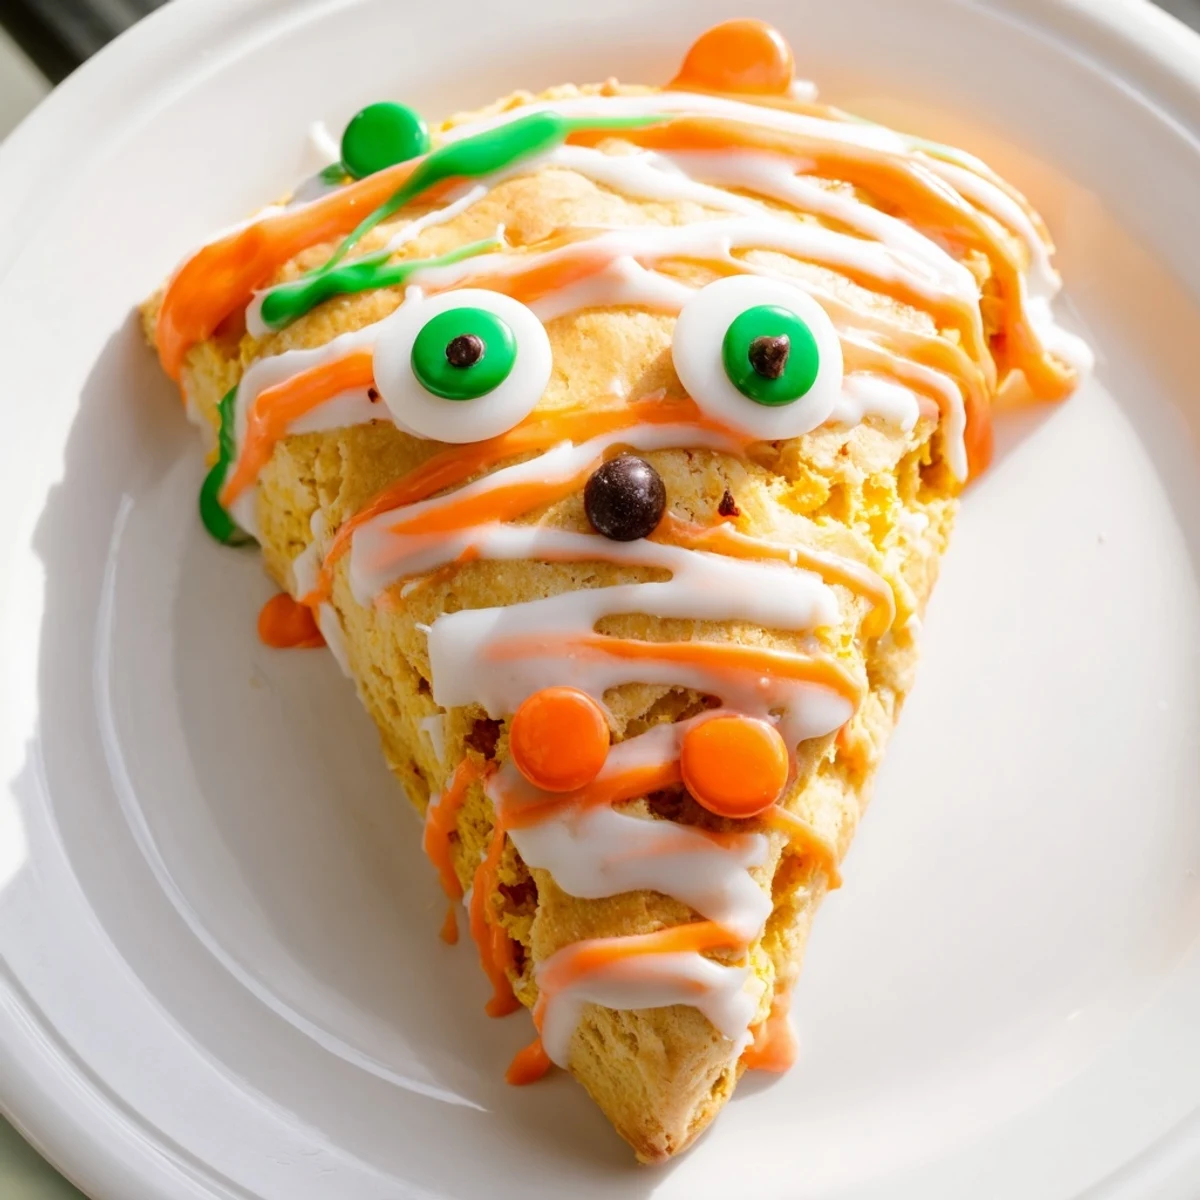
Save These delightful pumpkin scones bring warmth and spice to your autumn table with cinnamon, ginger, and nutmeg. The tender, flaky texture pairs perfectly with a creamy vanilla glaze that transforms into playful monster faces using candy eyes and colorful decorations.
Ideal for Halloween celebrations or as a creative weekend baking project, these scones take just 20 minutes to prepare. Kids love helping decorate the monstrous expressions, making this a wonderful family activity. The dough comes together quickly with simple pantry staples and pumpkin purée.
Bake until golden and firm, then let cool completely before adding the finishing touches. Each batch yields eight substantial scones that balance the earthy sweetness of pumpkin with aromatic spices.
The first time I made these, my kitchen counter looked like an art studio gone wrong. I had orange glaze splattered across my apron and purple food coloring staining my fingertips, but watching my nephew's eyes light up when he bit into a goofy green-faced scone made every sticky mess worth it. Now these have become our annual Halloween tradition, the one thing the kids actually want to help make instead of just eat.
Last year I hosted a pumpkin carving party and put out a plate of these monster scones. Honestly, people spent more time arranging the candy eyes and creating ridiculous expressions than they did actually carving their pumpkins. There's something about food with a face that brings out everyone's inner child, and I caught three adults arguing over who got the scone with the crossed-eye decoration.
Ingredients
- All-purpose flour: The structure that holds everything together, but don't pack it down or your scones will be tough
- Light brown sugar: Adds moisture and a caramel depth that white sugar just can't match in pumpkin baked goods
- Baking powder and baking soda: The lift team that makes these puff up beautifully in the oven
- Ground cinnamon, ginger, nutmeg, and cloves: This quartet creates that unmistakable pumpkin spice profile we all crave come October
- Cold butter: Keep it ice-cold and work quickly, those butter pockets are what create flaky layers
- Pumpkin purée: Use the pure stuff, not pumpkin pie filling, or your scones will be way too sweet
- Whole milk: The fat content matters for tenderness, but any milk will work in a pinch
- Egg: Binds the dough and adds richness, room temperature eggs incorporate more evenly
- Powdered sugar: Creates that smooth, drizzle-able glaze that holds all your monster decorations in place
Instructions
- Get your oven ready:
- Preheat to 400°F and line a baking sheet with parchment paper, because nothing ruins a morning faster than scones stuck to the pan
- Whisk the dry team:
- Combine flour, brown sugar, baking powder, baking soda, salt, and all those warm spices in a large bowl until everything's evenly distributed
- Cut in the butter:
- Add those cold butter cubes and work them into the flour with a pastry cutter or your fingers until the mixture looks like coarse crumbs with some pea-sized pieces remaining
- Mix the wet ingredients:
- Whisk together pumpkin purée, milk, egg, and vanilla extract in a separate bowl until smooth
- Bring it all together:
- Pour the wet mixture into the dry ingredients and fold gently just until combined, the dough will look shaggy and that's exactly right
- Shape and portion:
- Turn the dough onto a floured surface, pat it into a 1-inch thick circle, and cut into 8 wedges like a pizza
- Bake until golden:
- Space the wedges on your prepared baking sheet and bake for 16 to 18 minutes until they're firm and the tops are lightly golden
- Make the glaze:
- Whisk powdered sugar with just enough milk to create a smooth, drizzle-able consistency, then divide into small bowls and tint with food coloring
- Create your monsters:
- Let the scones cool completely, then decorate with your colored glazes and press candy eyes into the wet icing before it sets
 Save
Save My daughter created what she called a vampire pumpkin last year, complete with red glaze fangs and mismatched candy eyes. She was so proud she made me take a photo of it before she devoured the entire thing in four enthusiastic bites.
Making These Ahead
You can freeze the unbaked scones on a baking sheet, then transfer them to a bag once frozen solid. Bake them straight from frozen, adding a couple extra minutes to the baking time, and they'll taste just as fresh.
Decorating With Kids
Set up small bowls with different colored glazes and let everyone go wild. I've found that giving each child their own little bowl of decorations prevents arguments over who gets the last candy eye.
Storage and Freshness
These scones are best the day they're made, but they'll keep in an airtight container for up to two days. After that, the texture starts to suffer and the decorations might get a bit sad-looking.
- If you need to store decorated scones, place parchment paper between layers so the monster faces don't stick together
- Refresh day-old scones in a 300°F oven for 5 minutes to restore some crispness
- The glaze will soften over time, so add decorations right before serving if you're making them more than a few hours ahead
 Save
Save There's something genuinely joyful about food that doesn't take itself too seriously. These monster scones have become the way I welcome fall into my kitchen, messy fingers and all.
Common Questions
- → Can I make these scones ahead of time?
-
Yes, bake the scones up to 2 days in advance and store in an airtight container. Wait to add the glaze and decorations until serving day for the freshest appearance.
- → What type of pumpkin should I use?
-
Use plain canned pumpkin purée, not pumpkin pie filling. Fresh roasted pumpkin works too—just ensure it's well-drained and puréed smooth before adding to the dough.
- → How do I prevent the scones from spreading too much?
-
Keep your butter cold throughout the process and work the dough quickly. Chill the shaped wedges for 15 minutes before baking if your kitchen is warm.
- → Can I freeze these scones?
-
Absolutely. Freeze unbaked scones on a baking sheet, then transfer to a freezer bag. Bake from frozen, adding 2–3 minutes to the baking time. glazed scones freeze well for up to 1 month.
- → What other decorations work well?
-
Try chocolate chips for eyes, colored sugar for hair, or crushed cookies for teeth. Sprinkles, edible glitter, and fruit leather cut into shapes also create fantastic monster expressions.
- → Why did my scones turn out dense?
-
Overmixing the dough develops gluten, making scones tough. Mix just until the flour disappears. Also ensure your baking powder is fresh and measure ingredients accurately.
