
 Save
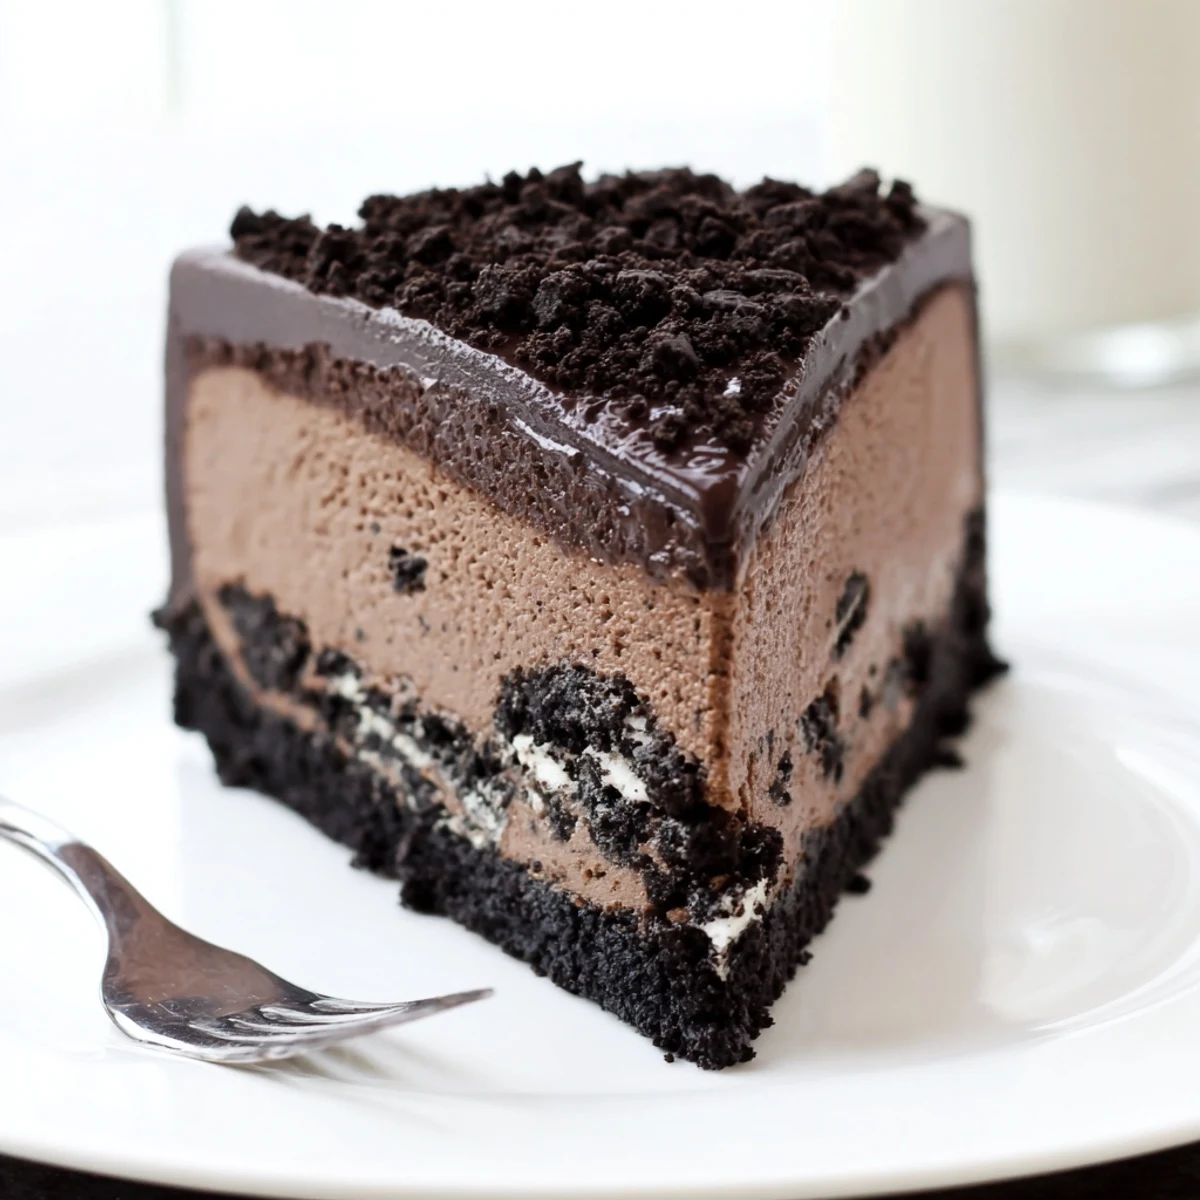
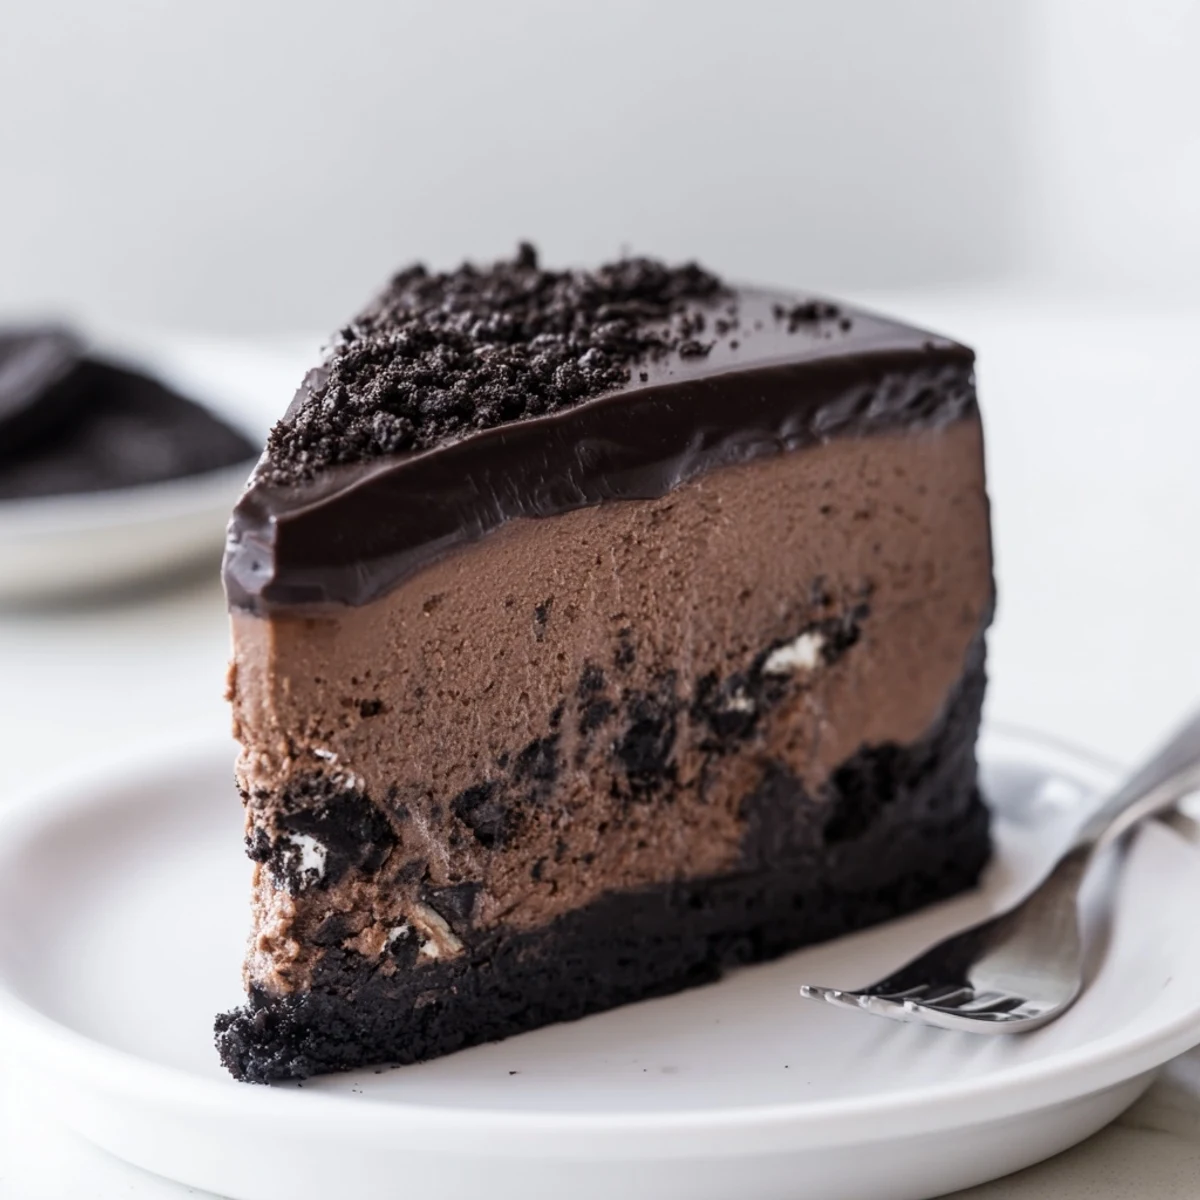
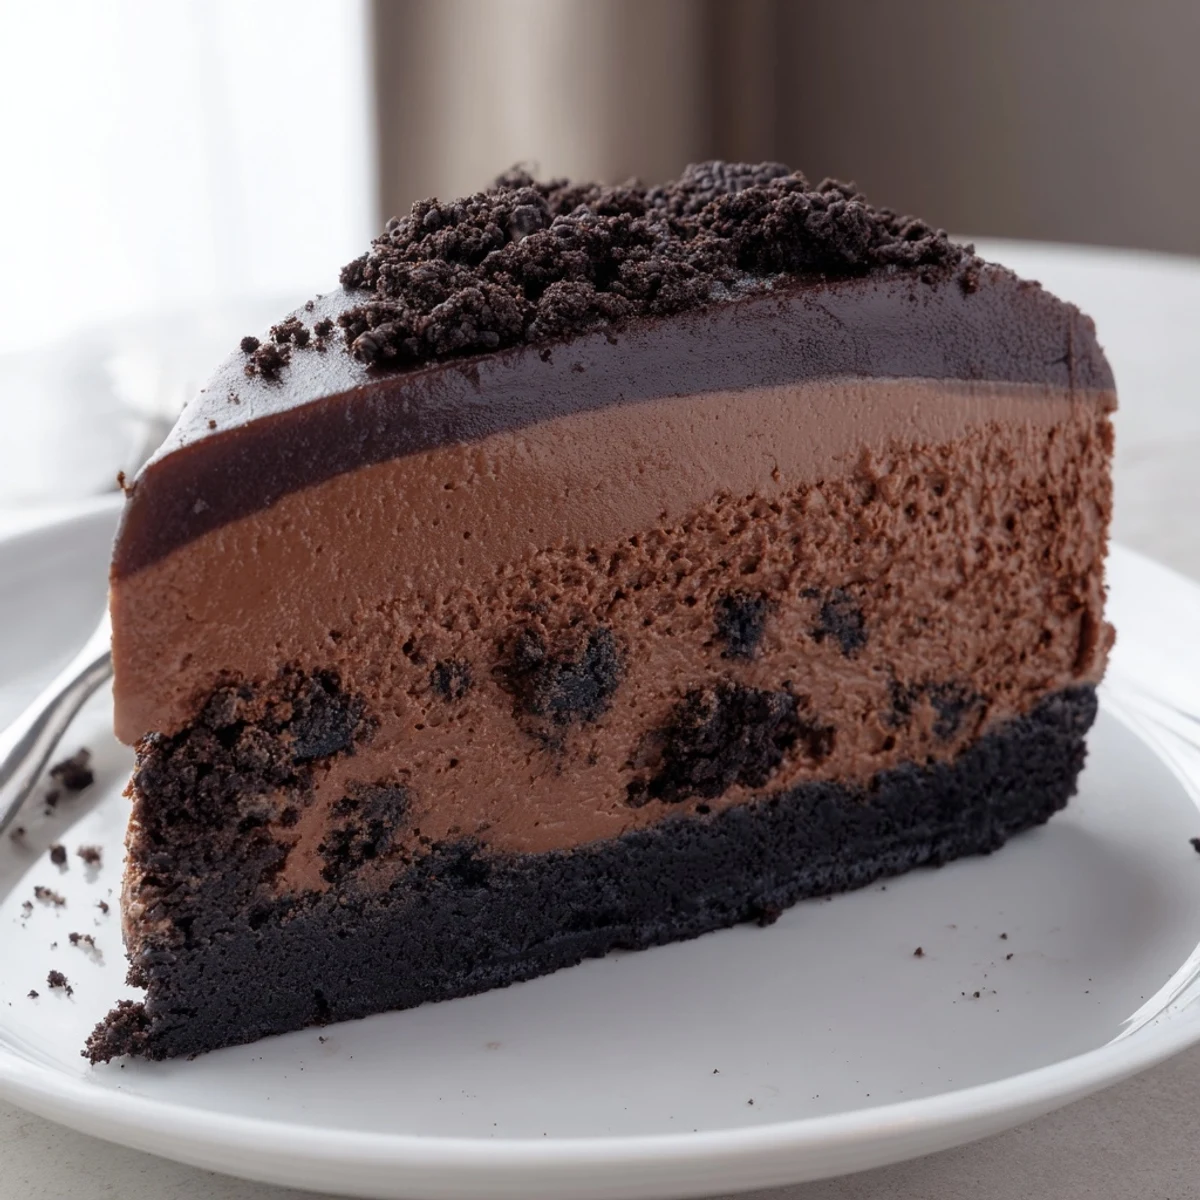
Save This Oreo chocolate cheesecake brings together three irresistible layers: a buttery Oreo cookie crust, a silky dark chocolate cream cheese filling studded with chopped Oreos, and a smooth chocolate ganache finish.
Plan ahead for chill time—at least four hours or ideally overnight—to achieve that perfect creamy slice. The combination of cocoa powder and melted dark chocolate creates an intensely rich flavor that balances beautifully with the tangy cream cheese.
Perfect for celebrations, holidays, or anytime you want to impress. Serve with fresh berries or a dollop of whipped cream to cut through the richness.
The rain was hammering against the kitchen window the afternoon I stumbled into making this cheesecake, half distracted by a podcast and half desperate to use up an open sleeve of Oreos that had gone slightly soft. Three hours later, I stood in front of the oven watching the center of a chocolate cheesecake do that hypnotic little wobble, completely forgetting why I had ever been stressed. Some desserts are therapy disguised as baking.
I brought this to a friends potluck dinner once and watched three grown adults fall completely silent after their first bite. One of them actually closed his eyes and stayed quiet for so long that the rest of us started laughing. It has been requested at every gathering since, and I have stopped bringing anything else.
Ingredients
- 28 Oreo cookies for the crust: You want fine, sandy crumbs here, so do not skimp on the pulsing. The whole cookie goes in, filling and all, because that creamy center actually helps bind everything together beautifully.
- 5 tbsp unsalted butter, melted: Just enough to make the crumbs hold when you pinch them between your fingers.
- 675 g cream cheese, softened: Pull it out of the fridge at least two hours ahead. Cold cream cheese is the enemy of a smooth batter and no amount of extra mixing can fully save you from lumps.
- 200 g granulated sugar: Standard white sugar lets the chocolate do the talking.
- 200 g dark chocolate, melted and cooled: Use something you would happily eat on its own. The chocolate is carrying a lot of flavor here, so a decent bar makes a real difference.
- 30 g unsweetened cocoa powder: This deepens the chocolate intensity without adding more sweetness.
- 180 ml sour cream, room temperature: Adds a subtle tang that keeps the richness in check.
- 1 tsp pure vanilla extract: A quiet background note that rounds everything out.
- 3 large eggs, room temperature: Mix these in on low speed and resist the urge to beat them aggressively.
- 8 Oreo cookies, roughly chopped: These chunks inside the filling create little pockets of texture that surprise you with every slice.
- 120 ml heavy cream: For the ganache, and use the good stuff with no additives if you can find it.
- 120 g dark chocolate, chopped: Finely chopped melts faster and smoother into the cream.
- 2 Oreo cookies, crushed for garnish: Totally optional but they add a nice visual crunch on top.
Instructions
- Prep the pan and oven:
- Heat your oven to 160 degrees Celsius. Wrap the outside of your springform pan tightly with aluminum foil because even a tiny leak will haunt you later. This water bath insurance costs thirty seconds and saves hours of heartbreak.
- Build the Oreo crust:
- Pulse the cookies in a food processor until they resemble dark sand, then pour in the melted butter and pulse again until it all clumps together. Press firmly into the bottom of the pan using the back of a spoon or a measuring cup. Bake for ten minutes and let it cool while you make the filling.
- Make the chocolate filling:
- Beat the cream cheese and sugar together until completely smooth, scraping the bowl at least twice. Pour in the melted cooled chocolate and cocoa powder and mix until the batter turns a gorgeous deep brown. Add the sour cream and vanilla, then incorporate the eggs one by one on the lowest speed. Fold in the chopped Oreos by hand with a spatula, gently and briefly.
- Bake low and slow:
- Pour the batter over the cooled crust and smooth the top. Bake for forty five to fifty minutes until the edges are set but the center still has a slight jiggle when you nudge the pan. Turn off the oven, crack the door open, and walk away for one hour.
- Chill patiently:
- Let the cheesecake come to room temperature on the counter, then refrigerate for at least four hours or preferably overnight. This waiting period is where the texture transforms from good to extraordinary.
- Finish with ganache:
- Heat the cream until it just begins to simmer, then pour it over the chopped chocolate in a bowl. Wait two minutes without touching it, then stir slowly from the center outward until you have a glossy, silky ganache. Pour it over the chilled cheesecake and spread evenly, then sprinkle with crushed Oreos if using. Chill thirty minutes more before slicing.
 Save
Save The first time I served this, my sister called me the next day to ask if I had accidentally ordered it from a restaurant and transferred it to a home pan. I took the compliment and confessed nothing.
Getting Ahead of the Game
This cheesecake actually tastes better on day two, which makes it the ideal make ahead dessert for dinner parties or holidays. I usually bake it the night before, add the ganache in the morning, and let it sit in the fridge until guests arrive. The flavors meld and the texture settles into something almost impossibly creamy.
Swaps and Workarounds
Gluten free chocolate sandwich cookies work perfectly for the crust and the filling chunks if you need to accommodate dietary restrictions. A pinch of flaky sea salt on top of the ganache before it sets adds a sophisticated edge that balances the sweetness. Fresh raspberries or strawberries on the side are never a bad idea.
Tools That Make This Easier
A food processor saves you from the ziplock bag and rolling pin method for crushing cookies, though honestly that method works fine if you need to take out some frustration. A sturdy rubber spatula is essential for folding in those chopped Oreos without overworking the batter. Beyond that, keep your mixer, a couple of bowls, and a small saucepan within reach and you are set.
- Run your knife under hot water and dry it between every single slice.
- Chill the cheesecake uncovered for the first hour, then cover loosely with foil.
- Always let the melted chocolate cool to room temperature before adding it to the cream cheese.
 Save
Save This is the kind of recipe that makes people think you secretly trained as a pastry chef, and you can let them think that. Just remember to save yourself a slice before it disappears.
Common Questions
- → Can I make this cheesecake ahead of time?
-
Yes, this cheesecake actually tastes better when made in advance. You can prepare it up to two days ahead and store it covered in the refrigerator. The flavors meld and the texture firms up beautifully overnight.
- → Why does my cheesecake crack on top?
-
Cracks typically form from overmixing the batter or sudden temperature changes. Mix eggs on low speed and avoid overbeating. The gradual cooling method—turning off the oven and leaving the door cracked—helps prevent cracking by letting the cheesecake cool slowly.
- → Can I use milk chocolate instead of dark chocolate?
-
You can substitute milk chocolate, but the cheesecake will be significantly sweeter and less intensely chocolatey. If using milk chocolate, consider reducing the granulated sugar by a few tablespoons to balance the sweetness.
- → How do I get clean slices when cutting the cheesecake?
-
Use a sharp knife dipped in hot water and wiped clean between each cut. The warm blade glides through the ganache and filling cleanly. Chill the cheesecake for at least 30 minutes after adding the ganache before slicing for best results.
- → Can I freeze this cheesecake?
-
Absolutely. Wrap individual slices or the whole cheesecake tightly in plastic wrap, then aluminum foil. Freeze for up to three months. Thaw overnight in the refrigerator before serving. The texture remains creamy after freezing.
- → What size pan do I need for this cheesecake?
-
A 23 cm (9-inch) springform pan is ideal for this quantity of batter. Using a smaller pan may cause overflow, while a larger pan will result in a thinner cheesecake. Always wrap the outside of the pan with foil to prevent water bath leaks.