 Save
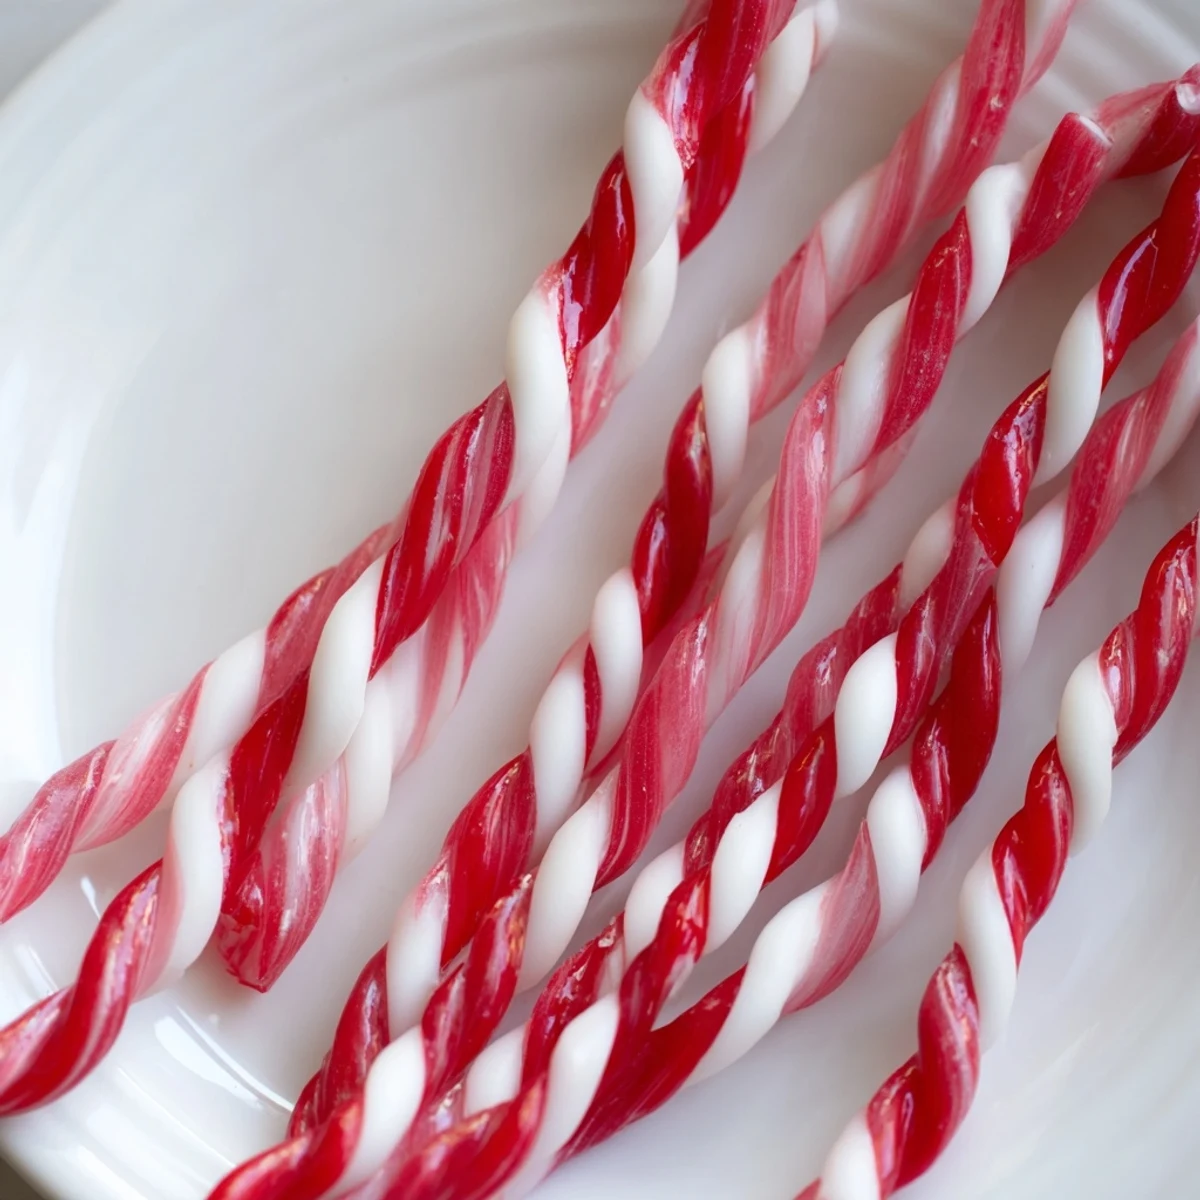
Save These peppermint sticks capture a classic, refreshing flavor with a glossy, striped finish. Made by heating a simple sugar syrup to the hard crack stage, the mixture is flavored with peppermint extract and divided to add vibrant red coloring to one half. The candy is pulled and twisted into slender sticks, perfect for stirring into hot cocoa or enjoying as a sweet treat. Cooling and careful handling are key to achieving the iconic texture and appearance. Ideal for gifting or a festive addition to your kitchen.
My grandmother used to make peppermint sticks every December, pulling the hot candy with her bare hands while I watched from the kitchen doorway, mesmerized by the steam rising off the cooling mass. Years later, I finally worked up the courage to try it myself, and that first batch—when I got the temperature exactly right and watched the red and white colors twist together—felt like I'd unlocked a small family secret. Now these homemade sticks have become my own tradition, something I make partly for gifting but mostly because the smell of peppermint filling the kitchen just feels like the holidays finally arriving.
I made these for my neighbor's kids one snowy afternoon, and they watched the whole process through my kitchen window, pressing their noses against the glass. The look on their faces when they bit into the soft, refreshing candy—so different from anything commercial—reminded me why this recipe matters beyond just being delicious. It became an annual thing after that, a small kindness that somehow felt bigger.
Ingredients
- Granulated sugar (2 cups): The foundation of every good hard candy, and the reason a heavy-bottomed pan matters so much—even heating prevents scorching and keeps the color pure.
- Light corn syrup (1/2 cup): This prevents crystallization and gives the finished candy that glassy, professional finish you can't achieve without it.
- Water (1/3 cup): Just enough to dissolve the sugar at the start; don't be tempted to add more or your candy will take forever to reach hard crack stage.
- Cream of tartar (1/4 tsp): A tiny pinch that works with the corn syrup to keep your candy smooth and prevents that grainy texture from ruining everything.
- Peppermint extract (1/2 tsp): Use pure extract, never imitation—the difference is like night and day, and this is one place where you absolutely notice the quality.
- Red food coloring (gel or liquid): Gel holds its color better in hot candy and gives you more control, though either works; natural coloring will give you softer, earthier tones if that's your preference.
Instructions
- Prepare your stage:
- Line a baking sheet with parchment paper and rub it lightly with oil—you want it slick enough that hot candy won't stick but not so slippery the sheet shifts around. Have your food-safe gloves nearby because once you start pulling, you won't have time to hunt for them.
- Combine and dissolve:
- Mix sugar, corn syrup, water, and cream of tartar in your saucepan over medium heat, stirring just until the sugar dissolves and the mixture looks clear. Once it starts to look uniform, stop stirring—this is important—and let the heat do its work.
- Cook to hard crack:
- Bring the mixture to a boil and watch your candy thermometer like a hawk; you're aiming for exactly 290°F (143°C), which is the hard crack stage where the candy will snap cleanly when cool. This usually takes 10-12 minutes, and the syrup will turn a pale golden color—don't let it go darker or you'll taste burnt sugar instead of pure sweetness.
- Add the flavor:
- Pull the pan off heat immediately and stir in the peppermint extract, being careful of the steam that rises up. The mint will seem to fade at first, but trust that it's there—it blooms as the candy cools.
- Pour and color:
- Pour roughly half the mixture onto your prepared sheet in an even layer, then add just a few drops of red food coloring to what remains in the pot and swirl it gently with a spatula to create a marbled effect. Pour this colored half next to the white, creating a two-tone base for your sticks.
- Cool briefly:
- Wait 1-2 minutes—just long enough that you can touch the candy without it sticking to your gloved fingers but while it's still warm enough to manipulate. This is the sweet spot, literally; too hot and it's uncontrollable, too cool and it shatters.
- Pull and fold:
- Put on your gloves and start working each color separately, pulling and folding it repeatedly until it goes from glossy and translucent to opaque and matte, about 5 minutes of steady work. Your arms will feel tired, but this process creates that beautiful texture and incorporates tiny air pockets that make the finished candy melt on your tongue.
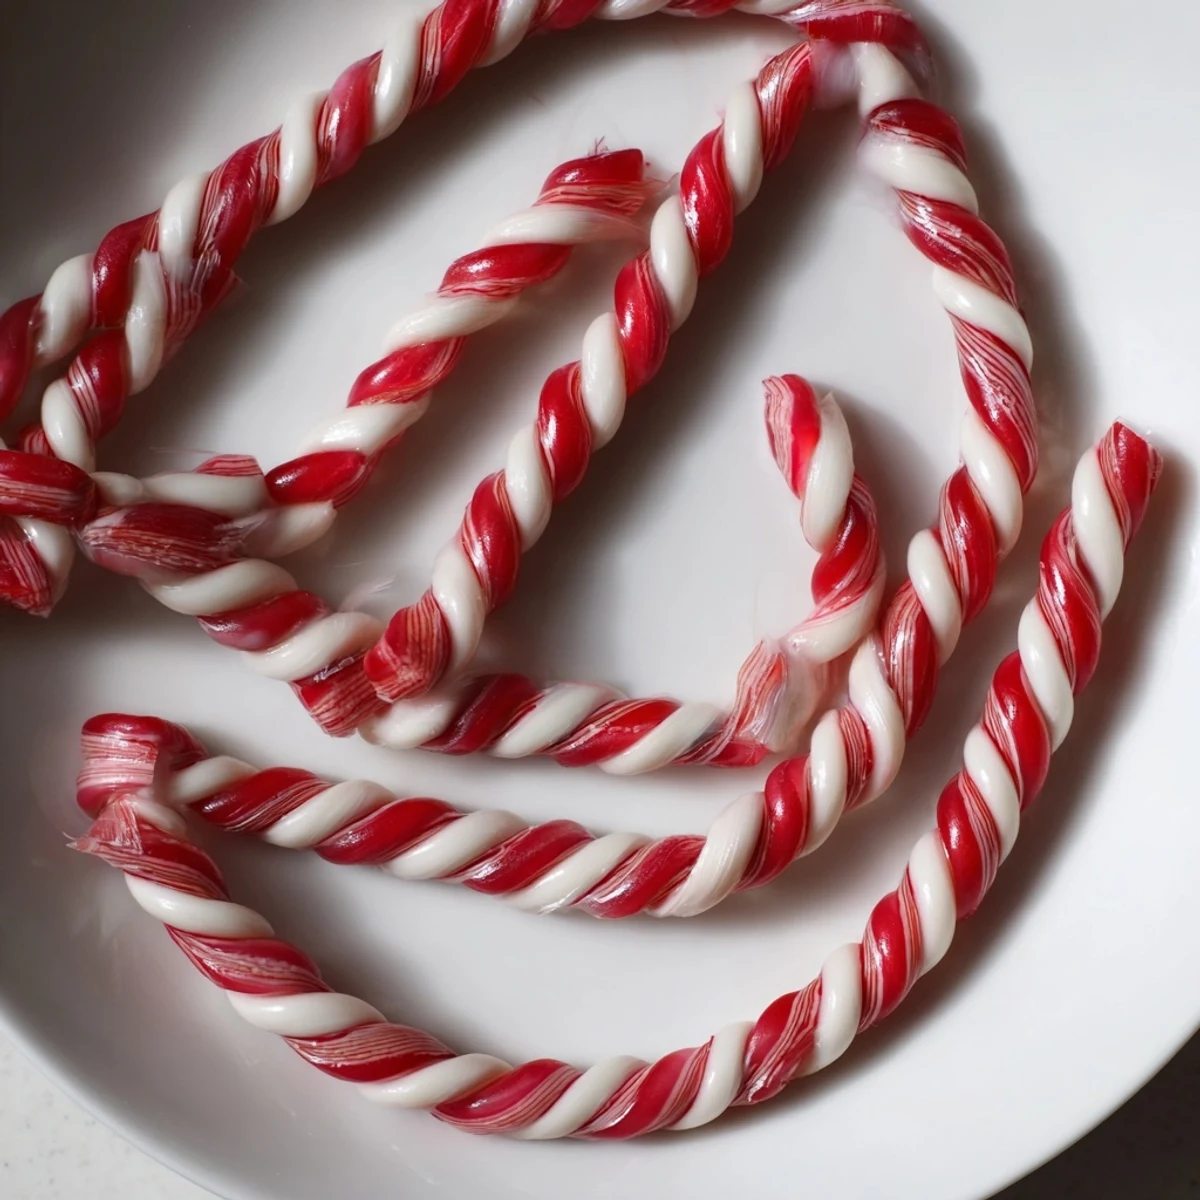
- Twist and stretch:
- Once both colors are properly pulled, twist them together into a rope about 1/2-inch thick, then stretch that rope out to your desired length—this is where you can make it as dramatic as you want. Cut into 5-inch sticks using oiled scissors or a sharp knife, and lay them on fresh parchment to cool completely.
- Final cool and store:
- Let the sticks sit for at least an hour before wrapping, or they'll stick to the paper. Once fully hardened, wrap each stick in wax paper or cellophane, twisting the ends like little presents.
 Save
Save My first failed batch taught me that candy-making requires patience and precision in equal measure, but it also taught me that imperfection has its own charm. Those slightly lumpy, unevenly colored sticks became the ones I kept for myself, and somehow they tasted better than the perfect ones.
Why This Recipe Became a Keeper
There's something deeply satisfying about transforming four simple ingredients and a thermometer into something that looks like it came from a fancy candy shop. When friends ask where you bought them and you say you made them at home, you get this look of genuine amazement that makes the effort feel worthwhile. Plus, homemade peppermint sticks cost about a quarter of what the store charges, and they taste like actual peppermint instead of artificial flavoring trying to remember what peppermint is.
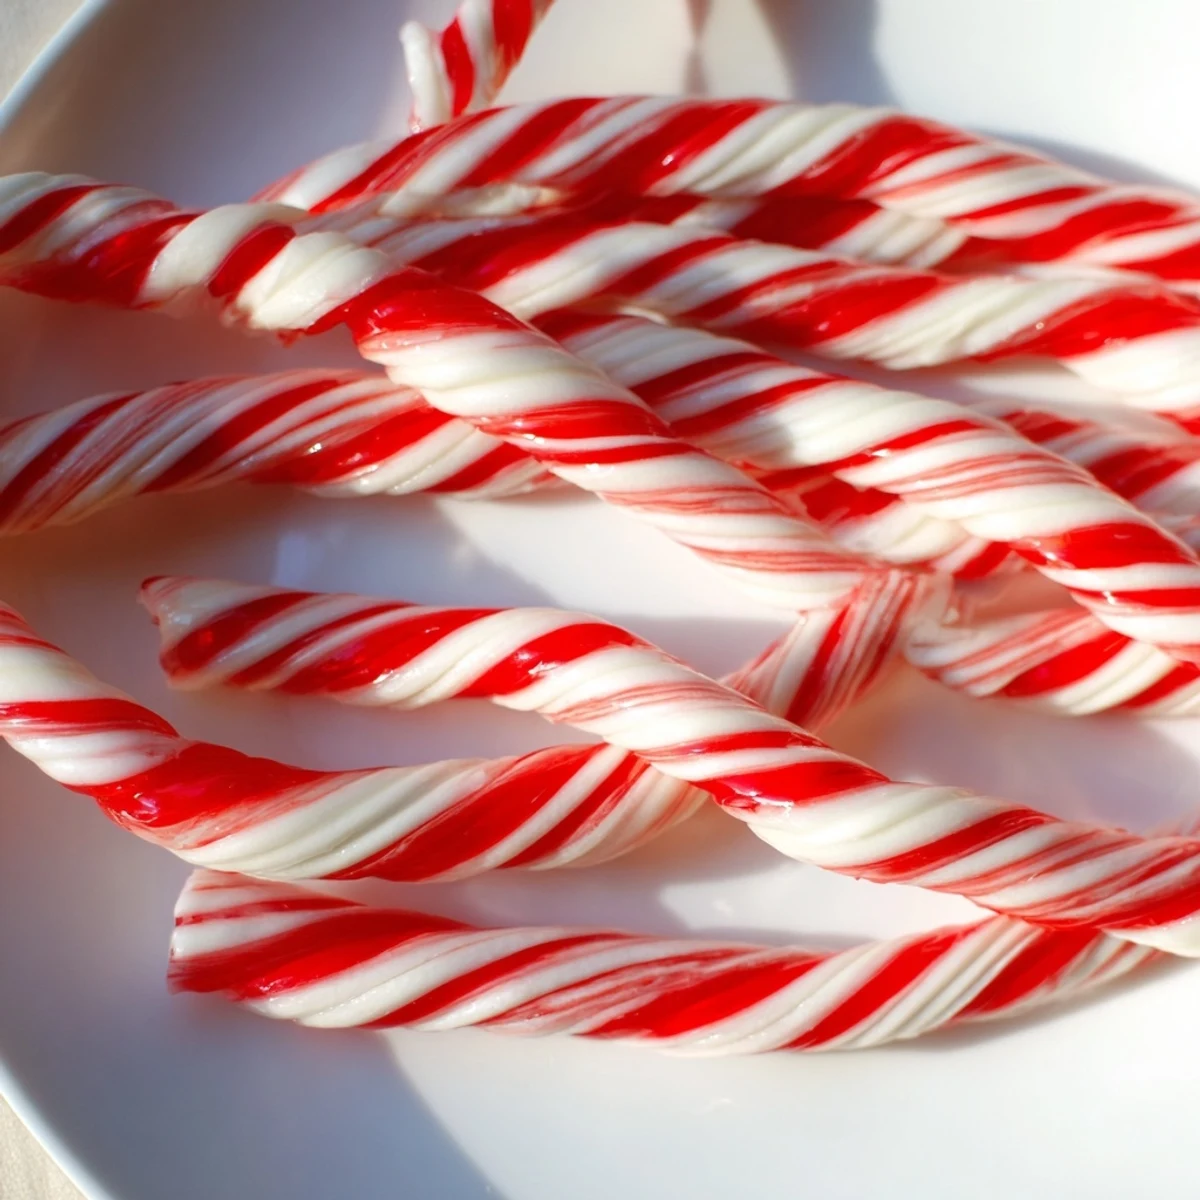
The Science of the Swirl
Pulling hot candy is essentially aerating it—all those folds and stretches trap tiny bubbles of air that transform the texture from dense and glassy to light and almost crystalline. The marbling happens naturally when you combine the two colors, but if you want dramatic stripes, twist the ropes tightly before cutting. The physics here is less important than the feeling of accomplishment when you nail it.
Gift-Giving Gold and Kitchen Wisdom
These sticks wrapped in wax paper and tied with twine have solved countless last-minute gift emergencies and impressed people far more than store-bought alternatives ever could. They stay fresh for weeks if stored properly, and they're naturally gluten-free, making them perfect for most dietary needs. The recipe doubles easily if you're feeling ambitious, though your arms might protest the extra pulling.
- Make a test batch first if you're nervous; even a slightly imperfect first try builds the confidence for future success.
- If your candy hardens before you finish pulling, microwave it for just 10-15 seconds to soften it back up.
- Store finished sticks in an airtight container with parchment between layers to prevent them from sticking together.
 Save
Save Making peppermint sticks connects you to generations of home candy makers and reminds you that some of the best treats in life don't come from factories or bakeries. There's real magic in that moment when your hands pull the hot candy and watch it transform into something beautiful.
Common Questions
- → What temperature should the syrup reach?
-
The syrup should reach 290°F (143°C), known as the hard crack stage, for the proper texture.
- → How do I achieve the striped effect?
-
Pour the syrup in two halves, adding red coloring to one before cooling, then pull and twist the two colors together.
- → Why use cream of tartar in the mixture?
-
Cream of tartar prevents crystallization, ensuring a smooth, glossy finish.
- → Can these sticks be stored for later use?
-
Yes, wrapping in wax paper or cellophane keeps them fresh and prevents sticking.
- → Are food-safe gloves necessary for pulling candy?
-
Food-safe gloves help handle hot candy safely and keep the sticks hygienic.
