 Save
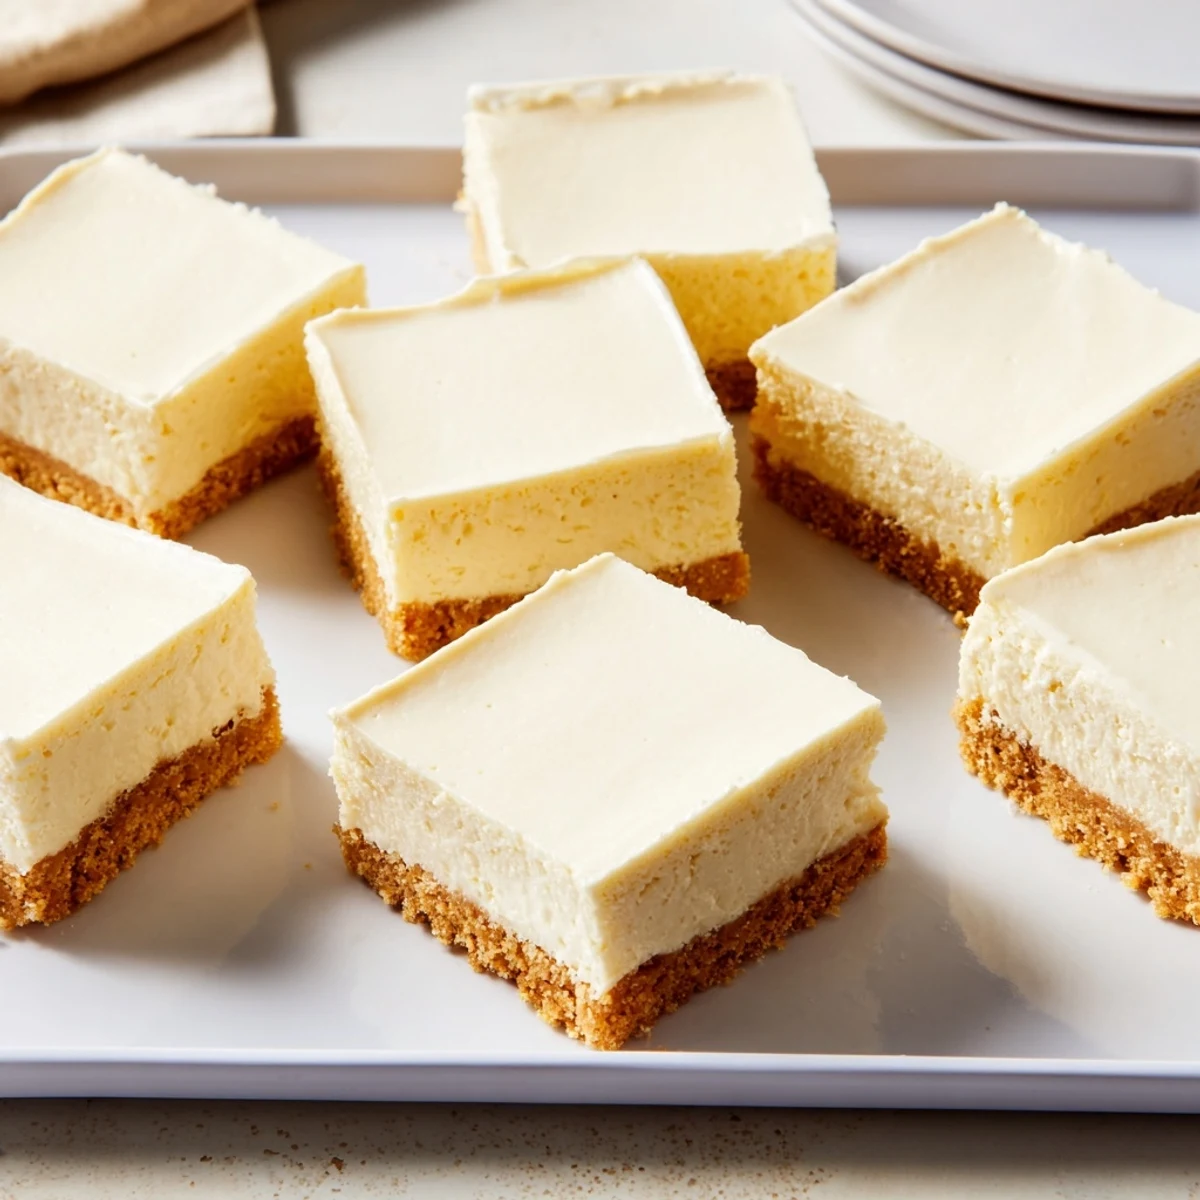
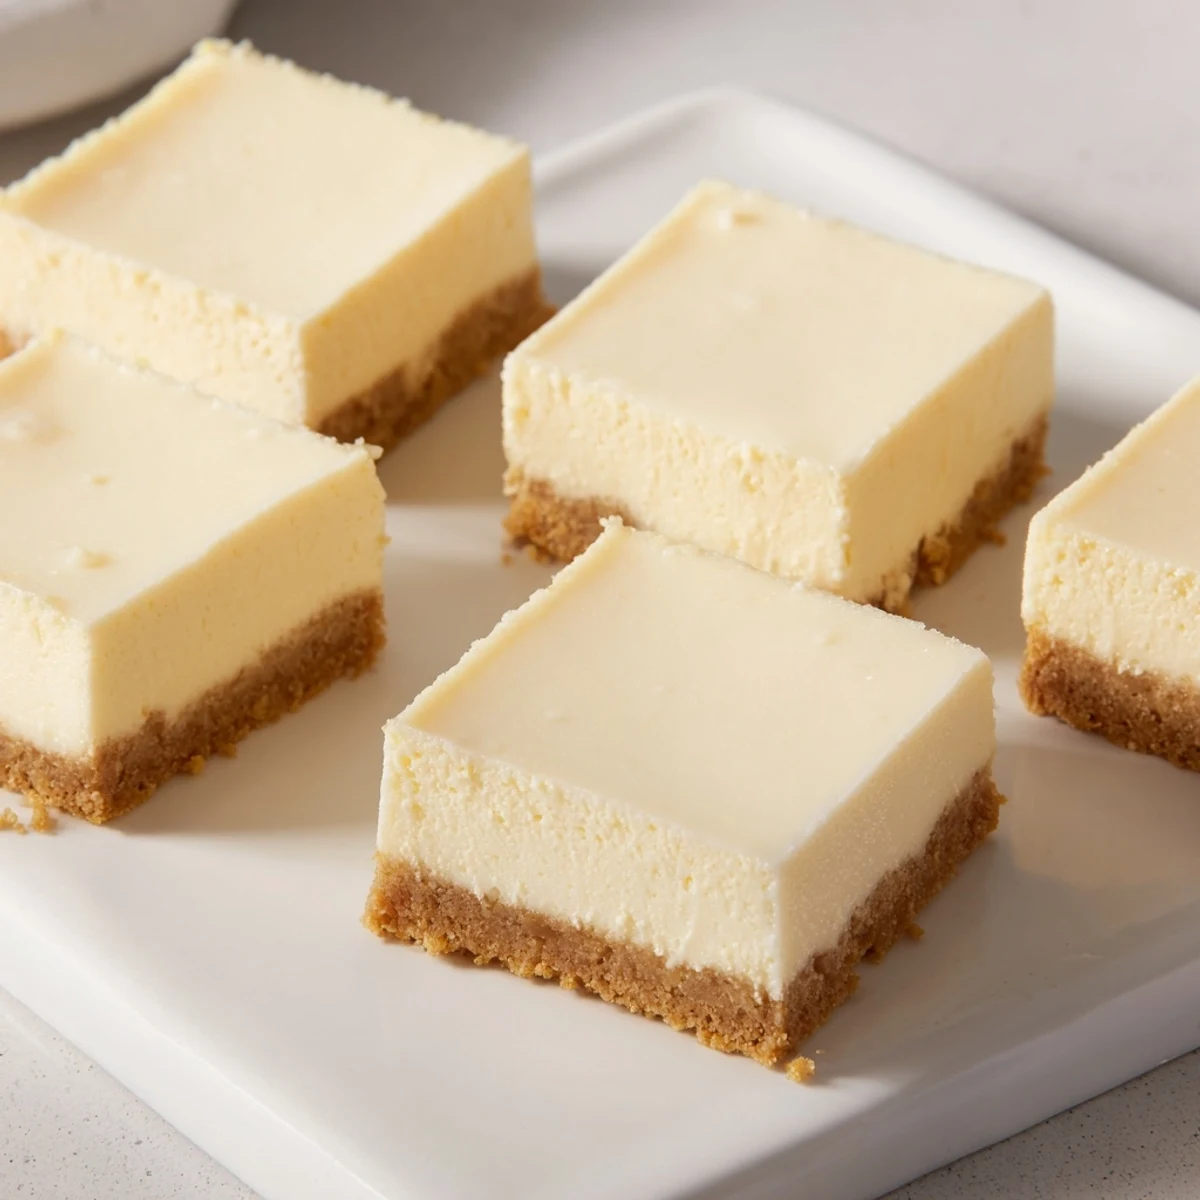
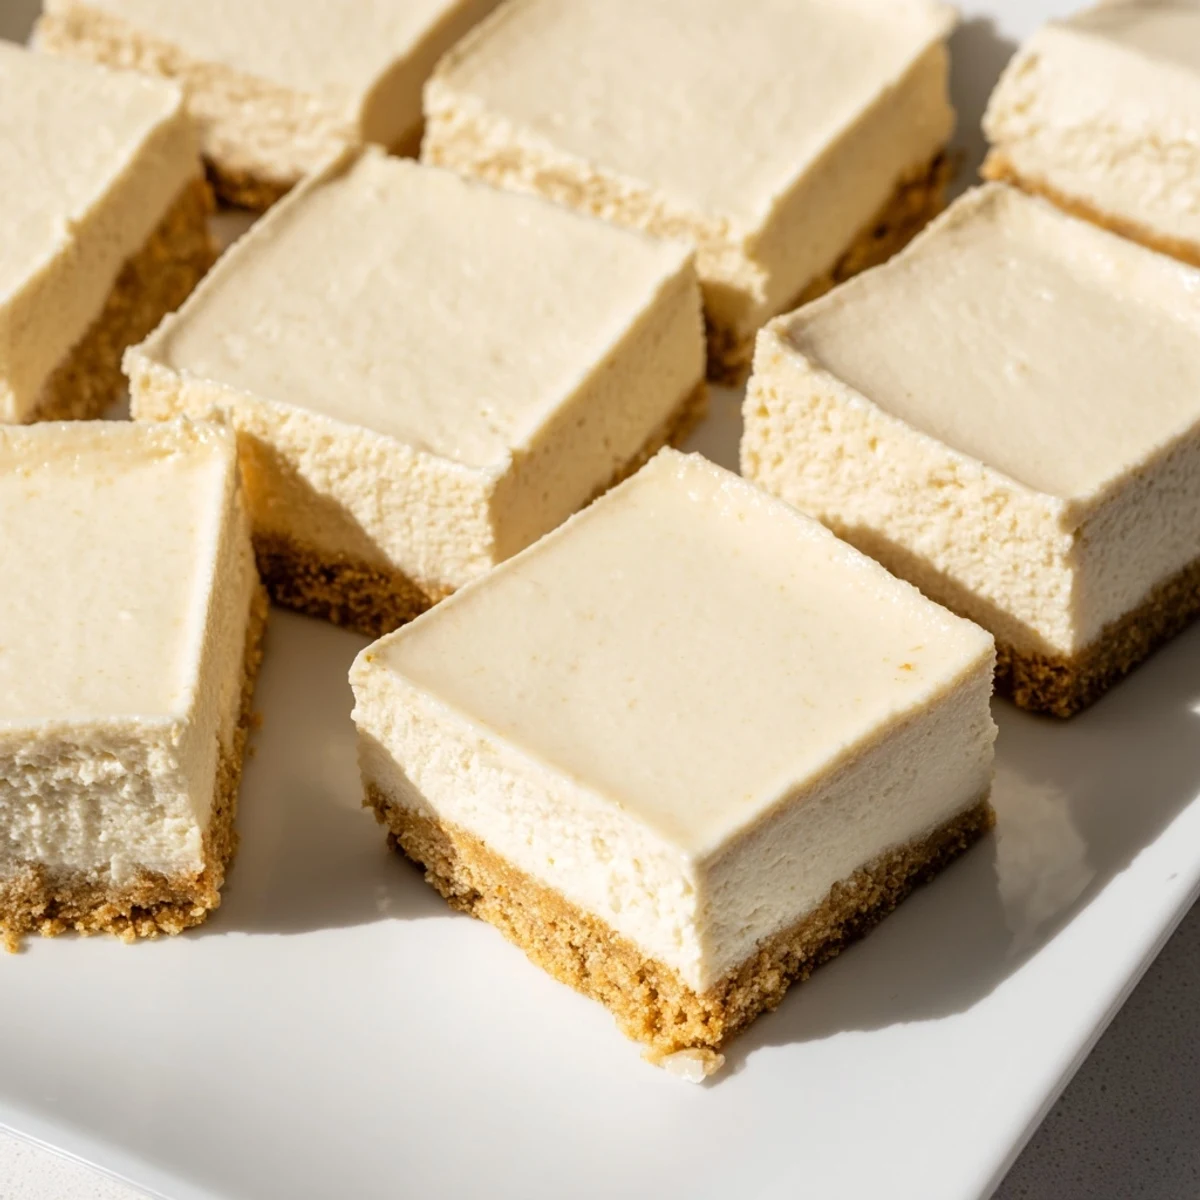
Save These creamy bars feature a luscious, smooth filling layered over a crunchy, buttery graham cracker crust. With a balance of sweet cream cheese and subtle vanilla, the bars bake to a lightly set center that chills into a firm yet tender texture. Perfect for gatherings or casual indulgence, the bars offer versatility with toppings like fresh berries or chocolate drizzle. Easy to prepare with simple ingredients and a straightforward baking method, they deliver a satisfying dessert experience that can be enjoyed any time.
I still remember the first time I made cheesecake bars for my roommate's birthday party. I'd always thought cheesecake was this intimidating, fancy dessert that required professional baking skills, but then I discovered these bars—and everything changed. There's something magical about how a simple graham cracker crust transforms into the perfect foundation for a creamy, dreamy filling that bakes up golden and sets into these elegant little squares. That day, watching everyone's faces light up when they took their first bite, I realized I'd just discovered my new secret weapon for looking like a pro baker without spending all day in the kitchen.
The moment that really sold me on these bars was when I brought them to a potluck and an older woman at work asked for the recipe. She'd been bringing her own desserts to every gathering for years, and when she asked for mine, I felt like I'd just earned my baking stripes. She made them the next week and came back saying they reminded her of a cheesecake she'd had years ago in New York. That's when I knew—these bars had that special quality of feeling both comforting and a little bit sophisticated all at once.
Ingredients
- Graham cracker crumbs (1 1/2 cups): These are the foundation that holds everything together—look for the buttery kind, not too finely ground, so you get that gentle crunch when you bite into the bars
- Granulated sugar for crust (1/4 cup): This adds just enough sweetness to balance the buttery richness and keeps the crust from tasting one-dimensional
- Unsalted butter, melted (1/2 cup): The key word here is unsalted—it lets you control the salt level and prevents the crust from tasting too salty when combined with the cream cheese
- Cream cheese, softened (16 oz): Temperature matters more than you'd think; soft cream cheese mixes smoothly without lumps and creates that velvety texture everyone loves
- Granulated sugar for filling (2/3 cup): This sweetens the filling without overpowering the cream cheese's subtle tanginess
- Large eggs (2): These bind everything together and help the bars set properly—they're what transforms the mixture from liquid to that perfectly creamy, almost custard-like texture
- Vanilla extract (1 tsp): A small amount does so much here, adding warmth and depth without making it taste like vanilla dessert
- Sour cream (1/4 cup): This is the secret ingredient that adds tanginess and keeps the filling from being too sweet or one-note
- All-purpose flour (1 tbsp): Just enough to give structure without making the filling dense or cake-like
- Salt (pinch): This tiny pinch enhances all the flavors and makes everything taste more like itself
Instructions
- Set up your workspace:
- Start by preheating your oven to 325°F and lining your 8x8-inch pan with parchment paper, leaving some overhang on the sides. This step might seem small, but it saves you from wrestling with hot bars later and makes lifting them out feel effortless.
- Build the crust:
- In a bowl, stir together graham cracker crumbs, sugar, and melted butter until it looks like wet sand. Press it firmly into the bottom of your pan—use the bottom of a measuring cup to get it nice and even. Bake for 8 minutes just to set it, then let it cool. You'll smell that buttery, slightly caramelized aroma that tells you you're on the right track.
- Prepare the filling:
- This is where patience pays off. Beat your softened cream cheese in a large bowl until it's completely smooth with no lumps—this usually takes about 2 minutes of steady beating. Add sugar and mix until combined, then add eggs one at a time, beating just until each one is incorporated. You'll notice the mixture becoming lighter and fluffier. Gently fold in vanilla, sour cream, flour, and salt, scraping down the sides of the bowl as you go.
- Combine and bake:
- Pour the filling over your cooled crust and spread it evenly with a spatula. Slide it into the oven and bake for 25 to 27 minutes. You're looking for that magical moment when the edges are set but the very center still jiggles just slightly when you tap the pan—this is what keeps them creamy instead of dense.
- Cool and chill:
- Let the bars cool all the way to room temperature on the counter, then cover and refrigerate for at least 2 hours. This patience is crucial—the bars continue to set as they chill, and this is when the flavors really come together.
- Slice and serve:
- Use that parchment overhang to lift the whole thing out of the pan, then use a sharp knife dipped in hot water and wiped clean between cuts to get clean, beautiful squares.
 Save
Save There was this one time I made these bars for my mom the morning of her birthday, and she walked into the kitchen right as I was pulling them from the oven. She just stood there breathing in that cream cheese and vanilla smell, and for a moment, nothing else mattered—not the bills or the stress or any of the day's worries. She just closed her eyes and smiled. That's when I understood that these bars aren't really about impressing people or being fancy; they're about creating a moment where someone feels cared for.
The Magic of the Graham Cracker Crust
One of the things I love most about this recipe is how the crust becomes almost caramelized and sturdy during that initial 8-minute bake. It's not just a vehicle for the filling—it's an integral part of the experience. When you bite through that slightly crisp, buttery layer into the creamy filling, there's a textural contrast that makes every bite more interesting. The crust also prevents the bars from sliding around on the plate, which might sound like a small thing, but it means your guests can actually hold them and eat them without mess.
Temperature Control and Timing
The 325°F oven temperature is crucial here—it's lower than you might think, but that's intentional. A higher temperature would cause the top to set too quickly while the inside remains liquid, leading to cracks and an uneven texture. The slower, gentler heat allows the entire filling to cook through evenly, creating that custardy consistency that makes people ask if you've taken a professional pastry course. The 25 to 27 minute bake time is also specific for a reason; I've learned through plenty of trial and error that this is the sweet spot where the filling is set enough to slice cleanly but still has that creamy interior that melts on your tongue.
Customizing Your Bars
What I love about this base recipe is how adaptable it is to your mood or what's in your kitchen. The plain bars are perfect on their own, but they're also a blank canvas for creativity. Fresh berries layered on top before serving add brightness and tartness that cuts through the richness beautifully. A berry compote swirled into the filling before baking creates a marbled effect that's both beautiful and delicious. Even a simple chocolate drizzle transforms them into something that feels more decadent for special occasions.
- Try adding a layer of fresh raspberries or strawberries right before serving for a fresh, tart contrast
- Make a simple berry compote by simmering berries with a bit of sugar, then swirl it into the filling for a stunning marbled look
- Keep them in an airtight container in the fridge, and they're perfect for grabbing as a quick dessert or even an indulgent breakfast treat for up to 5 days
 Save
Save These cheesecake bars have become my answer to 'what should I bring?' for almost every gathering. They're proof that simple, honest ingredients handled with care can create something that feels both comforting and special.
Common Questions
- → What is the best way to press the graham cracker crust?
-
Press the crumb mixture firmly and evenly into the pan bottom using the back of a spoon or a flat-bottomed glass to create a compact crust that holds together during baking.
- → How can I tell when the bars are perfectly baked?
-
The center should be just set with a slight wobble when gently shaken, indicating a creamy texture without being undercooked.
- → Can I make these bars ahead of time?
-
Yes, chilling for at least 2 hours helps the filling firm up. They can be refrigerated for up to 5 days for convenient serving later.
- → Are there common ingredient substitutions for dietary needs?
-
For gluten-free options, use certified gluten-free graham crackers and all-purpose flour substitutes while maintaining the original method.
- → What toppings complement these creamy bars?
-
Fresh berries, fruit compotes, or a drizzle of melted chocolate enhance the rich creamy flavor and add visual appeal.
