 Save
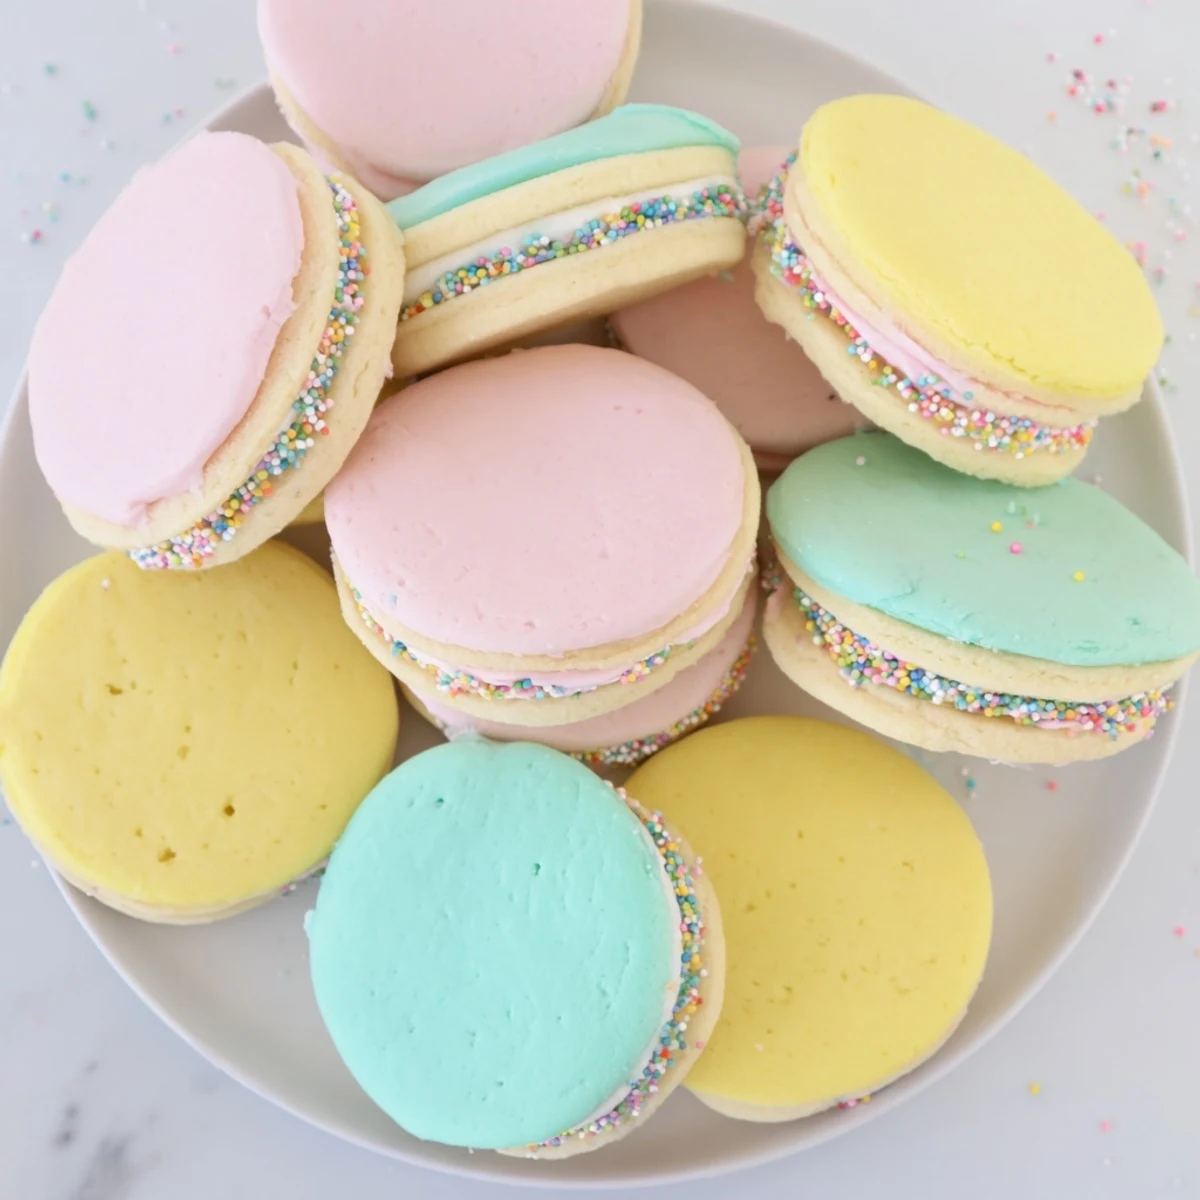
Save These delightful sandwich cookies feature tender, buttery sugar cookies paired with smooth pastel buttercream. The dough comes together quickly and requires chilling for easy rolling. After baking until just golden, the cookies are filled with vibrantly tinted frosting in soft shades of pink, yellow, green, or blue. The result is a stunning dessert that tastes as wonderful as it looks, with the perfect balance of sweet cookie and creamy filling.
My niece squealed with delight when she saw these for the first time, calling them fairy cookies from a storybook. The soft pastel colors between buttery layers turn an ordinary afternoon into something magical and unexpected.
I made these for a baby shower last spring, watching guests hesitantly reach for one and then immediately grab seconds. The mother to be kept smiling at the pastel colors, saying they matched everything she had imagined for her little one.
Ingredients
- All purpose flour: The foundation that gives these cookies their tender structure without becoming tough
- Baking powder: Just enough to help them puff slightly while keeping that classic sugar cookie density
- Salt: A small pinch that balances all the sweetness and makes the flavors pop
- Unsalted butter: Use truly softened butter for the creamiest dough that rolls out without cracking
- Granulated sugar: Creates that perfect crisp edge while keeping centers soft and pillowy
- Large egg: Binds everything together and adds richness for a bakery style texture
- Vanilla extract: Pure vanilla makes all the difference between good cookies and great ones
- Butter for buttercream: Room temperature butter whips into the silkiest frosting imaginable
- Powdered sugar: Sifting first prevents lumps and guarantees smooth buttercream every time
- Milk: Just enough to thin the frosting to pipeable consistency without making it runny
- Gel food coloring: Gel colors give you those soft pastel shades without adding excess liquid
Instructions
- Whisk the dry ingredients together:
- Combine flour, baking powder, and salt in a medium bowl, whisking until everything is evenly distributed
- Cream butter and sugar:
- Beat the softened butter and granulated sugar in a large bowl for 2 to 3 minutes until the mixture turns pale and fluffy
- Add egg and vanilla:
- Crack in the egg and pour in the vanilla, beating until completely incorporated and smooth
- Mix in the flour:
- Gradually add the flour mixture to the butter mixture, mixing just until combined and no dry streaks remain
- Chill the dough:
- Divide dough in half, flatten into discs, wrap in plastic, and refrigerate for at least 1 hour until firm
- Prep the oven:
- Preheat oven to 350°F and line baking sheets with parchment paper so cookies release easily
- Roll and cut:
- On a lightly floured surface, roll dough to 1/4 inch thickness and cut rounds with a 2 inch cookie cutter
- Bake until golden:
- Place cookies 1 inch apart on baking sheets and bake for 8 to 10 minutes until edges just begin turning golden
- Cool completely:
- Let cookies rest on baking sheets for 2 minutes before transferring to wire racks to cool fully
- Make the buttercream:
- Beat butter until creamy, gradually add powdered sugar, then mix in milk and vanilla until light and fluffy
- Create pastel colors:
- Divide buttercream into small bowls and tint each with a tiny amount of gel food coloring for soft pastel shades
- Assemble the sandwiches:
- Spread or pipe colored buttercream onto half the cookies and gently top with remaining cookies to form sandwiches
 Save
Save These became my go to contribution for school bake sales after watching kids choose them over decorated cupcakes three times in a row. Something about those soft colors between cookies feels more special than frosting piled high.
Making Ahead
I learned through trial and error that the cookie dough freezes beautifully for up to three months. Just thaw overnight in the refrigerator before rolling and baking for fresh cookies whenever the craving strikes.
Getting Perfect Circles
My circles used to turn out uneven until I started rotating the rolling pin quarter turns after each pass. This simple trick keeps the dough uniform and prevents those frustrating oval cookies nobody wants to sandwich.
Serving Suggestions
These cookies shine brightest when arranged on a vintage cake stand or simple white platter where the pastel colors can really stand out.
- Pair with iced tea or lemonade for the ultimate spring gathering
- Stack them in clear treat bags tied with satin ribbon for party favors
- Keep them flat during transport because the buttercream will slide if tilted
 Save
Save These pastel sandwich cookies have become my secret weapon for making ordinary moments feel like tiny celebrations worth savoring.
Common Questions
- → Can I make the cookie dough ahead of time?
-
Yes, the dough can be prepared and refrigerated for up to 3 days before baking. You can also freeze the dough discs for up to 3 months—thaw overnight in the refrigerator before rolling and baking.
- → How do I achieve the perfect pastel colors?
-
Start with a tiny amount of gel food coloring and add gradually until you reach the desired soft pastel shade. Gel coloring is concentrated, so less is more. For consistent results, prepare one base batch of buttercream and divide evenly before tinting.
- → Can I use different flavors for the buttercream?
-
Absolutely. While vanilla is classic, you can substitute almond extract, lemon extract, or even coconut extract. For fruit variations, add a tablespoon of fresh lemon juice or strawberry puree while reducing the milk slightly.
- → Why did my cookies spread too much?
-
This usually happens when the dough is too warm before baking. Ensure you chill the dough for at least 1 hour. If your kitchen is warm, you can chill the cut cookie shapes on the baking sheet for 10-15 minutes before baking to help them hold their shape.
- → How should I store the completed sandwiches?
-
Store in an airtight container at room temperature for up to 3 days. If you need to keep them longer, refrigerate for up to a week, though bring to room temperature before serving for the best texture and flavor. The cookies can also be frozen unfilled for up to 3 months.
- → Can I make these without a stand mixer?
-
Yes, a hand mixer works perfectly fine. If mixing by hand, ensure your butter is very soft and use a sturdy wooden spoon. You may need to put more elbow grease into creaming the butter and sugar, but the results will be just as delicious.
