 Save
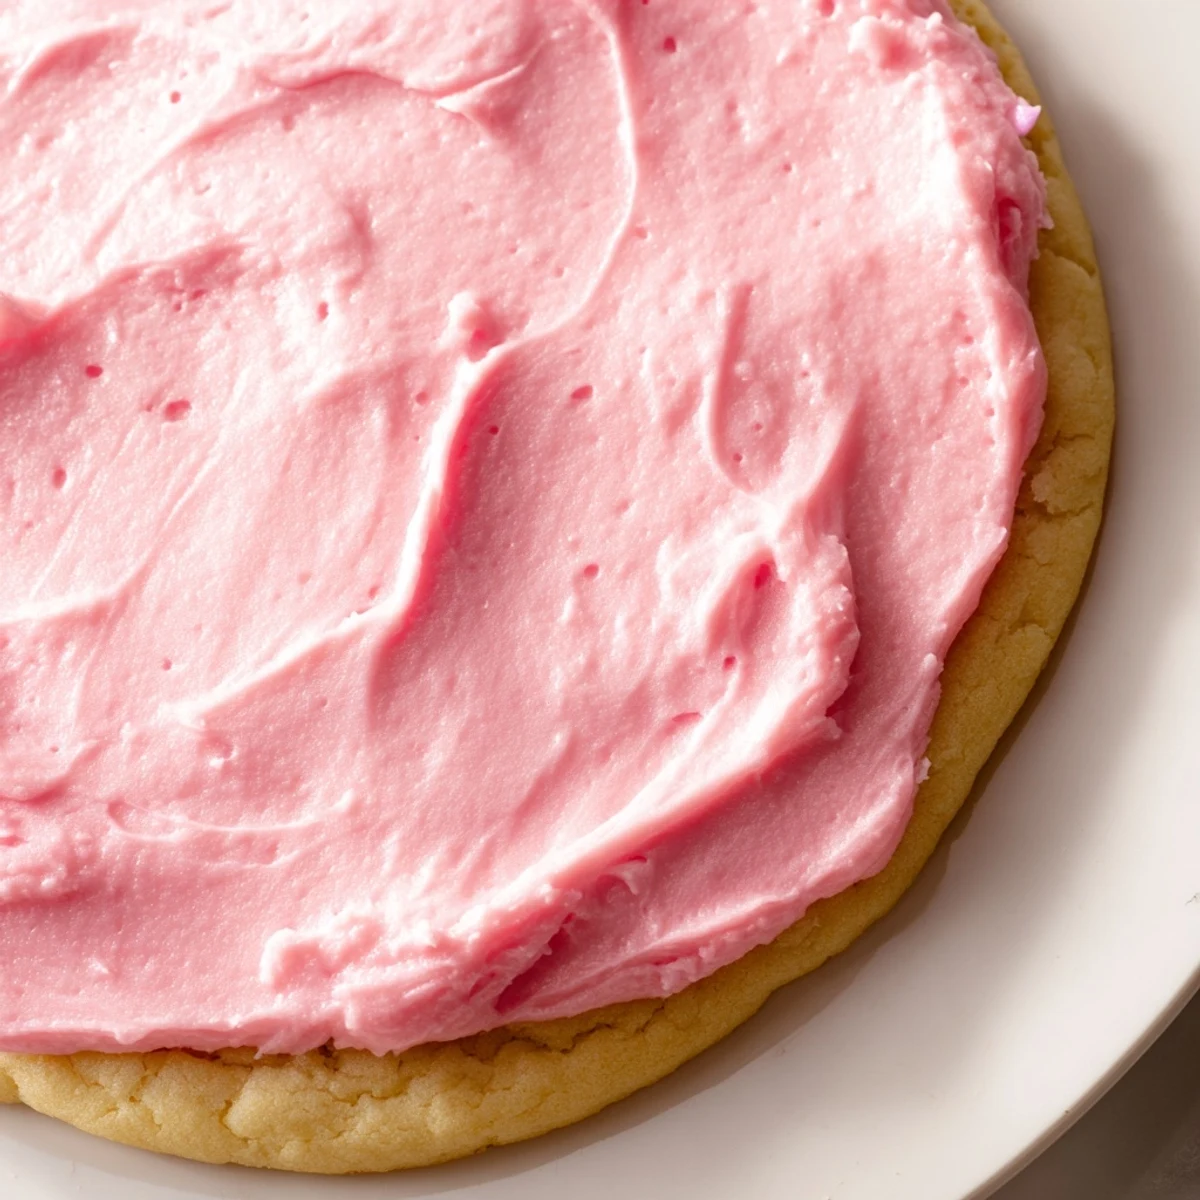
Save These soft, pillowy sugar cookies capture everything beloved about the famous pink bakery treat. The dough comes together quickly with butter, sugar, and vanilla, while a hint of almond extract gives them their signature flavor. Bake until just set for perfectly tender centers, then crown each cookie with generous swirls of vibrant pink almond buttercream. The result is a thick, bakery-style cookie that stays soft for days and delivers that unmistakable sweet, almond-kissed taste.
My daughter came home from a birthday party last year absolutely obsessed with these pink cookies from that famous bakery. She described them in detail for twenty minutes straight, the pink frosting, the soft crumb, the almond taste. Honestly, I was skeptical anything could live up to that kind of hype, but I also knew I could probably figure out a homemade version that would make her just as happy.
We made our first batch on a rainy Sunday afternoon, my daughter standing on a chair at the counter. She took her job very seriously, carefully measuring the flour and watching the mixer like a hawk. When we finally added the pink food coloring, she actually gasped. That first bite, her eyes went huge, and I knew we had nailed it.
Ingredients
- 1 cup unsalted butter: Bring this to room temperature properly, it makes all the difference in achieving that fluffy texture
- 1 cup granulated sugar: Cream this with the butter for the full 2 to 3 minutes, do not rush this step
- 1 large egg: Use room temperature eggs for better incorporation into the dough
- 2 teaspoons vanilla extract: Pure vanilla gives the best flavor foundation
- 1/2 teaspoon almond extract: This is the secret signature flavor that makes these special
- 2 1/2 cups all-purpose flour: Measure by spooning into your cup and leveling off, avoid scooping directly
- 1/2 teaspoon baking powder: Helps give the cookies just enough lift without spreading too much
- 1/2 teaspoon salt: Balances the sweetness and enhances the almond flavor
- 1/2 cup unsalted butter: For the frosting, again make sure it is softened properly
- 2 cups powdered sugar: Sifting this first prevents lumpy frosting
- 1 to 2 tablespoons milk or cream: Start with one tablespoon and add more only if needed
- 1/2 teaspoon almond extract: Echoes the cookie flavor perfectly
- 1/2 teaspoon vanilla extract: Rounds out the almond with warmth
- Pink gel food coloring: Gel gives vibrant color without watering down your frosting
Instructions
- Getting Ready:
- Preheat your oven to 350°F and line two baking sheets with parchment paper. I love using parchment because nothing sticks and cleanup is effortless.
- Creaming Butter and Sugar:
- Beat the butter and sugar together until the mixture looks pale and fluffy. This usually takes 2 to 3 minutes, and you will notice the texture transforms completely.
- Adding Eggs and Extracts:
- Add the egg, vanilla, and almond extract, mixing until everything is combined. The dough will start smelling amazing at this point.
- Whisking Dry Ingredients:
- In a separate bowl, whisk together the flour, baking powder, and salt. This ensures the leavening is evenly distributed throughout.
- Combining Everything:
- Gradually add the dry ingredients to your butter mixture, mixing just until combined. Overmixing leads to tough cookies, so stop as soon as you no longer see dry flour.
- Shaping the Cookies:
- Scoop about 2 tablespoons of dough per cookie and roll into balls. Space them on your prepared baking sheets and gently flatten with your palm.
- Baking:
- Bake for 10 to 12 minutes until edges are set but centers still look slightly underdone. This is the key to keeping them soft.
- Cooling:
- Let them sit on the baking sheet for 5 minutes, then move to a wire rack. They need to be completely cool before frosting.
- Making the Frosting:
- Beat the butter until creamy, then gradually add powdered sugar until smooth. Mix in almond extract, vanilla, salt, and 1 tablespoon of milk.
- Adding Color and Frosting:
- Add pink gel coloring drop by drop until you reach your desired shade. Frost each cooled cookie generously and let the frosting set before serving.
 Save
Save My daughter now asks to make these for every school event and family gathering. Last month she helped me teach her friend how to make them, both girls with pink frosting smeared on their faces, laughing when one batch came out a little too brown. Those slightly overdone cookies still disappeared just as fast.
Getting the Perfect Texture
The most important thing I have learned is that these cookies look done before they actually are. The centers should still look soft and slightly underbaked when you pull them from the oven. I learned this the hard way after making a batch that turned into hockey pucks. Trust the process and let them cool on the hot baking sheet, they firm up perfectly.
Mastering the Frosting
I have found that sifting the powdered sugar is nonnegotiable for silky smooth frosting. Also, start with less milk than you think you need, you can always add more. I once added too much cream right at the start and ended up with frosting that was too thin to stay on the cookies. Gel food coloring is another game changer because liquid coloring can throw off your consistency completely.
Storage and Make-Ahead Tips
These cookies actually taste better on day two, which makes them perfect for preparing in advance. The flavors meld together and the texture becomes even more tender. I store them layered between parchment paper in an airtight container.
- Frost only the cookies you plan to serve immediately
- The unfrosted cookies freeze beautifully for up to a month
- Let frozen cookies thaw completely before frosting
 Save
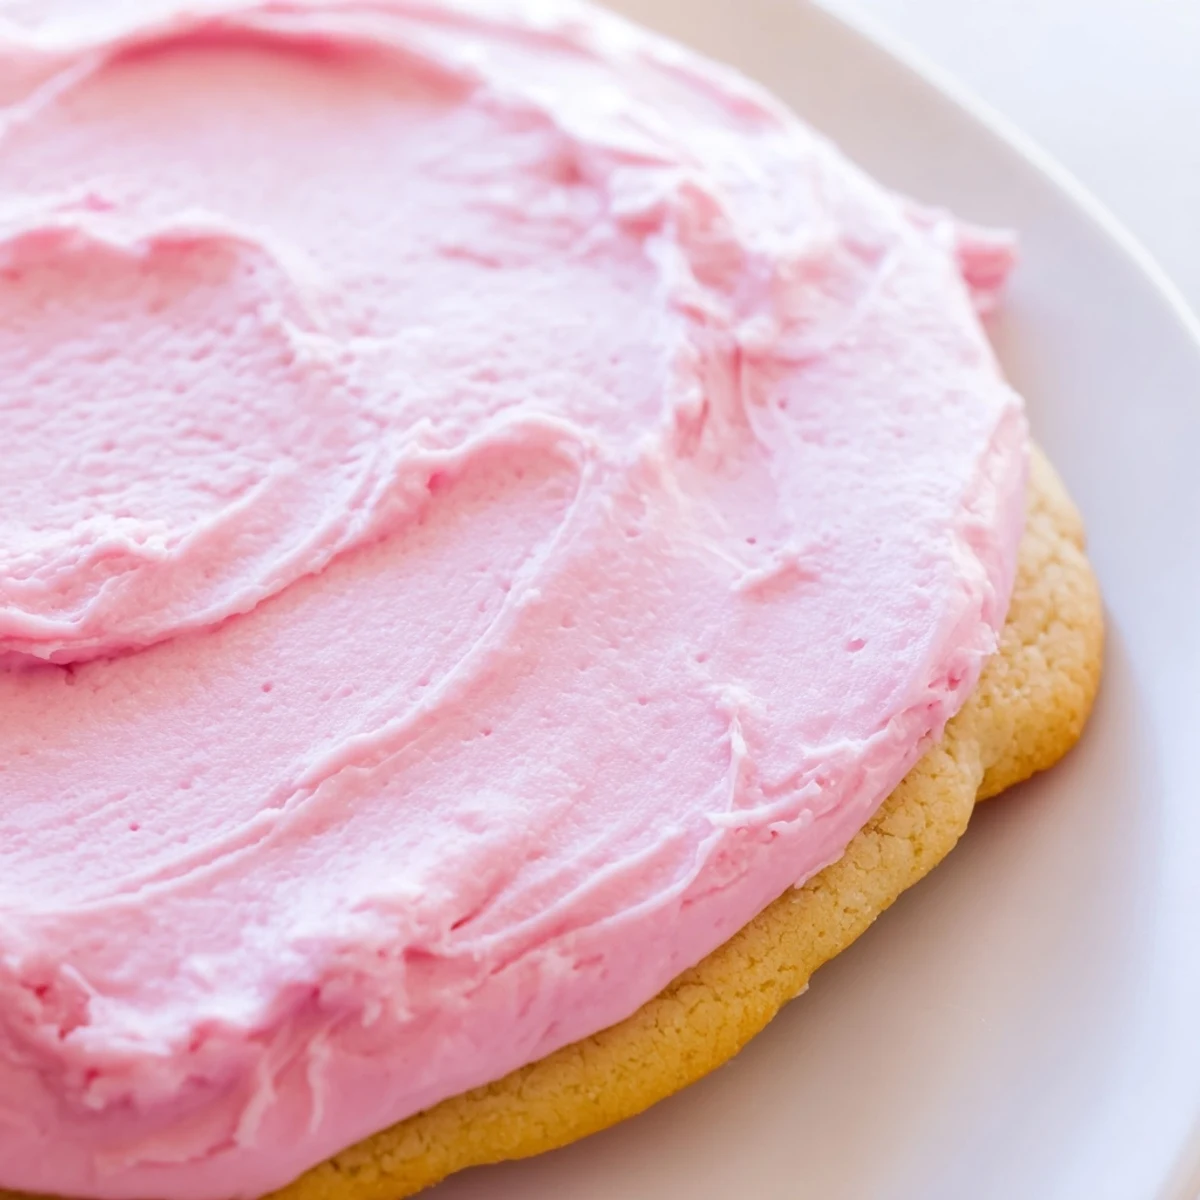
Save There is something so joyful about a platter of pink frosted cookies, especially when you know they came from your own kitchen. I hope these become a happy tradition in your house too.
Common Questions
- → What makes these cookies taste like the famous bakery version?
-
The combination of almond extract in both the dough and frosting creates that signature flavor profile. Using equal parts butter and sugar in the cookie base, plus slightly underbaking, produces the soft, thick texture Crumbl is known for.
- → Can I use liquid food coloring instead of gel?
-
Gel food coloring works best because it provides vibrant pink color without thinning the frosting. Liquid coloring can alter the consistency, making it too runny to swirl properly on top of the cookies.
- → Why do my cookies turn out hard instead of soft?
-
Overbaking is the most common cause. Remove cookies from the oven when edges are set but centers still look slightly underdone. They continue cooking on the hot baking sheet, so the 5-minute cooling time is essential for perfect texture.
- → How should I store these to keep them soft?
-
Store in an airtight container at room temperature for up to 4 days. Placing a piece of bread in the container helps maintain moisture. These can also be frozen unfrosted for up to 3 months.
- → Can I make these without almond extract?
-
Yes, simply replace the almond extract with additional vanilla extract. The flavor profile will change slightly but you'll still have delicious, soft sugar cookies with creamy vanilla frosting.
- → What's the trick to getting thick bakery-style cookies?
-
Use a full 2 tablespoons of dough per cookie and only flatten slightly before baking. The dough needs enough mass to spread while keeping that characteristic thick, soft center.
