 Save
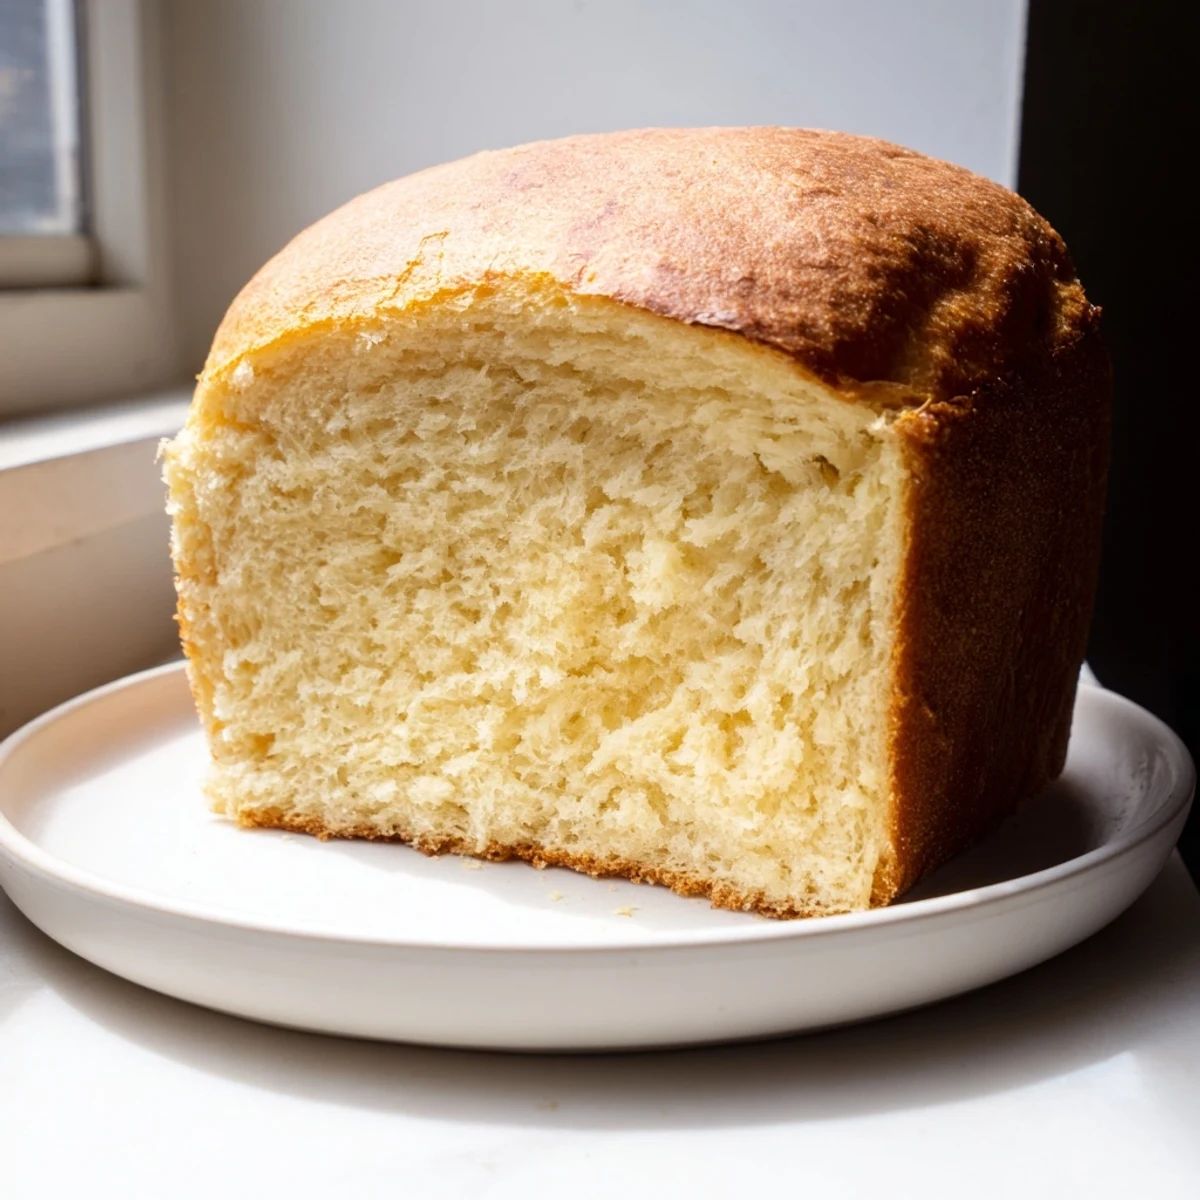
Save This loaf boasts a golden crust and tender, fluffy crumb achieved through simple ingredients like bread flour, yeast, and olive oil or butter. Starting with proofing yeast and mixing the dough, knead until smooth then allow it to rise twice for a light texture. Bake until golden and hollow sounding, then cool on a wire rack before slicing. Optional toppings such as herbs or seeds add variety, while a brush of melted butter enhances softness. Ideal for fresh use or freezing.
The first loaf I ever baked from scratch came together on a quiet Sunday morning when my roommate mentioned she missed the smell of fresh bread. I had no idea what I was doing, but I found myself mesmerized by how yeast transformed a pile of flour into something alive and breathing. That loaf wasn't perfect, but when it came out of the oven golden and warm, she actually teared up. I've made this recipe dozens of times since, and it never gets old.
I learned this recipe properly when my grandmother finally agreed to teach me after years of me asking. She kneaded that dough with this calm confidence I'd never seen before, and when I asked her secret, she just laughed and said there was no secret—just respect for the flour and patience with the time. Watching her pull that loaf from the oven and hearing the crackling sound still echoes in my memory.
Ingredients
- Bread flour: Use bread flour, not all-purpose, because the higher protein content gives you that chewy, structured crumb you're after.
- Lukewarm water: Too hot and you'll kill the yeast; too cold and nothing happens—think bathwater temperature.
- Active dry yeast: This is the workhorse that makes everything rise; check your expiration date because old yeast means flat bread.
- Olive oil or melted butter: This enriches the dough and gives you a slightly softer crust.
- Granulated sugar: A tiny bit of sweetness activates the yeast and gives it something to feed on.
- Salt: Don't skip this; it controls fermentation and strengthens the gluten network.
Instructions
- Wake up the yeast:
- Dissolve the sugar in lukewarm water, sprinkle the yeast over the top, and let it sit for 5–10 minutes. You'll see it get foamy on top—that's how you know it's alive and ready to work. If it doesn't foam, your yeast is dead and you need to start over.
- Bring the dough together:
- Mix the flour and salt in a large bowl, then make a well in the center. Pour in the yeast mixture and oil, then stir until everything is shaggy and combined. This rough mixing takes just a couple of minutes.
- Knead it into submission:
- Work the dough on a floured surface for 8–10 minutes by hand, or use a stand mixer with a dough hook for 6–8 minutes. You'll feel it transform from sticky and rough into smooth and elastic; that's when you know the gluten is developed enough.
- Let it rise in peace:
- Place the dough in an oiled bowl, cover it with a towel or plastic wrap, and leave it in a warm spot for 1–1.5 hours. It should roughly double in size—your kitchen will smell incredible during this time.
- Shape and proof again:
- Punch down the dough (it feels oddly satisfying), shape it into a loaf, and place it in a greased loaf pan. Cover and let it rise for 30–40 minutes until it crests just above the rim.
- Bake until golden:
- Preheat the oven to 375°F, then bake for 30–35 minutes until the top is golden brown and the bottom sounds hollow when tapped. That hollow sound is how you know it's truly done inside.
- Cool with patience:
- Let it rest in the pan for 10 minutes, then turn it out onto a wire rack to cool completely. I know it's torture to wait, but cutting into warm bread makes it compress and tear.
 Save
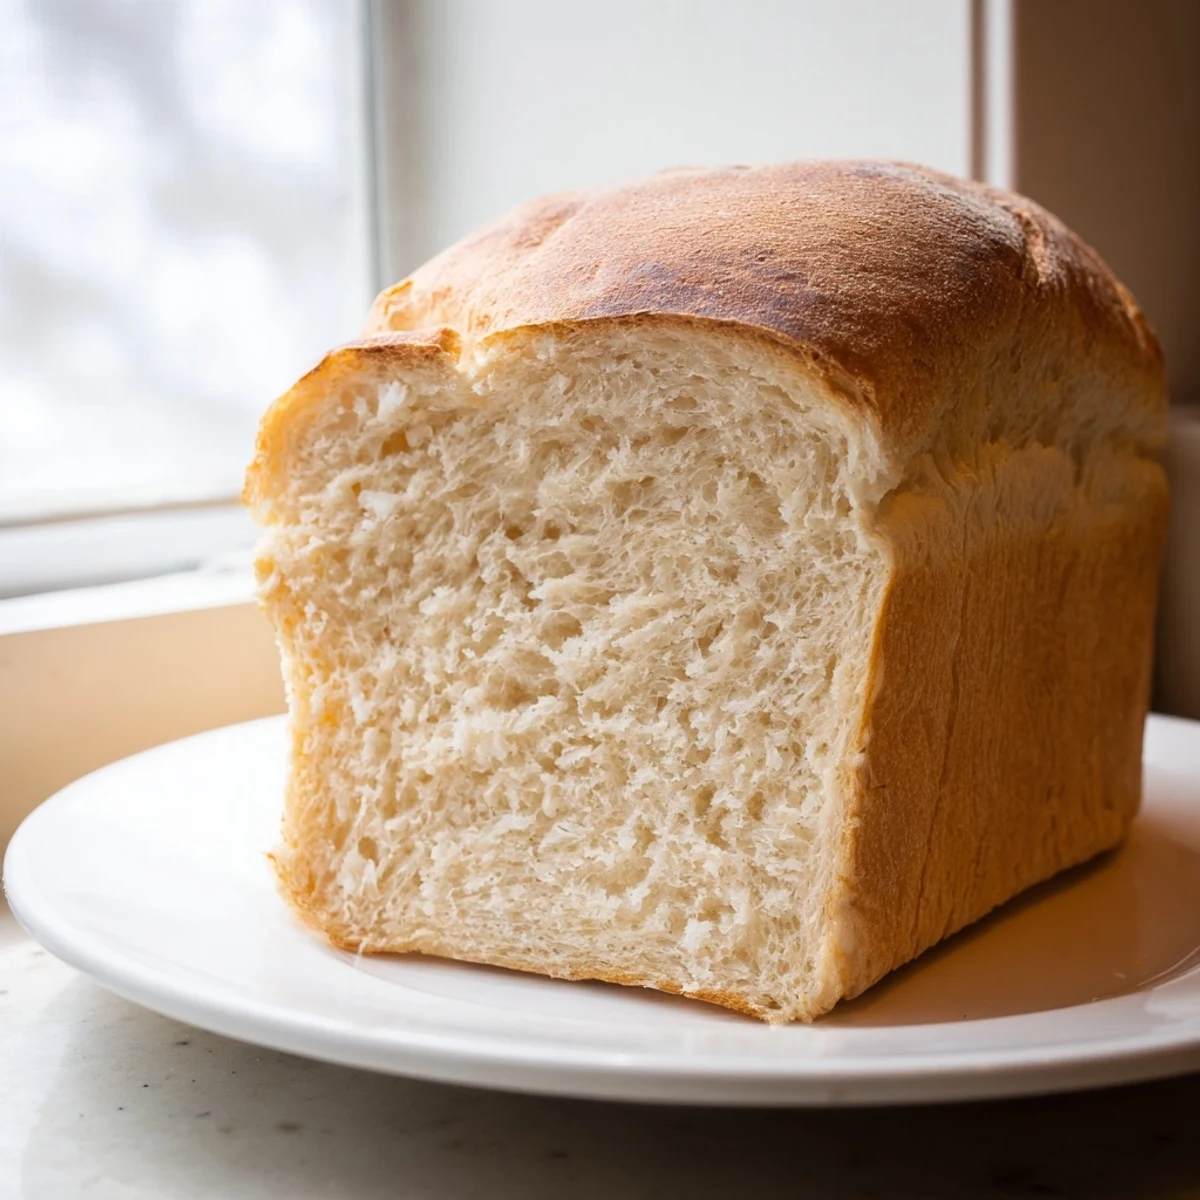
Save There's a moment during the second rise when you peek under the towel and see that dough has actually grown again—suddenly you believe in the magic of baking. That small miracle is why I keep coming back to this recipe, no matter how many other breads I try.
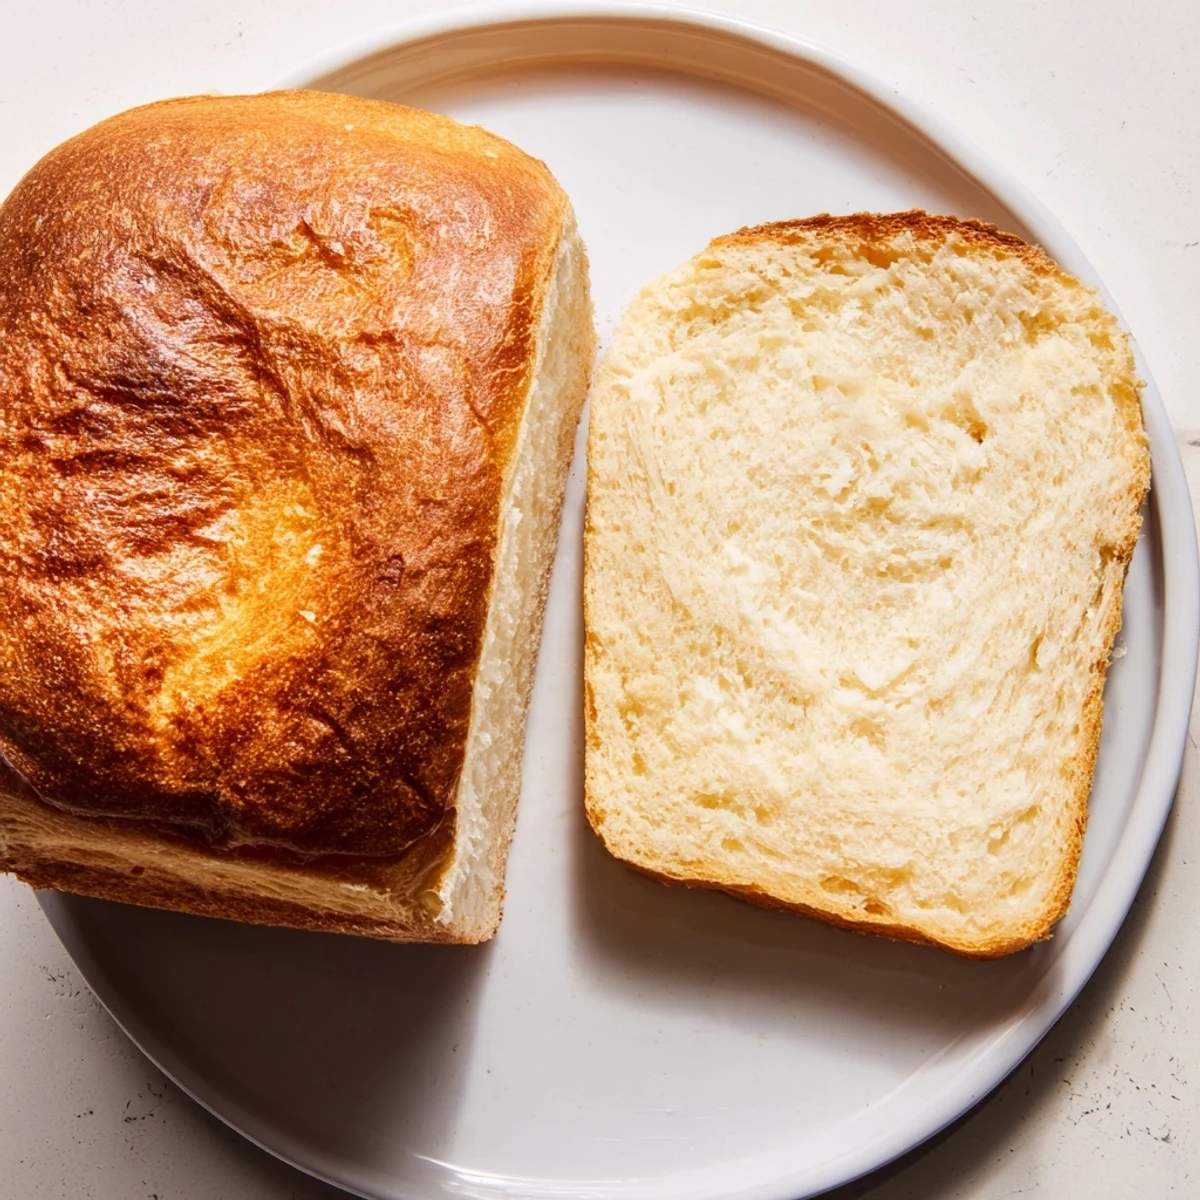
Texture and Crust
The magic happens in how you treat the dough during kneading and rising. If you want a softer, more delicate crumb, be gentle and don't overwork it after the initial knead. If you prefer a chewier texture with bigger holes, let it rise a bit longer and handle it less gently when shaping.
Flavor Building
The simplicity of this recipe is exactly its strength—salt, sugar, and yeast create a foundation that lets the flour shine. Once you master the basic loaf, adding herbs like rosemary or sesame seeds right before baking transforms it into something that feels restaurant-worthy.
Storage and Keeping
Freshly baked bread is best eaten within a day, but it keeps well wrapped in a kitchen towel for a few days. After that, freezing is your friend—wrap it tightly and it'll stay perfect for up to two months. Thaw at room temperature and you'll forget it was ever frozen.
- Brush the hot loaf with melted butter right after baking for a softer, more tender crust.
- Once cool, store it cut-side down on a bread board to keep it fresh longer.
- Revive day-old bread by wrapping it in foil and warming it in a 300°F oven for 10 minutes.
 Save
Save There's nothing quite like pulling a loaf from your own oven and knowing you made it from scratch. I hope this bread becomes a staple in your kitchen the way it has in mine.
Common Questions
- → How do I know when the dough has risen enough?
-
The dough should double in size during the rising stages. It will look puffy and hold an indentation when gently pressed.
- → Can I use butter instead of olive oil?
-
Yes, melted butter can replace olive oil to add richness and a softer crust.
- → What does it mean when the loaf sounds hollow after baking?
-
A hollow sound indicates the bread is fully baked inside, ensuring a tender, airy crumb.
- → How can I vary the bread's flavor and texture?
-
Add herbs, seeds, or whole grains to the dough before baking for extra aroma and crunch.
- → Is it better to cool the bread completely before slicing?
-
Yes, cooling fully prevents crumb from becoming gummy and helps slices hold their shape.
