 Save
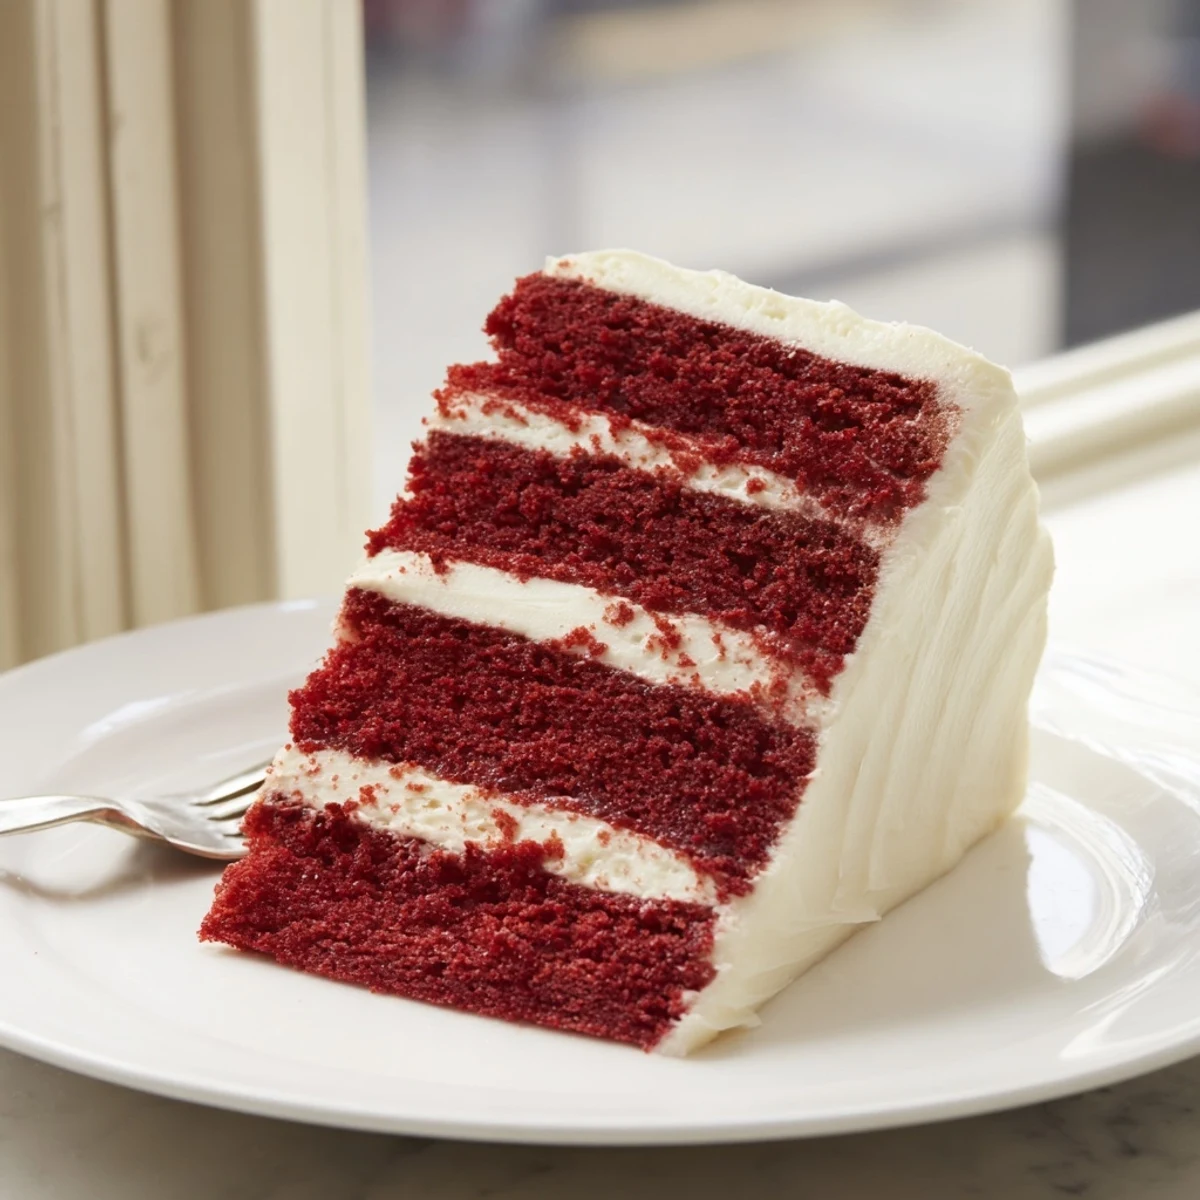
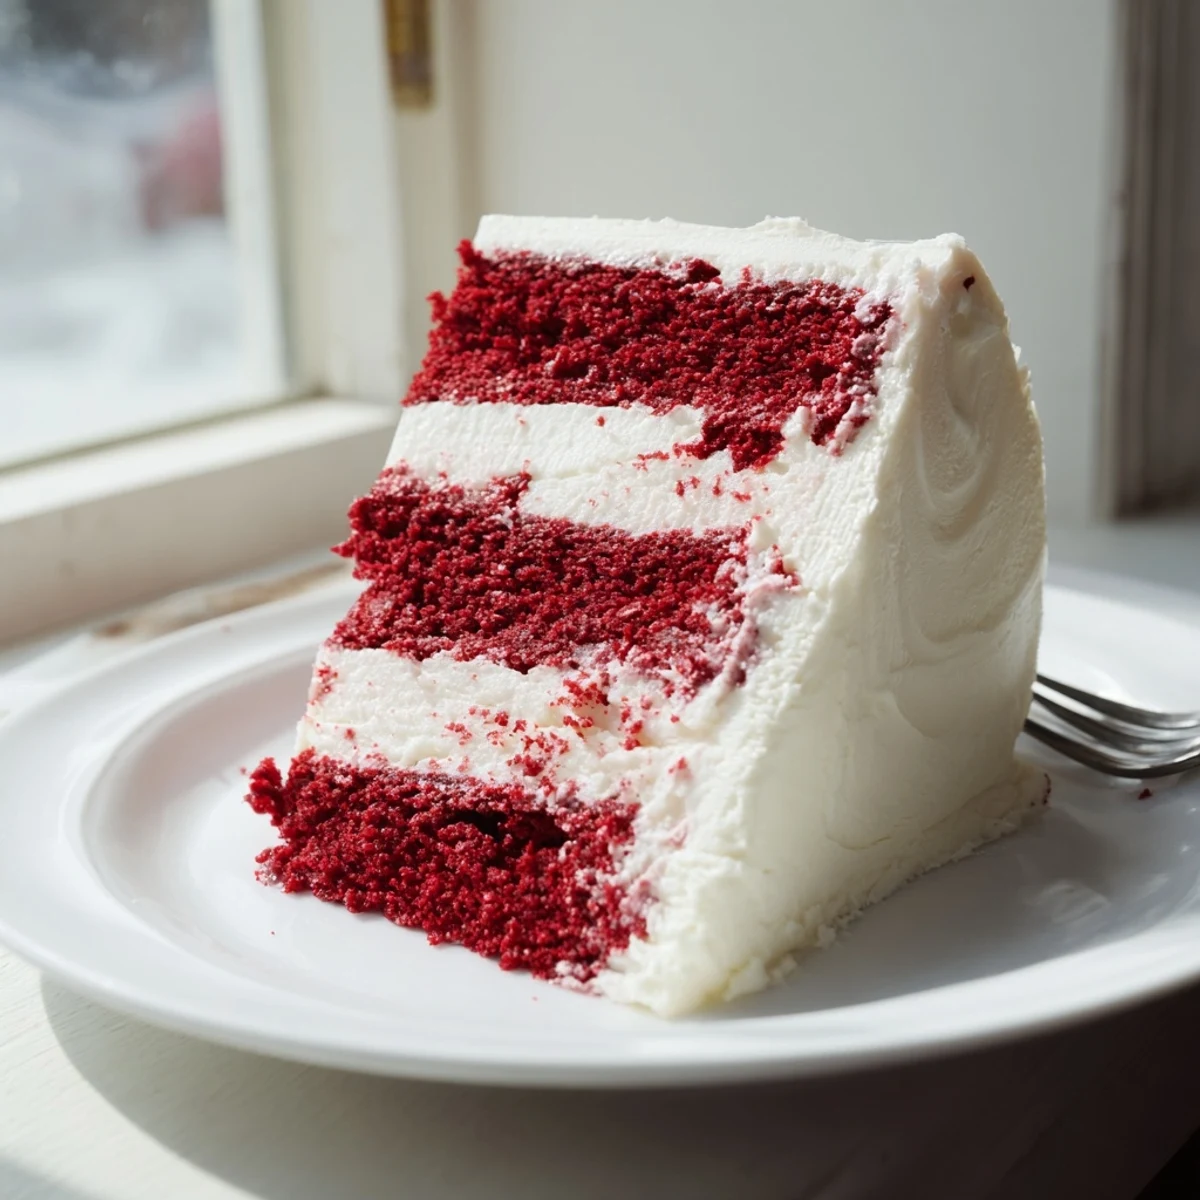
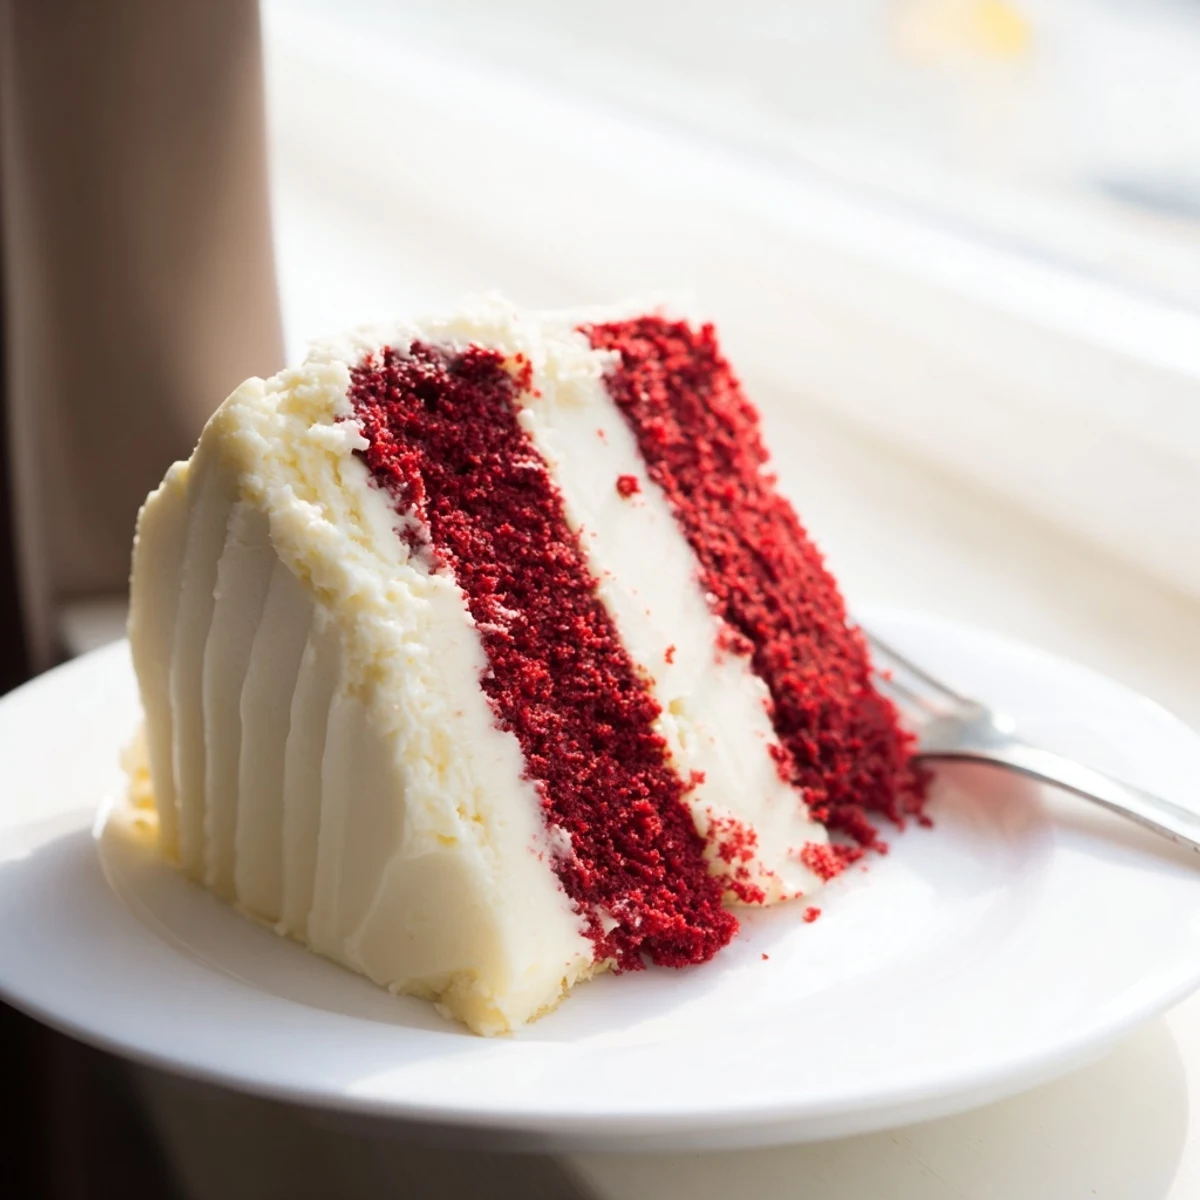
Save This classic American dessert features vibrant red velvet layers infused with a hint of cocoa, topped with luscious cream cheese frosting. The cake achieves its signature moist texture through buttermilk and vegetable oil, while the tangy frosting balances the sweetness perfectly. Ideal for birthdays, weddings, holidays, or any special gathering.
The kitchen hummed with Christmas music while my grandmother carefully measured the crimson liquid that would transform ordinary cake batter into something magical. I watched, completely mesmerized, as she explained that red velvet wasnt just about the dramatic color but the perfect marriage of cocoa and buttermilk. That afternoon taught me that some desserts carry stories in every single bite. Now whenever I see that deep red hue, Im immediately transported back to her flour-dusted apron and warm laughter.
I made this cake for my daughters birthday last year and forgot the food coloring until the very last second. There I was frantically stirring in deep red drops while she peeked around the corner asking what smelled so good. It turned out gorgeous despite my panic, and she still talks about the year mommy almost made pink cake instead of red. Sometimes the sweetest memories come from moments that dont go exactly according to plan.
Ingredients
- 2 1/2 cups all-purpose flour: The foundation that gives structure without making the cake dense or dry
- 1 1/2 cups granulated sugar: Sweetness that balances the tangy buttermilk and subtle cocoa notes
- 1 teaspoon baking soda: Works with the vinegar to create that signature tender crumb
- 1 teaspoon fine salt: Enhances all the flavors without making the cake taste salty
- 1 tablespoon unsweetened cocoa powder: Just enough to give depth without overpowering the delicate velvet texture
- 1 1/2 cups vegetable oil: The secret to staying moist longer than butter-based cakes
- 1 cup buttermilk, room temperature: Essential for both tenderness and that classic red velvet tang
- 2 large eggs, room temperature: Bind everything together while contributing to richness
- 2 tablespoons red food coloring: Creates that stunning crimson were all here for
- 1 teaspoon vanilla extract: Pure vanilla extract makes all the difference in the final flavor
- 1 teaspoon white vinegar: Reacts with baking soda for extra lift and tenderness
- 8 oz cream cheese, softened: Make sure its truly soft for the silkiest frosting texture
- 1/2 cup unsalted butter, softened: Room temperature butter blends seamlessly with cream cheese
- 4 cups powdered sugar, sifted: Sifting prevents lumps and ensures perfectly smooth frosting
- 1 teaspoon vanilla extract: A little extra vanilla in the frosting creates harmony with the cake
- Pinch of salt: Just enough to balance the sweetness without tasting salty
Instructions
- Preheat your oven with intention:
- Set it to 350°F and generously grease two 9-inch round pans with butter, then dust with flour turning them to coat completely
- Whisk your dry ingredients together:
- In a medium bowl, sift the flour, sugar, baking soda, salt, and cocoa powder until perfectly blended and free of lumps
- Combine the wet mixture:
- In a large bowl, whisk together the oil, buttermilk, eggs, food coloring, vanilla, and vinegar until the mixture is completely uniform
- Gently bring it all together:
- Gradually add the dry ingredients to the wet ingredients mixing just until smooth being careful not to overwork the batter
- Divide and prepare for baking:
- Pour the batter evenly between your prepared pans using a spatula to smooth the tops
- Bake until perfectly done:
- Bake for 28 to 30 minutes until a toothpick inserted in the center comes out completely clean
- Let the cakes rest:
- Cool in the pans for exactly 10 minutes before carefully turning them out onto a wire rack to cool completely
- Create the dreamy frosting:
- Beat the softened cream cheese and butter until completely smooth then gradually add sifted powdered sugar followed by vanilla and salt beating until light and fluffy
- Assemble your masterpiece:
- Place one cake layer on your serving plate spread a generous layer of frosting on top then place the second layer over it and frost the top and sides
- Chill for clean slices:
- Refrigerate the finished cake for 30 minutes before slicing this small step makes serving so much easier
 Save
Save My friend requested this for her wedding anniversary and I was so nervous getting those layers perfectly level. When I saw them cut into that first slice at their party revealing those gorgeous red layers against the white frosting, I actually got a little emotional. Food has this incredible way of turning moments into memories.
Making It Ahead
You can bake the cake layers up to two days in advance as long as you wrap them tightly in plastic wrap once completely cooled. The frosting can also be made ahead and stored in the refrigerator but bring it to room temperature before using for the smoothest application.
Perfecting The Color
If you want a deeper red without using excessive food coloring try adding a tablespoon of beet powder or reduce the cocoa powder slightly since cocoa can mute the red color. Natural red food coloring works beautifully too though it might produce a slightly more subtle crimson hue.
Serving Suggestions
This cake pairs wonderfully with fresh berries especially raspberries or strawberries which complement both the chocolate notes and tangy cream cheese frosting. A cup of strong coffee or glass of cold milk makes the perfect accompaniment.
- Try adding a teaspoon of almond extract to the frosting for an unexpected flavor twist
- Sprinkle crushed red velvet cake crumbs over the top for a stunning bakery-style finish
- Room temperature cake serves better than cold so let it sit out 20 minutes before serving
 Save
Save Every slice of this cake feels like celebration whether its a birthday or just Tuesday. Hope it brings as much joy to your table as it has to mine.
Common Questions
- → What gives red velvet its distinctive color?
-
The vibrant red hue comes from food coloring combined with a chemical reaction between cocoa powder and acidic ingredients like buttermilk and vinegar.
- → Can I make this cake ahead of time?
-
Yes, bake the layers up to 2 days in advance. Wrap tightly in plastic and refrigerate. Frost on the day of serving for the freshest taste and texture.
- → How should I store leftover cake?
-
Store in an airtight container in the refrigerator for up to 5 days. Bring to room temperature for 30 minutes before serving for the best flavor and texture.
- → Can I freeze this cake?
-
Freeze unfrosted cake layers wrapped in plastic and foil for up to 3 months. Thaw overnight in the refrigerator before frosting and serving.
- → What makes the texture so moist?
-
The combination of buttermilk, vegetable oil, and the right amount of eggs creates a tender crumb. The oil keeps the cake moist longer than butter-based versions.
- → Is cream cheese frosting necessary?
-
Cream cheese frosting is traditional and complements the subtle cocoa flavor perfectly. However, you can use vanilla buttercream or whipped cream as alternatives.
