 Save
Save Start with a dense mac and cheese: elbow pasta tossed into a thick cheddar and Parmesan sauce, spread out and chilled until firm (2 hours or 30 minutes in the freezer). Scoop into 1½-inch balls, set up a breading station with flour, beaten egg, and seasoned panko, then double-coat if desired. Fry in 2 inches of oil at 350°F for 2–3 minutes until deeply golden, drain on paper towels, and serve hot with marinara, ranch, or spicy mayo. Mix-ins like bacon or jalapeño add heat and texture; these freeze well before frying.
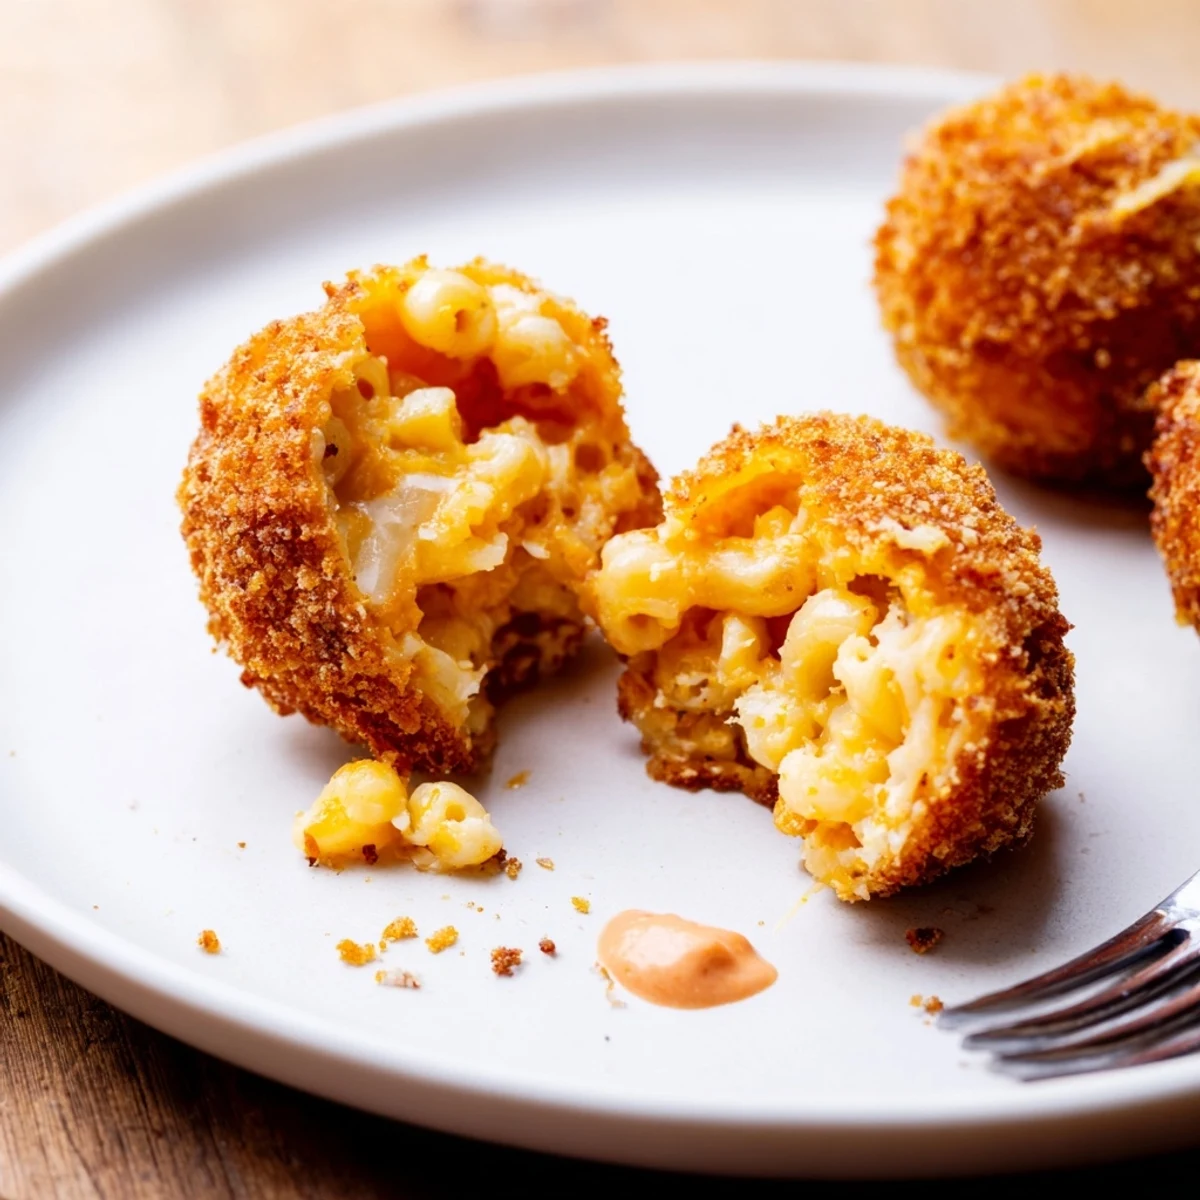
The first time I made fried mac and cheese bites, the simple sizzle and rich, savory scent of cheese made my kitchen feel oddly festive. It was a gray afternoon and I found myself humming without realizing—something about the anticipation of that first crunchy bite was just contagious. The little orbs looked funnier than I expected, but I couldn’t resist popping the odd misshapen one in my mouth long before the batch was done. These bites may look playful, but they deliver serious comfort and crowd-pleasing power.
I made a double batch for a last-minute movie night and ended up frying them in shifts as guests arrived, surrounded by laughter and wandering hands. My friend Andy tried to snag one straight from the draining rack, declaring they smelled too good to wait. Watching people genuinely light up over a bite-sized snack I made from scratch—not store-bought—still gives me a quiet thrill. Even the tiny grease spatters on my oven told a happy story by the night's end.
Ingredients
- Elbow macaroni: Go for classic elbows; they grab and hold onto the cheese sauce best when you mix everything together.
- Sharp cheddar cheese: I’ve found sharp cheddar gives a tangy punch—don’t be shy, pile it in and look for pre-shredded to save time.
- Parmesan cheese: A bit of grated Parm melts in for a slightly nutty, rounded flavor that makes a difference.
- Unsalted butter: Starting the sauce with real butter means creamy richness every time; just don’t let it brown.
- All-purpose flour: This thickens your sauce—take a minute to whisk it into the butter so you don’t get lumps later.
- Whole milk: The richness helps the cheese sauce stay velvety; I’ve tried light milk, but whole just works best here.
- Salt: It wakes up all the cheesiness, but taste your sauce before adding more.
- Black pepper: A little pinch in the sauce adds warmth without overpowering any flavors.
- Eggs: Essential for binding the breading—beat well so your coating sticks like a charm.
- Flour (for breading): Dusting the bites in flour first ensures the crust holds through frying.
- Panko breadcrumbs: These create the crispiest crust—regular breadcrumbs just can’t compete.
- Garlic powder: The secret flavor bump in the breading that everyone quietly tries to guess.
- Paprika: Adds gentle warmth and color to the crust—smoked or sweet works, depending on your mood.
- Vegetable oil: Make sure it’s fresh and neutral-flavored; I use canola for a reliably golden fry.
Instructions
- Boil the macaroni:
- Use a big pot of salted water, and don’t wander off—it’s best slightly firmer than you’d usually eat so it won’t go mushy after frying.
- Build the cheese sauce:
- Melt the butter, whisk in flour, and when it smells just a little nutty, slowly pour in the milk. Stir constantly until thick, then take it off the heat and add both cheeses, salt, and pepper for the ultimate creamy base.
- Combine and chill:
- Fold the cooked pasta into the cheese sauce and spread it out on a lined baking sheet in a thick, even layer. Pop it in the fridge for a couple of hours (or use the freezer if impatience strikes) until it feels firm to touch.
- Roll into balls:
- Scoop out the cold mac and cheese and shape it with your hands—don’t worry if they aren’t perfectly round, it all fries up prettily.
- Breading station prep:
- Set out three bowls: flour first, then beaten eggs, then a mix of panko, garlic powder, and paprika. Dredge each ball in flour, dip in egg, and give it a good roll in the panko so it’s thoroughly coated.
- Fry until golden:
- Heat oil in a deep pan to 350 degrees F; carefully add the bites, a few at a time, and fry until walnut-brown and rocking a loud crunch, about 2-3 minutes. Drain them on paper towels and resist the urge to sneak one too soon—they’re molten hot inside.
- Serve and enjoy:
- Best eaten fresh and hot, with your favorite sauce (I alternate between ranch and spicy sriracha mayo).
 Save
Save There was one evening when the bites disappeared so fast I barely had a moment to try them myself. My cousin’s little ones called them ‘cheesy bombs’ and soon the adults were playfully arguing over the last one. It was one of those rare kitchen successes that instantly became a family tradition. Moments like that are why I fry up a second secret tray just for myself.
Crispy, Creamy, and Oh So Addictive
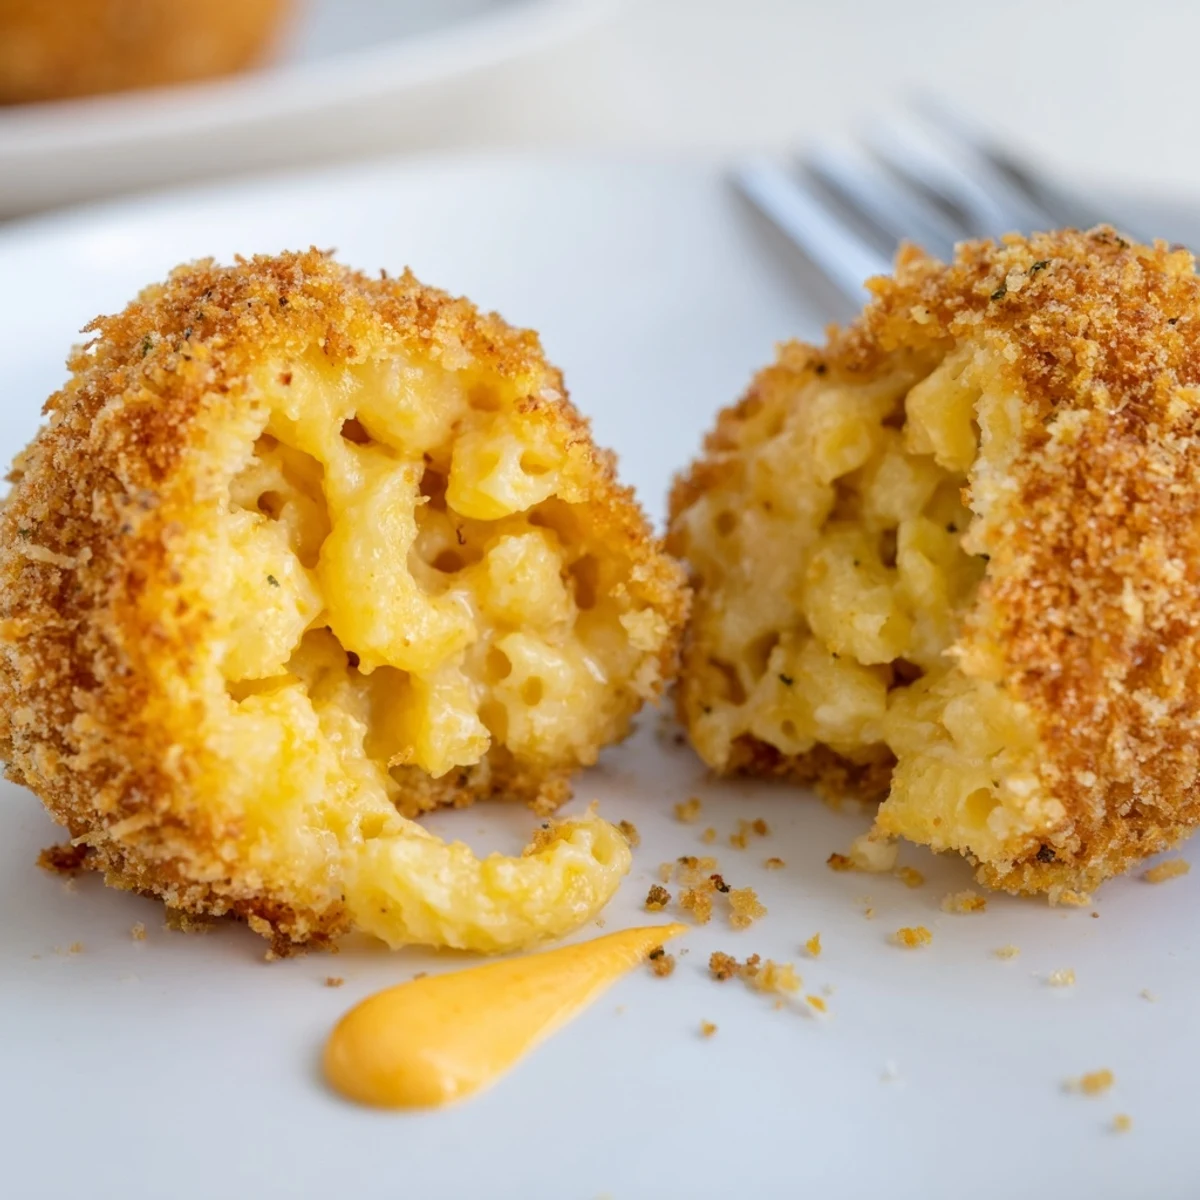
Breading these bites always turns into a bit of a messy assembly line, but the crispy satisfaction at the end is so worth it. If you have helpers, turn on some music and let everyone roll and coat—hands will get messy, but that’s half the fun. The magic happens in the fryer, when the outside blisters into deep crunch and the inside melts to pure comfort with every bite. There’s a tiny suspense pulling each from the oil, wondering if they’ll be as perfect as the last.
Make-Ahead Magic and Freezer Smarts
Whenever I want to get ahead, I freeze breaded bites before frying—all lined up on a baking sheet, ready for a party or a midnight craving. Frying from frozen works better than you’d think and means no last-minute scrambling. They fry up just as golden, and no one can ever tell they weren’t made fresh that very minute. If you love planning ahead, this trick is a total game-changer.
Dipping Sauces and Serving Fun
Pairing the right dip brings these bites to the next level, and I’ve noticed ranch cools things down while sriracha mayo adds a playful kick. At parties, a tray of sauces lets everyone customize, and I love seeing which combos disappear fastest. Sometimes I sneak in a homemade marinara or a smoky ketchup just to surprise people’s taste buds a bit more.
- If making in advance, let the bites cool before storing so the crust stays crisp.
- Adjust the seasoning in the cheese sauce to your taste before forming the balls.
- Don’t crowd the fry pan or your bites won’t crisp up.
 Save
Save There’s something genuinely joyful about sharing these crispy little bites, whether it’s a noisy gathering or a quiet night in. I hope they become a recipe you reach for whenever you need a little extra comfort or celebration.
Common Questions
- → How long should the mac and cheese be chilled before shaping?
-
Chill until firm: about 2 hours in the fridge or 30 minutes in the freezer. Firmness prevents the balls from falling apart during breading and frying.
- → What oil temperature is best for frying?
-
Heat oil to 350°F (175°C). That temperature crisps the panko quickly and cooks the interior without overbrowning; adjust heat between batches to maintain it.
- → Can I bake the bites instead of frying?
-
Yes. Arrange coated balls on a parchment-lined sheet, spray lightly with oil, and bake at 425°F until golden, about 15–20 minutes, turning once for even color.
- → How should I freeze them for later frying?
-
Freeze shaped, breaded bites on a tray until solid, then transfer to a sealed bag. Fry from frozen, adding about 1 extra minute per batch; don’t overcrowd the oil.
- → What can I use instead of panko for the coating?
-
Substitutes include crushed cornflakes, regular breadcrumbs, or finely crushed potato chips. Panko gives the lightest, crunchiest texture; alternatives will be denser.
- → Any tips for extra flavor or mix-ins?
-
Fold cooked bacon, chopped jalapeños, or scallions into the chilled mac and cheese before shaping. For a smokier note, dust the panko with smoked paprika.
