 Save
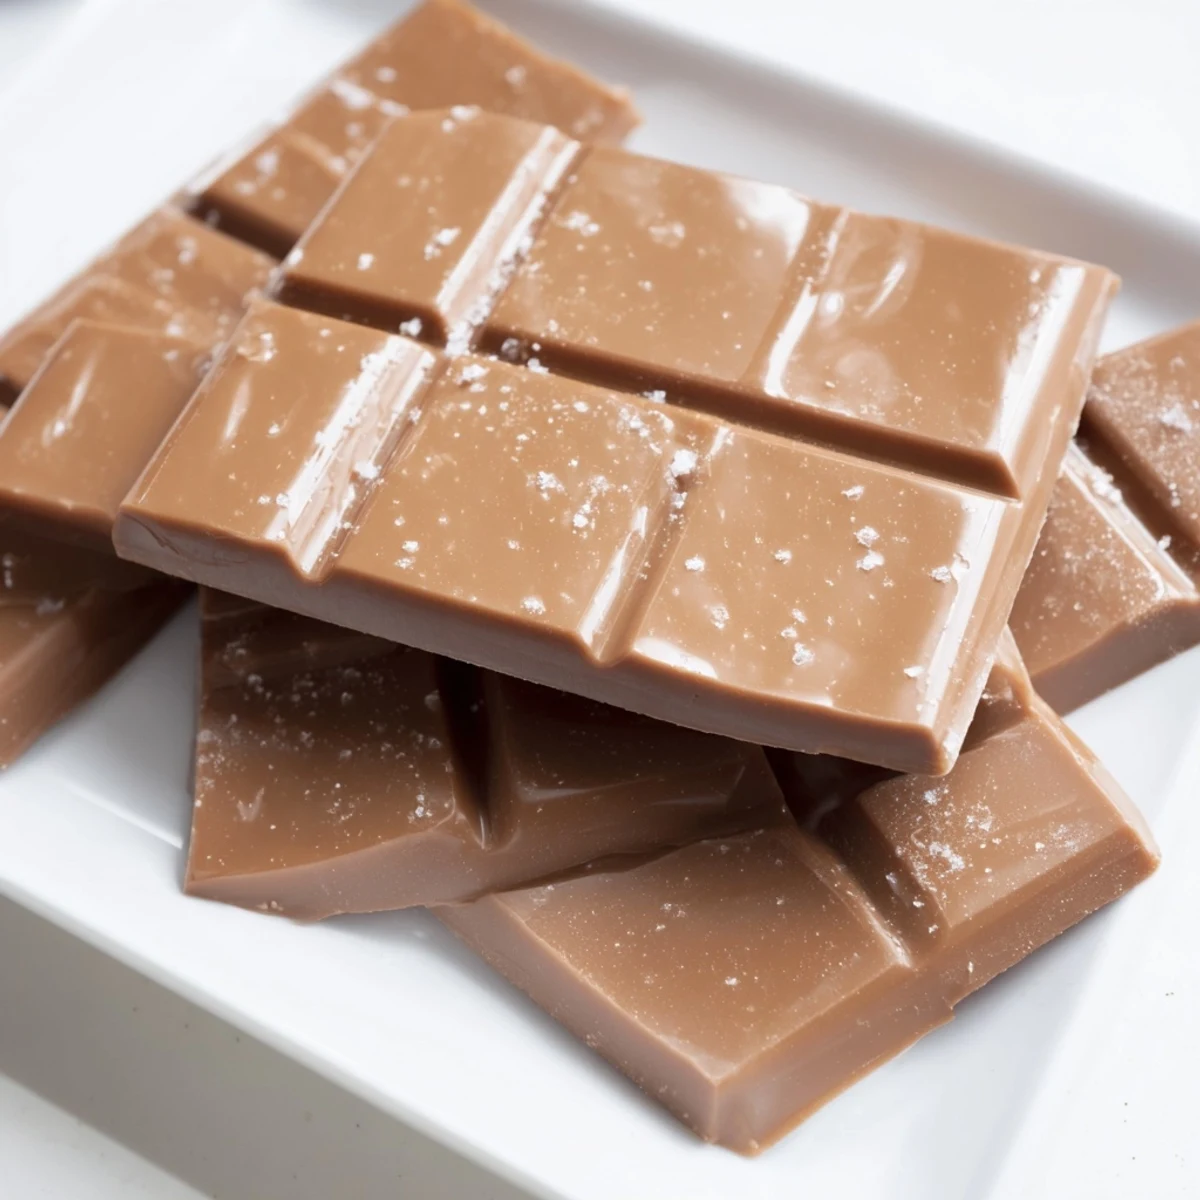
Save This smooth milk chocolate combines high-quality cocoa butter with powdered sugar, cocoa, and whole milk powder for a creamy, sweet treat. Melted gently in a double boiler, the mixture is blended until silky, then chilled to set into bars or bite-sized pieces. Enhanced with vanilla and a pinch of sea salt, it’s perfect for snacking or gifting. Optional add-ins like nuts or dried fruit can add texture, while vegan variations can use coconut milk powder. Store in a cool place for lasting freshness.
The first time I made chocolate from scratch, I was standing in my kitchen at 6 AM on a Saturday, inspired by a friend who'd been raving about homemade confections. I'd always assumed it was impossible—too technical, too finicky—but when I melted that first batch of cocoa butter and watched it transform into liquid silk, I was hooked. There's something almost magical about turning simple ingredients into something that tastes like you've been to a Swiss chocolate factory. I haven't bought a chocolate bar since.
I remember bringing a box of these to a potluck and watching people's faces light up when I casually mentioned I'd made them—the disbelief, then the "wait, really?" moment. One friend who's perpetually on a diet ate three pieces before asking what was in them, and I loved that she couldn't help herself. That's when I realized homemade chocolate isn't just food; it's a tiny act of care that people actually taste.
Ingredients
- Cocoa butter: This is the soul of the chocolate—don't skip it or use substitutes, because it's what gives you that snap and melt. Quality matters here more than anywhere else.
- Powdered sugar: Sifting it prevents grainy texture; I learned this the hard way by skipping this step once.
- Unsweetened cocoa powder: The deeper, more complex cocoa notes come from this, so choose a good brand.
- Whole milk powder: This creates that creamy, gentle sweetness that makes milk chocolate different from dark chocolate.
- Fine sea salt: Just a pinch brings out all the chocolate flavor—don't underestimate this tiny ingredient.
- Vanilla extract: A teaspoon rounds everything out and adds warmth without being obvious.
Instructions
- Melt the cocoa butter gently:
- Chop it finely so it melts evenly, then use a double boiler on low heat—rushing this or using high heat will make it grainy and ruined. Stir slowly and watch it become glossy and smooth; it's actually meditative if you let it be.
- Mix your dry ingredients:
- Sift the powdered sugar, cocoa powder, and milk powder together multiple times if you can, because lumps are the enemy of smooth chocolate. This takes two minutes and saves you from gritty bites later.
- Combine everything smoothly:
- Whisk the dry mix into the melted cocoa butter gradually, like you're making a sauce; rushing creates lumps that won't disappear. The mixture should be completely smooth and glossy when you're done.
- Season and pour:
- Stir in the salt and vanilla, then pour into molds or a parchment-lined dish, tapping gently to get air bubbles out. Pour slowly so you don't splash cocoa butter everywhere.
- Chill until set:
- Thirty to forty-five minutes in the fridge, and don't peek too early or you'll mess with the setting process. You'll know it's ready when it's firm but not rock-hard.
 Save
Save There was an afternoon when my niece asked if the chocolate I'd made was "real" because it tasted so different from what she normally ate. I realized in that moment that homemade food connects us differently—it tastes like effort and care, even if the effort was just 25 minutes of your time. That's the magic I chase every time I make a batch now.
Customizing Your Chocolate
Once you master the base recipe, the fun part begins—this is your canvas. I like to add crushed freeze-dried raspberries for a floral note, or crispy rice cereal for a subtle crunch that catches you by surprise. You can also use toasted coconut flakes, chopped almonds, or even a sprinkle of sea salt on top before it sets, and each variation feels like a new discovery in your own kitchen.
Storing and Gifting
These bars keep beautifully in an airtight container at room temperature for two weeks, though honestly they never last that long in my house. If you're gifting them, wrap them in parchment and tie with string—people love that handmade touch, and it protects the chocolate from fingerprints and melting.
Making It Your Own
The best part about making chocolate at home is that you're not bound by what factories think you should like. I've made this recipe a dozen times, and each batch teaches me something—how humidity affects setting time, which cocoa powder brands have the best flavor, whether I like it thinner or thicker. Your kitchen becomes a chocolate laboratory where failures taste delicious and successes taste like victory.
- For vegan chocolate, swap the milk powder for coconut milk powder and everything else stays exactly the same.
- If your chocolate seems too thick when poured, briefly reheat it over the double boiler until it flows smoothly again.
- Store in a cool place, because warm kitchens will soften these faster than you'd expect.
 Save
Save Making chocolate feels like you've unlocked a secret that chocolate companies don't want you to know. Once you've done it, you'll never look at a candy bar the same way again.
Common Questions
- → What is the best way to melt cocoa butter?
-
Use a double boiler by placing a heatproof bowl over simmering water, melting the cocoa butter gently to prevent overheating.
- → Can I add nuts or dried fruit to the chocolate?
-
Yes, chopped nuts or dried fruit can be mixed in before chilling for added texture and flavor.
- → How long should the chocolate bars chill?
-
Refrigerate for at least 30 to 45 minutes until fully set and firm to the touch.
- → Is it possible to make this dairy-free?
-
Yes, substitute the whole milk powder with coconut milk powder and ensure all ingredients are plant-based.
- → How should finished chocolate bars be stored?
-
Keep them in an airtight container at room temperature in a cool, dry place or refrigerate to maintain freshness.
- → Why is sea salt added to the chocolate mixture?
-
A pinch of fine sea salt enhances the chocolate’s flavor depth by balancing sweetness and highlighting cocoa notes.
