 Save
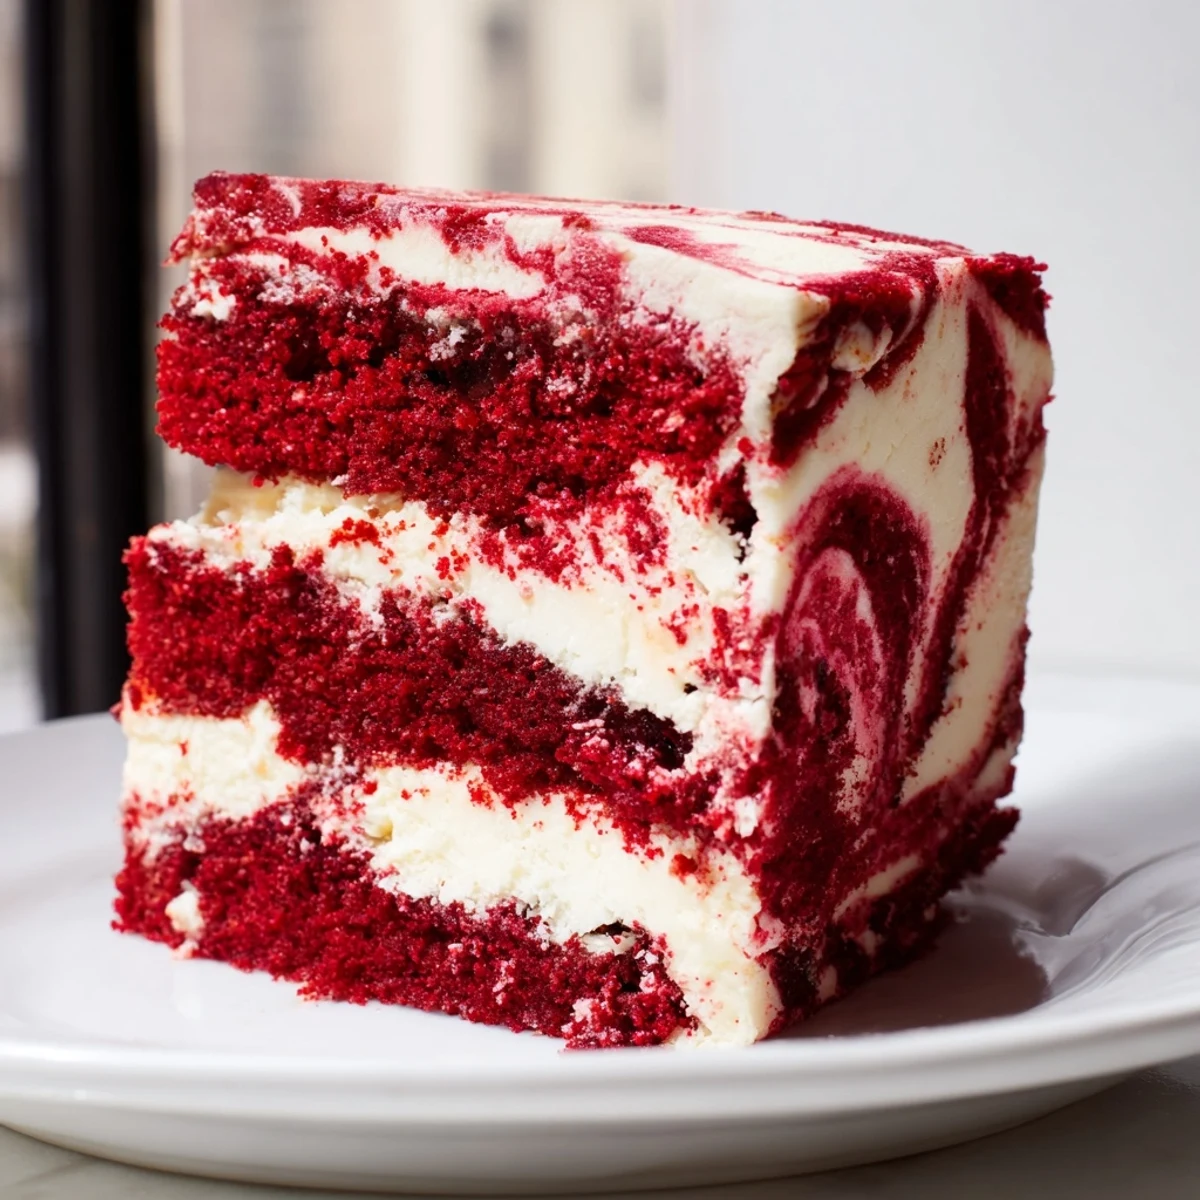
Save This stunning dessert combines the classic appeal of red velvet with the indulgent creaminess of cheesecake in a beautiful marbled presentation. The vibrant red batter, made with buttermilk, cocoa, and a touch of vinegar, provides a tender, moist crumb that perfectly balances the tangy sweet cheesecake swirls.
The swirling technique creates an impressive visual pattern that looks like it came from a professional bakery, yet the preparation is entirely manageable for home bakers. The result is a rich, decadent treat that's ideal for holidays, birthdays, or any gathering where you want to serve something truly special.
What makes this dessert particularly appealing is how the tanginess of the cream cheese filling cuts through the sweetness of the red velvet, creating layers of flavor in every bite. Serve it chilled for a refreshing finish or at room temperature for a softer texture.
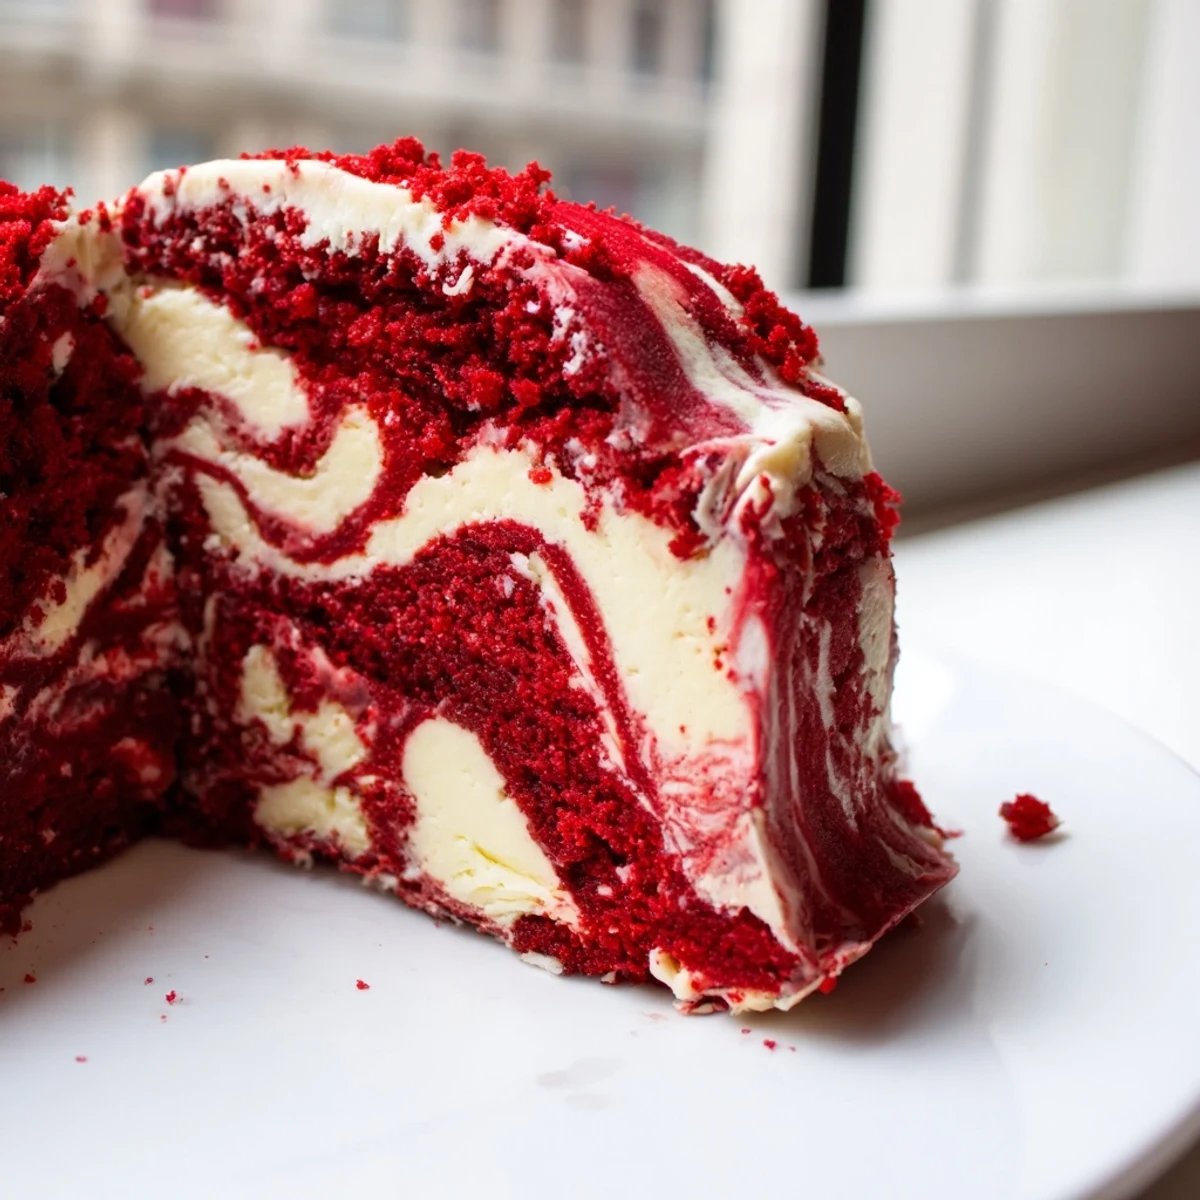
The first time I brought this red velvet cheesecake swirl cake to a potluck, my friend Sarah literally chased me around the kitchen for the recipe. She is not someone who chases people for recipes. The way that creamy cheesecake ribbons weave through the moist crimson cake creates something magical that people cannot stop talking about.
I made this for my daughters birthday last year instead of a traditional layer cake. Watching her eyes light up when she saw those gorgeous swirls was absolutely priceless. Her friends kept asking which bakery I bought it from.
Ingredients
- 2 cups all-purpose flour: The foundation that gives this cake its tender crumb
- 1 ½ cups granulated sugar: Sweetens both the cake and creates that perfect crackly top
- 1 tsp baking powder and ½ tsp baking soda: Work together for the perfect rise and texture
- 1 tbsp unsweetened cocoa powder: Just enough to give red velvet its classic subtle chocolate undertone
- ½ tsp salt: Balances the sweetness and intensifies the vanilla flavor
- 1 cup buttermilk room temperature: Creates incredible tenderness and keeps the cake moist
- ½ cup vegetable oil: Makes the cake exceptionally soft compared to butter
- 2 large eggs room temperature: Essential for structure and richness in both components
- 2 tsp vanilla extract: Do not skimp here quality vanilla makes all the difference
- 1 tsp white vinegar: Reacts with buttermilk to enhance the red color and tenderness
- 2 tbsp red food coloring: Gel coloring gives the most vibrant red without altering the batter consistency
- 8 oz cream cheese softened: Use full fat brick cream cheese not whipped for the best swirl texture
- ⅓ cup granulated sugar: Sweetens the cheesecake layer just enough to complement the cake
- 1 large egg: Binds the cheesecake filling so it sets beautifully
- 1 tsp vanilla extract: Reinforces the vanilla notes throughout both layers
Instructions
- Preheat your oven and prepare the pan:
- Set your oven to 350°F 175°C and line a 9x13 inch pan with parchment paper for easy removal.
- Whisk together the dry ingredients:
- In a large bowl combine flour sugar baking powder baking soda cocoa powder and salt until well blended.
- Mix the wet ingredients:
- In a separate bowl whisk together buttermilk oil eggs vanilla vinegar and red food coloring until smooth.
- Combine the batters:
- Pour the wet ingredients into the dry and mix gently just until combined some small lumps are perfectly fine.
- Layer the red velvet base:
- Spread the red velvet batter evenly into your prepared pan using an offset spatula for a smooth surface.
- Prepare the cheesecake swirl:
- Beat the softened cream cheese until completely smooth then add sugar egg and vanilla mixing until creamy.
- Create the marble effect:
- Dollop spoonfuls of cheesecake mixture over the red velvet batter then use a knife to gently swirl creating marble patterns.
- Bake to perfection:
- Bake for 45 to 50 minutes until a toothpick inserted in the center comes out mostly clean.
- Cool completely:
- Let the cake cool completely in the pan on a wire rack before slicing this is crucial for clean cuts.
 Save
Save My grandmother always said the prettiest desserts taste the best and this cake proves her right every single time. It has become my go to for everything from holidays to I just want something fabulous on a Tuesday.
Getting The Perfect Swirl
The secret to those gorgeous marble patterns is working quickly while both batters are at similar temperatures. Use a gentle figure eight motion with your knife or skewer being careful not to over swirl which will muddy the distinct red and cream colors.
Storage And Serving Tips
This cake actually tastes better the next day as the flavors meld together beautifully. Keep it refrigerated but serve at room temperature for the softest most luscious texture. The cream cheese swirl makes it especially important to keep chilled.
Make It Your Own
While this classic version is absolutely stunning on its own sometimes I like to add a cream cheese frosting on top for extra indulgence. You can also fold chocolate chips into the cheesecake batter for a triple chocolate variation that is absolutely divine.
- Add a tablespoon of espresso powder to the red velvet batter for a mocha twist
- Swap the vinegar for fresh lemon juice to brighten the flavors
- Sprinkle powdered sugar over the top just before serving for a bakery finish
 Save
Save Every time I serve this cake someone asks for the recipe and I love watching their faces when I explain how surprisingly simple it is to make. Hope it becomes a favorite in your kitchen too.
Common Questions
- → Can I make red velvet cheesecake swirl cake ahead of time?
-
Yes, this dessert actually tastes better when made a day ahead. The flavors have time to meld together, and the texture becomes more firm and easier to slice. Wrap tightly and refrigerate for up to 4 days before serving.
- → Why did my red velvet batter turn brown instead of vibrant red?
-
Natural cocoa powder can sometimes cause red velvet to appear more brown than red. For the brightest red color, use gel food coloring instead of liquid, and consider using Dutch-processed cocoa. Also, avoid overbaking as this can darken the color.
- → How do I know when my cheesecake swirl cake is done baking?
-
Insert a toothpick into the center—if it comes out mostly clean with just a few moist crumbs, it's ready. A little bit of the cheesecake filling on the toothpick is normal since that portion remains slightly creamy. The edges should pull away slightly from the pan.
- → Can I freeze red velvet cheesecake swirl cake?
-
Absolutely. Cool completely, wrap individual slices or the entire cake tightly in plastic wrap and aluminum foil, then freeze for up to 3 months. Thaw overnight in the refrigerator before serving for best results.
- → What's the best way to create the marble swirl effect?
-
Dollop spoonfuls of cheesecake filling randomly over the red velvet batter, then use a knife or skewer to gently swirl through both layers without overmixing. Make figure-eight or circular motions, dragging the knife through the batter just 2-3 times for the most attractive marbled pattern.
- → Can I use natural food coloring instead of artificial red dye?
-
Beet juice or pomegranate juice can provide natural red color, though the result may be more subtle than with artificial dye. Start with 2 tablespoons of natural coloring and add more as needed. Keep in mind that natural options may alter the flavor slightly.
