 Save
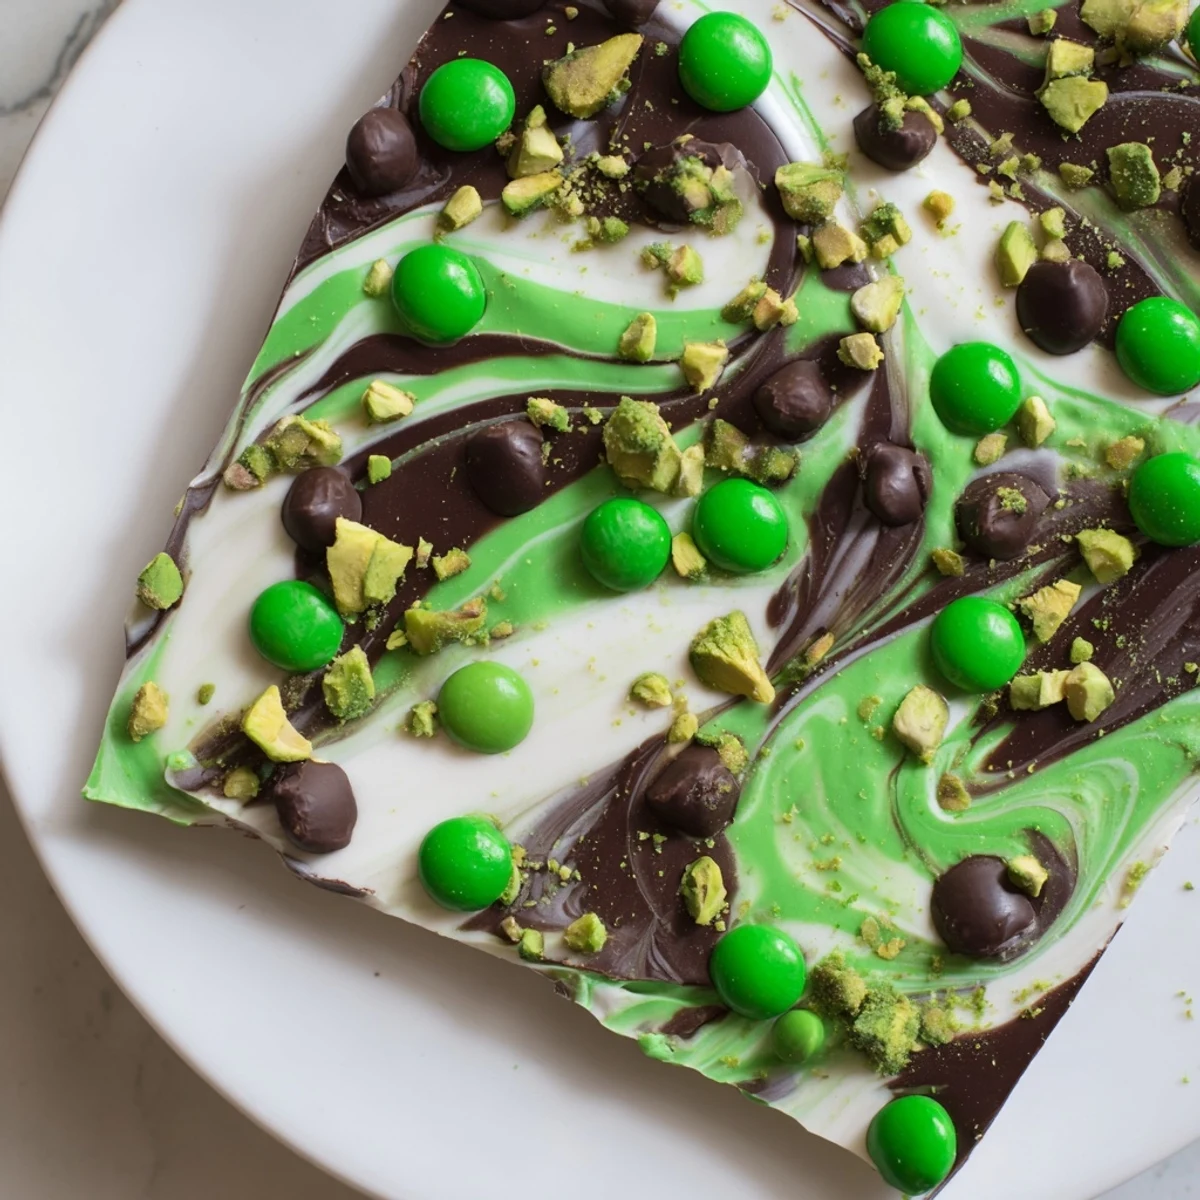
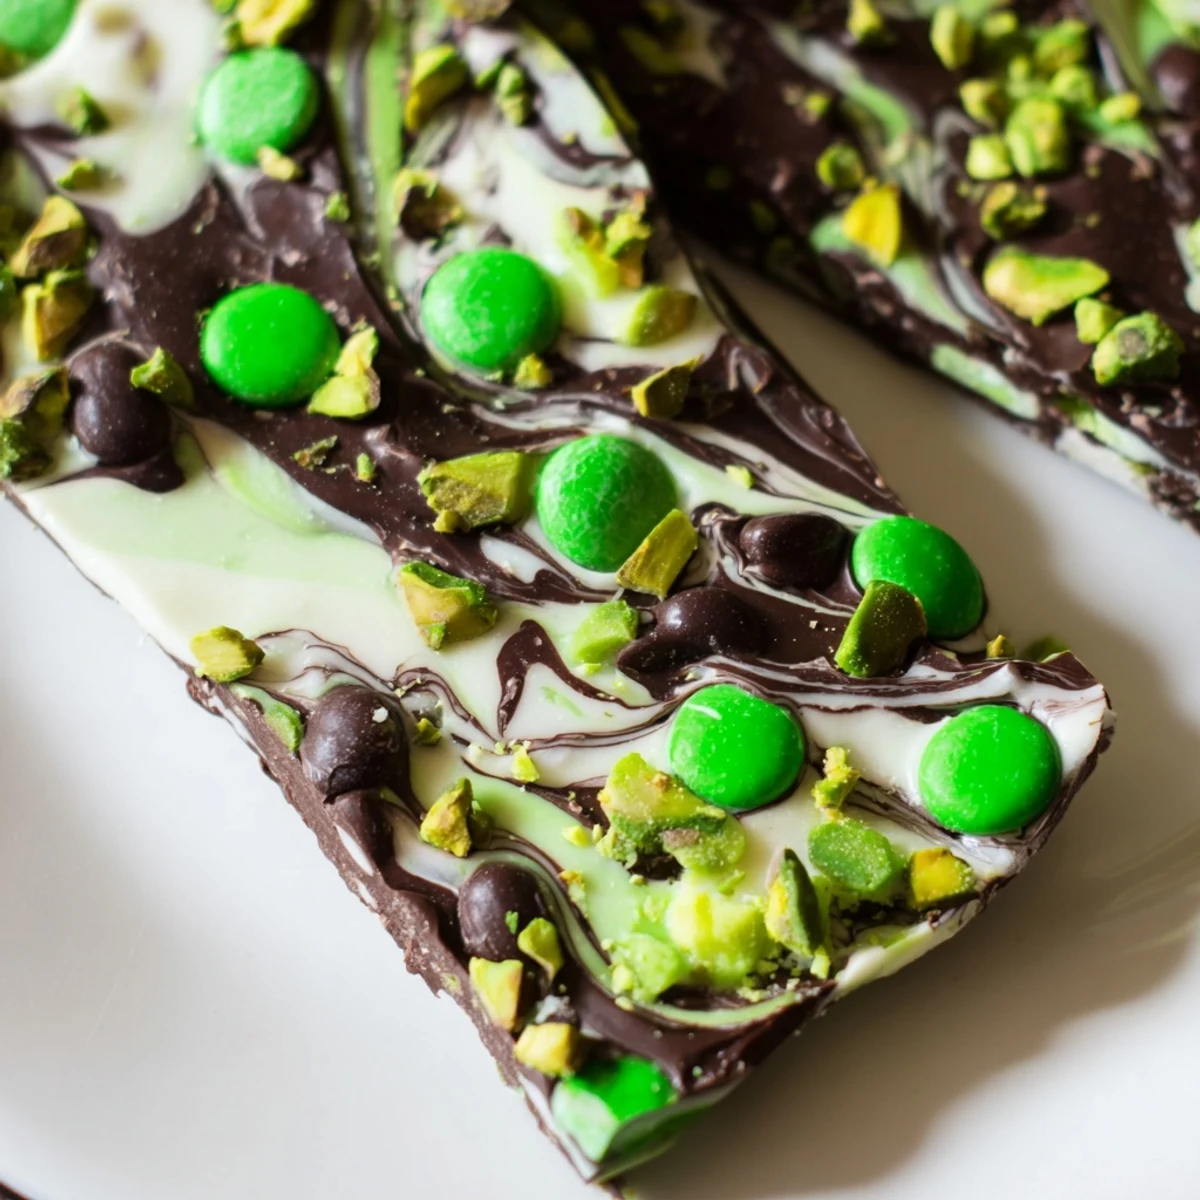
Save This festive bark combines smooth dark and white chocolate, gently infused with peppermint extract for a refreshing touch. The marbled layers are topped with green candy-coated chocolates, sprinkles, and optional pistachios for a delightful crunch and celebration of St Patricks Day. Easy to prepare, requiring simple melting and layering instructions, it chills to a perfect set before breaking into bite-sized pieces. A colorful, minty dessert that brings holiday cheer with every bite.
My roommate Sarah once turned our entire kitchen counter green trying to make themed desserts for a St. Patrick's Day party. She'd bought every green edible thing the grocery store sold, and somewhere between the green food coloring explosion and the shamrock-shaped sprinkles coating the floor, we ended up with something far simpler but equally festive. This bark was born from that colorful mess, and honestly, it's become the one treat I actually look forward to making when March rolls around.
Last year I made three batches of this bark for different gatherings, and each time someone asked if I'd bought it from some fancy chocolate shop. There's something about swirled chocolate with candy peeking through that just feels special, you know. My niece now requests it every time she visits in March, and she's started suggesting increasingly ridiculous green toppings we could try.
Ingredients
- Dark chocolate: The 60% cocoa content gives you enough bitterness to cut through all that sweetness coming later, and chop it into roughly same-sized pieces so everything melts evenly
- White chocolate: This can be temperamental to work with, so keep an eye on it and stir constantly because seized white chocolate is basically just expensive disappointment
- Peppermint extract: A little goes a long way here, and dividing it between both layers means you get mint throughout instead of just in one spot
- Green candy-coated chocolates: These are mostly for the festive factor, but they also add this satisfying crunch that plays really nicely against the smooth chocolate
- Green sprinkles or sanding sugar: The sanding sugar gives you sparkle while sprinkles are more about that confetti effect, and honestly both work beautifully
- Pistachios: Totally optional but they add this savory note and extra green that somehow makes the whole thing feel more sophisticated
Instructions
- Prep your workspace:
- Line a baking sheet with parchment paper, making sure it hangs over the edges a bit because this will save you so much cleanup later and makes lifting the finished bark so much easier.
- Melt the dark chocolate:
- Set up a double boiler with a heatproof bowl over simmering water, stirring constantly until smooth, or use the microwave in 30-second bursts if that's your preferred method.
- Add the mint:
- Stir half the peppermint extract into the dark chocolate, then pour it onto your prepared baking sheet and spread it into an even rectangle that's roughly 8 by 10 inches.
- Prepare the white chocolate:
- Melt the white chocolate using the same careful method you used for the dark, then stir in the remaining peppermint extract until it's fully incorporated.
- Create the swirl:
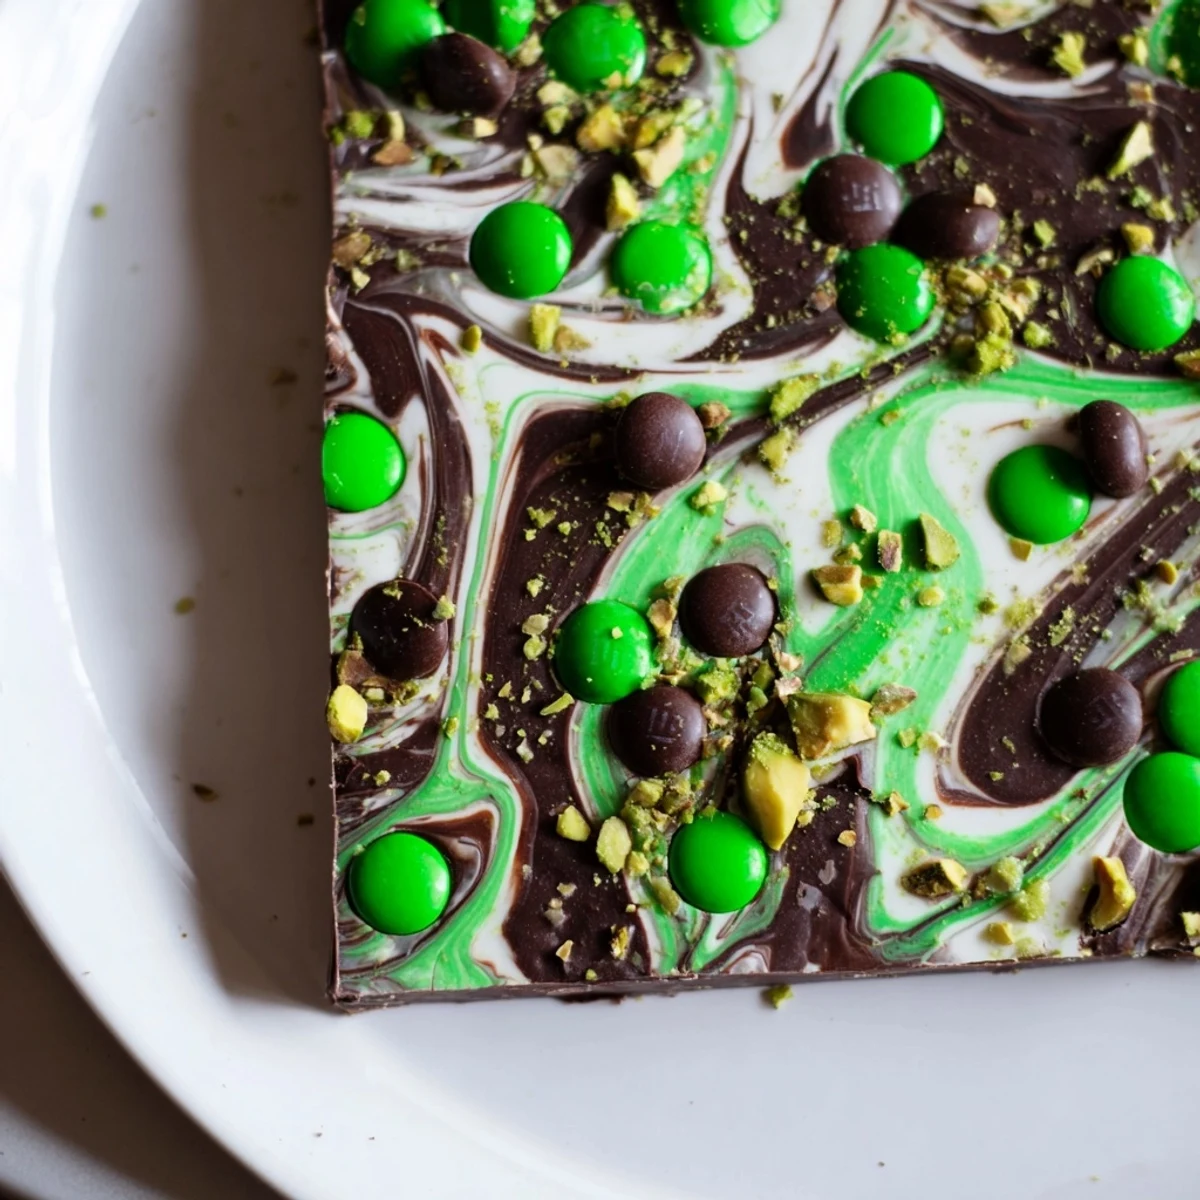
- Pour the white chocolate gently over the dark layer, then use a skewer or toothpick to make figure-eight motions through both layers, creating those beautiful marble patterns.
- Add the toppings:
- Scatter your green candies, sprinkles, and pistachios over the top immediately while the white chocolate is still soft, pressing them down slightly so they really stick.
- Let it set:
- Refrigerate for about 45 minutes until the bark is completely firm, then break it into irregular pieces by hand rather than cutting it with a knife.
 Save
Save This has become my go-to contribution for any March gathering because it looks impressive sitting on a dessert table but requires almost zero actual skill. I love watching people's faces when they realize it's not just chocolate but that cool mint flavor running through it too.
Getting That Perfect Swirl
The first few times I made this, I either over-swirled until everything turned muddy green or barely swirled at all and ended up with distinct layers instead of that marbled look. The sweet spot is making just three or four gentle figure-eights through the chocolate, then stopping while the colors are still distinct. I've learned that you can always add more swirls but you can't undo going too far.
Chocolate Melting Tips
After seizing more white chocolate than I care to admit, I've become religious about checking the temperature and stopping the melting process while there are still a few small solid pieces. The residual heat finishes the job, and this method has saved me from starting over so many times. Also, absolutely no moisture can get into your melting chocolate or it will seize instantly.
Make It Your Own
The beauty of this recipe is that you can swap out the toppings based on what you have or what sounds good. I've used crushed mint candies, green-dyed popcorn, and even chopped Andes mints when I wanted to go all-in on the mint theme. Some years I do half the bark with pistachios and half without to accommodate everyone.
- If the white chocolate feels too thick to pour, stir in a tiny bit of coconut oil to thin it out
- Room temperature toppings work better than cold ones for sticking to the chocolate
- Break the bark into different sizes so guests can choose how much they want
 Save
Save There's something deeply satisfying about breaking chocolate into jagged, imperfect pieces, almost like you're unleashing a little controlled chaos in the kitchen. Hope this brings some minty, chocolatey joy to your St. Patrick's Day.
Common Questions
- → How do I achieve the marbled chocolate effect?
-
Pour melted white chocolate over the dark chocolate layer and gently swirl them together using a skewer or toothpick before chilling.
- → Can I enhance the mint flavor without overpowering the chocolate?
-
Adjust the peppermint extract slightly but add gradually to maintain a balanced mint presence in the chocolate.
- → What are some suitable substitutions for pistachios?
-
Chopped almonds can be used for added crunch, or omit nuts entirely for a nut-free option.
- → How should the bark be stored to keep it fresh?
-
Store in an airtight container in the refrigerator for up to one week to maintain freshness and texture.
- → Is the bark gluten-free?
-
When using gluten-free candies, the bark is gluten-free; always check candy ingredients for hidden gluten.
